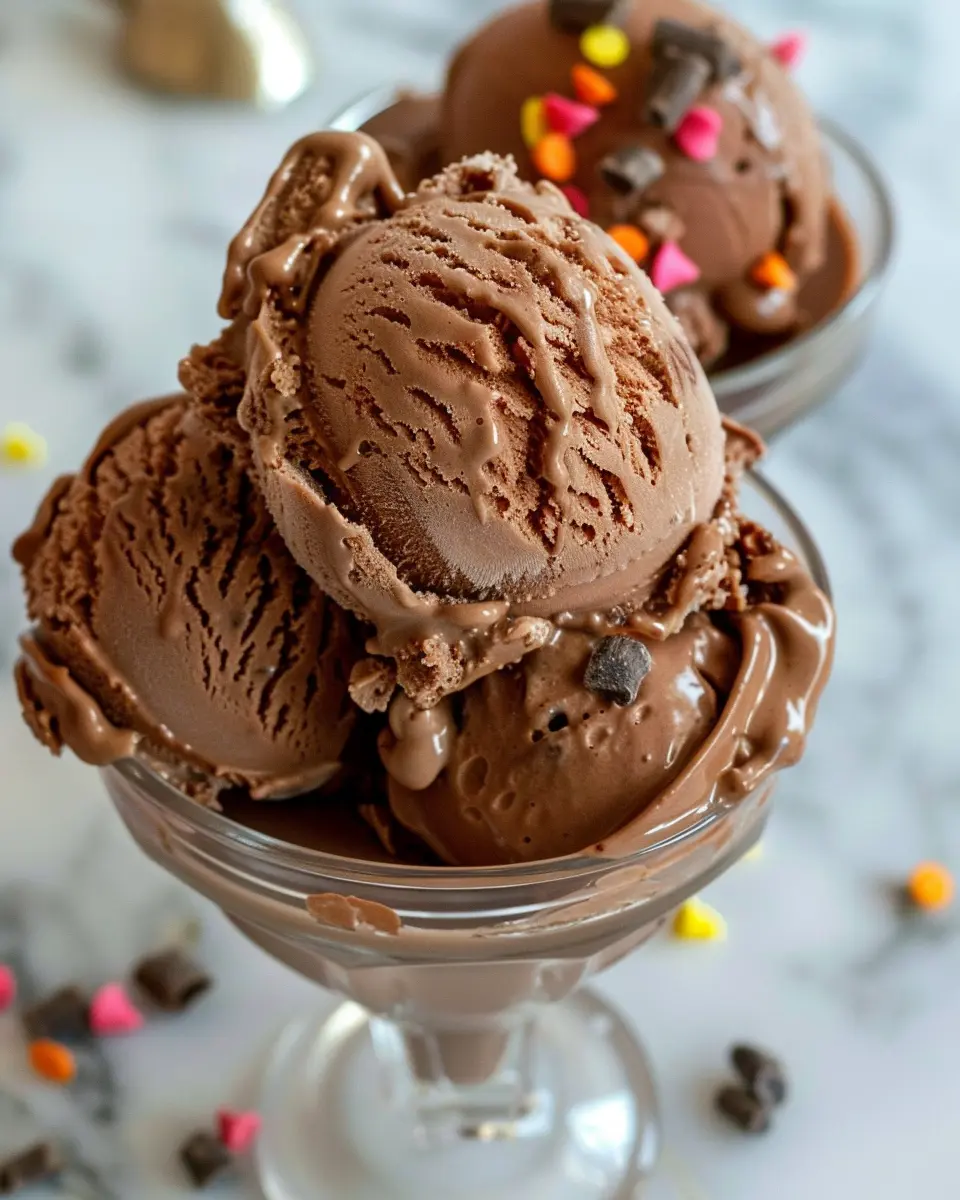
Introduction to Ninja Creami Chocolate Ice Cream
Indulging in homemade ice cream can be a game-changer for young professionals like yourself, especially when you’re juggling a busy job and social life. If you’ve ever endured the struggle of choosing between overpriced store-bought options that fall short of your taste buds’ cravings or the daunting task of making ice cream from scratch, let me introduce you to a solution: Ninja Creami Chocolate Ice Cream.
Why Homemade Ice Cream is a Game-Changer for Young Professionals
Picture this: it’s a long week at work, you’re exhausted, and you just want to unwind with something sweet. Instead of venturing out to find that perfect dessert, you can whip up your own Ninja Creami Chocolate Ice Cream right in your kitchen. The Ninja Creami takes the hassle out of ice cream-making, allowing you to create custom flavors that align with your dietary preferences and cravings.
-
Time Efficiency: With the Ninja Creami, you can freeze your base during the week and blend it into creamy perfection on a lazy Sunday. There’s no need for long prep times or excessive cleanup!
-
Cost-Effective: Making your own ice cream can save you money in the long run. Why spend on industrial ice creams when you can create gourmet flavors at home for a fraction of the cost? According to a study on the economics of homemade foods, you could save up to 50% over time!
-
Customization: Have dietary restrictions or personal preferences? Homemade ice cream allows you to control ingredients completely. You can swap in healthier options, like using low-sugar sweeteners or plant-based milks, while still achieving a perfectly creamy treat.
-
Quality Ingredients: You can choose premium ingredients, ensuring no added preservatives or artificial flavors. This is not just a treat; it’s an experience that aligns with your value for quality.
Still unsure? Consider the joy of sharing your own creations with friends during casual gatherings. Imagine their surprise and delight when they learn you made a delicious, rich chocolate ice cream all on your own!
In the next sections, we’ll dive into how to make this delightful Ninja Creami Chocolate Ice Cream step-by-step. It’s time to unleash your inner ice cream artisan!
Ingredients for Ninja Creami Chocolate Ice Cream
Making your own Ninja Creami Chocolate Ice Cream is not only rewarding but also a delicious endeavor! Let’s dive into the essential ingredients that will transform simple components into a creamy delight.
Key Ingredients to Gather
To whip up a dreamy batch of chocolate ice cream, you’ll need:
- 2 cups heavy cream: This is the base for a rich and creamy texture.
- 1 cup whole milk: Adds balance and enhances the creaminess.
- 3/4 cup granulated sugar: Sweetens your ice cream beautifully.
- 1 cup unsweetened cocoa powder: This is where the chocolate magic happens!
- 1 teaspoon vanilla extract: A splash of vanilla elevates the flavor profile.
- 1/2 cup chocolate chips (optional): For those who love a little chocolate crunch in each bite.
- Pinch of salt: Just a touch to enhance all those delicious flavors.
These ingredients can be found at your local grocery store, but consider checking out specialty shops for higher-quality cocoa powder or artisan chocolates.
Preparing this base in your Ninja Creami makes it super easy to create a personalized dessert—perfect for impressing friends at weekend gatherings or treating yourself after a long day. Ready to get started?
Step-by-step preparation of Ninja Creami Chocolate Ice Cream
Creating creamy, decadent Ninja Creami Chocolate Ice Cream at home is a breeze with a few simple steps! Let’s dive into this delicious journey together.
Gather your ingredients
The first step in your ice cream adventure is to gather all the ingredients you’ll need. Having everything ready will make the process smoother and more enjoyable. Here’s what you’ll need:
- 2 cups heavy cream
- 1 cup whole milk
- 3/4 cup granulated sugar
- 1 cup unsweetened cocoa powder (this is where that rich chocolate flavor comes from!)
- 1 teaspoon vanilla extract
- A pinch of salt
You can find high-quality ingredients at your local grocery store or specialty stores. If you’re particular about your cocoa powder, consider brands like Ghirardelli or Hershey’s. The quality of cocoa will directly impact the flavor of your Ninja Creami Chocolate Ice Cream, so choose wisely!
Blend the chocolate ice cream mixture
Now that you have your ingredients, it’s time to blend them into a luscious mixture. Grab a mixing bowl and follow these simple steps:
- Combine the heavy cream, whole milk, granulated sugar, and a pinch of salt in the bowl.
- Sift in the unsweetened cocoa powder to avoid any lumps, making sure it integrates well into the mix.
- Add the vanilla extract.
- Use a whisk or an electric mixer to blend the ingredients until the sugar is dissolved and everything is smooth and creamy.
This step is crucial! If you’re a chocolate lover, you might want to taste a little of your blended mixture to ensure it’s chocolatey enough for your liking.
Freeze your mixture in a creami pint
After you’ve blended the mixture, it’s time for the magic of freezing. Pour the mixture into a Ninja Creami pint container, making sure not to overfill it. Leave some room for expansion as it freezes.
- Cover the pint with the lid and place it in your freezer.
- Freeze for at least 24 hours. This is where the patience comes in! Trust the process—your future self will thank you!
During this time, it might be fun to explore other recipes or entertain yourself planning the toppings you might use once your ice cream is ready.
Process the ice cream using the Ninja Creami
Once your mixture is fully frozen, it’s time to turn it into delicious ice cream! Remove the pint from the freezer and let it sit for about 10 minutes to soften slightly.
- Place the pint in the Ninja Creami machine.
- Select the “Ice Cream” setting and let the machine do its work. It will churn the mixture into a fluffy, creamy delight.
You might have some chocolate chips or nuts on hand that you can fold in after the initial processing. Just chop them up and add them in during the last few seconds of processing for an added crunch!
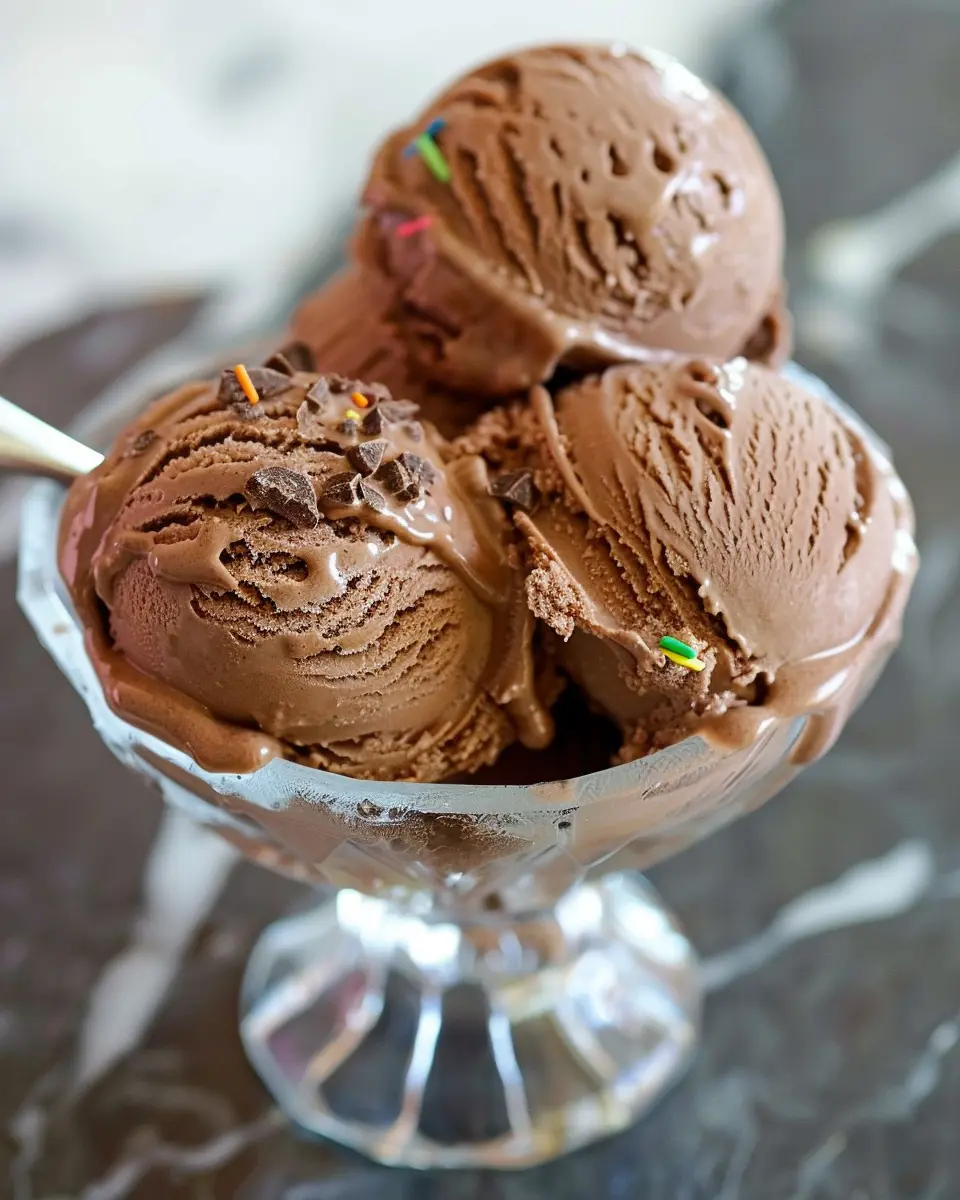
Enjoy your homemade chocolate ice cream!
Congratulations, you’ve made it to the grand finale! After processing, scoop out your Ninja Creami Chocolate Ice Cream into bowls or cones.
- This is where you can get creative!
- Top it with whipped cream, chocolate syrup, berries, or even a sprinkle of sea salt to elevate those rich chocolate flavors.
Sharing is caring—why not invite some friends over to enjoy your homemade masterpiece? Or if you’re feeling indulgent, just keep it all to yourself. You’ve earned it!
If you’re looking for other dessert recipes, check out The Spruce Eats or AllRecipes. Remember, cooking is not just about the destination but also about the joy of creating. Happy churning!
Creative variations for Ninja Creami Chocolate Ice Cream
Swirls of peanut butter delight
If you’re a fan of that classic chocolate and peanut butter combo, why not take your Ninja Creami Chocolate Ice Cream to the next level? Just before the ice cream finishes blending, add a generous swirl of creamy peanut butter. The warmth of the peanut butter harmonizes beautifully with the rich chocolate, creating a luscious blend that’s hard to resist. You could even try using flavored peanut butter, like cinnamon or honey, to add a unique twist to your dessert.
Adding fresh fruits and nuts
For a refreshing twist on your Ninja Creami Chocolate Ice Cream, consider mixing in fresh fruits or nuts. Chopped strawberries, raspberries, or bananas can add a delightful tartness and a pop of color to your treat. For nuts, try toasted almonds or hazelnuts for some crunch and added texture. Not only does this make your ice cream more exciting, but it also enhances its nutritional profile. After all, who doesn’t want a little extra fiber and healthy fats?
Vegan alternatives for chocolate ice cream lovers
Plant-based eaters, rejoice! You can easily make a delicious vegan version of your Ninja Creami Chocolate Ice Cream by substituting dairy ingredients with coconut milk or almond milk. Use cocoa powder, maple syrup, and a splash of vanilla extract for a rich flavor that’ll satisfy any ice cream craving. With so many vegan options out there, you can enjoy this delectable dessert while aligning with your dietary choices.
Embrace your creativity with these variations, and don’t forget to share your unique creations! For more tips, check out resources like The Kitchn for ice cream inspiration!
Cooking Tips and Notes for Ninja Creami Chocolate Ice Cream
Importance of Ingredient Temperatures
When making Ninja Creami Chocolate Ice Cream, the temperature of your ingredients can make or break the texture. For the best results, always start with chilled or room-temperature ingredients. This not only helps in blending but also reduces the risk of ice crystals forming, leading to that smooth, creamy finish we all love. Consider using this guide on ingredient temperatures for more insights.
Tips for a Creamier Texture
Achieving a rich, velvety ice cream can be a breeze with a few tricks:
- Blend well: Ensure all your ingredients are combined thoroughly. A few extra minutes of mixing can enhance the creaminess.
- Use high-fat options: Opt for heavy cream or whole milk for that indulgent mouthfeel.
- Chill your mixture: Letting your base chill in the fridge for a couple of hours before churning will improve texture.
With these tips, your Ninja Creami Chocolate Ice Cream will be a crowd-pleaser, perfect for those warm summer nights! Happy churning!
Serving Suggestions for Ninja Creami Chocolate Ice Cream
Crafting your Ninja Creami Chocolate Ice Cream masterpiece is just the beginning. Let’s take your ice cream experience to the next level with some delightful serving suggestions.
Pairing with Homemade Waffle Cones
Nothing beats the classic combination of rich chocolate ice cream and a warm, crispy waffle cone. Making your own homemade waffle cones can be a fun weekend project that sweetens the experience. The crunchy texture perfectly contrasts the creamy chocolate, and you can customize the flavor by adding cocoa powder or a hint of vanilla to the batter. For a great recipe, check out this delicious waffle cone guide.
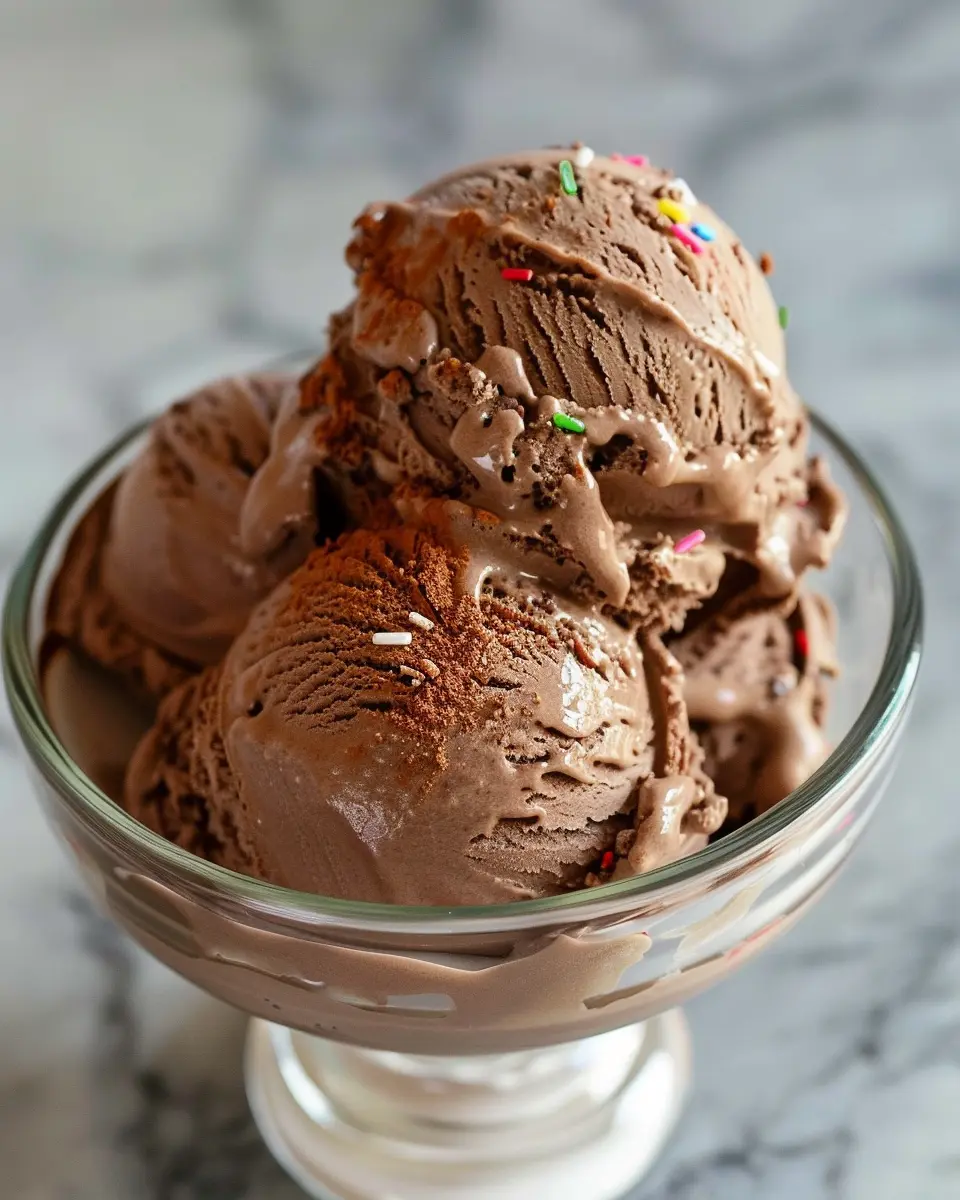
Perfect Toppings to Elevate Your Ice Cream Experience
To truly enhance your Ninja Creami Chocolate Ice Cream, consider a variety of toppings:
- Fresh Fruits: Strawberries, raspberries, or banana slices can brighten up the flavor profile.
- Nuts: Chopped almonds or pecans provide a satisfying crunch.
- Syrups: Drizzle with caramel or chocolate syrup for an indulgent finish.
- Sprinkles: A splash of colorful sprinkles adds a playful touch!
Mix and match these toppings to create your perfect bowl of ice cream bliss. Experimenting with flavors not only satisfies your palate but also makes for gorgeous Instagram moments.
So, get creative and enjoy every delightful scoop!
Time breakdown for Ninja Creami Chocolate Ice Cream
When it comes to whipping up a delicious batch of Ninja Creami Chocolate Ice Cream, knowing the timing can make all the difference. Here’s a handy breakdown to help you plan your delightful dessert-making journey.
Preparation time
Getting everything ready for your Ninja Creami Chocolate Ice Cream takes about 15 minutes. You’ll be mixing just a few simple ingredients, and once you have everything on hand, it’s a breeze!
Freezing time
After mixing, you’ll need to freeze your ice cream base for 24 hours. This step is crucial for achieving that perfect, creamy texture, so make sure you plan ahead!
Total time
Adding it all up, your total commitment for this indulgent treat is about 24 hours and 15 minutes. The waiting can feel tough, but trust me, when you scoop that first bite, it’ll be totally worth it!
If you’re looking for some great tips on ice cream bases, check out resources from Serious Eats or The Kitchn for expert advice.
Nutritional facts for Ninja Creami Chocolate Ice Cream
Calories
A serving of Ninja Creami Chocolate Ice Cream typically contains around 200 calories, depending on the specific ingredients used. This makes it a delightful yet manageable treat for those looking to indulge without overdoing it.
Sugar content
When it comes to sugar content, homemade versions can be tailored to your preference—usually around 14-18 grams per serving. By using natural sweeteners like honey or agave, you can keep the sweetness satisfying but healthier.
Health benefits of homemade ice cream
Making your own Ninja Creami Chocolate Ice Cream can be a game-changer. Not only do you control the ingredients, but you also reap several health benefits, including:
- Fresh ingredients: Using high-quality chocolate or cocoa powder ensures you’re savoring rich flavors.
- No preservatives: Homemade ice cream is free from the artificial additives often found in store-bought options.
- Creative control: Experimenting with mix-ins like fresh fruits or nuts can elevate nutrition and flavor.
Embrace the joy of crafting your own frozen delights! For more insights on ice cream-making techniques and benefits, check out this article on the health benefits of frozen treats. It’s a sweet way to stay balanced!
FAQs about Ninja Creami Chocolate Ice Cream
How long can I store homemade ice cream?
When it comes to storing your delicious Ninja Creami Chocolate Ice Cream, you can keep it in the freezer for about 1 to 2 weeks for the best flavor and texture. After that, it may still be safe to eat, but the quality might start to degrade. For optimal results, store your ice cream in an airtight container to prevent ice crystals from ruining that creamy goodness.
Can I use different types of milk or sweeteners?
Absolutely! One of the perks of making your own Ninja Creami Chocolate Ice Cream is the flexibility in ingredient choices. You can swap out whole milk for almond milk, coconut milk, or even oat milk, depending on your dietary preferences. When it comes to sweeteners, feel free to use honey, maple syrup, or stevia instead of traditional sugar. Just remember that these substitutions might slightly change the texture or flavor, so a little experimenting could yield delightful variations!
What are some common mistakes to avoid when making ice cream?
Here are a few pitfalls to steer clear of:
- Not chilling the base: Make sure your ice cream mixture is thoroughly chilled before processing. It makes a world of difference in achieving that rich creamy consistency.
- Overfilling the machine: Don’t pack the Ninja Creami too full; it needs space to churn properly.
- Ignoring the freezing time: Give your mixture plenty of time to freeze before running it through the machine. Rushing this step can lead to a less-than-stellar outcome.
For more in-depth tips and techniques, check out resources like The Ice Cream Recipe Book, which offers a variety of ice cream-making insights to enhance your skills!
Conclusion on Ninja Creami Chocolate Ice Cream
Creating your own Ninja Creami Chocolate Ice Cream is truly a delightful experience. The joy that comes from making creamy, rich ice cream at home resonates with both novice and seasoned cooks alike. It’s more than just about the taste; it’s about experimentation and the satisfaction of crafting your favorite flavor right in your kitchen.
By using the Ninja Creami, you can customize ingredients to suit your preferences, from choosing high-quality cocoa to adding a splash of espresso for that extra depth. Why not explore a world of possibilities with your homemade treats? For further inspiration, visit sites like Serious Eats for tips and tricks on ice cream making. Embrace the adventure of making Ninja Creami Chocolate Ice Cream and indulge in the sweet rewards of your culinary creativity!
PrintNinja Creami Chocolate Ice Cream: Easy Indulgence at Home

Indulge in a creamy and decadent homemade ice cream experience with this simple Ninja Creami Chocolate Ice Cream recipe.
- Prep Time: 10 minutes
- Total Time: 24 hours 10 minutes
- Yield: 4 servings
- Category: Dessert
- Method: no-cook
- Cuisine: American
- Diet: vegetarian
Ingredients
- 2 cups heavy cream
- 1 cup whole milk
- 3/4 cup granulated sugar
- 1 cup unsweetened cocoa powder
- 1 tsp vanilla extract
Instructions
- In a mixing bowl, whisk together heavy cream, whole milk, granulated sugar, cocoa powder, and vanilla extract until well combined.
- Pour the mixture into the Ninja Creami container and freeze for at least 24 hours.
- After freezing, process the mixture in the Ninja Creami according to the manufacturer’s instructions until creamy and soft serve consistency is achieved.
- Scoop and serve immediately, or return to the freezer for a firmer texture.
Notes
- For a richer flavor, use dark cocoa powder.
- You can add chocolate chips or chunks for extra texture.
Nutrition
- Serving Size: 1/2 cup
- Calories: 250
- Sugar: 22g
- Sodium: 60mg
- Fat: 18g
- Saturated Fat: 11g
- Unsaturated Fat: 5g
- Trans Fat: 0g
- Carbohydrates: 23g
- Fiber: 1g
- Protein: 3g
- Cholesterol: 70mg