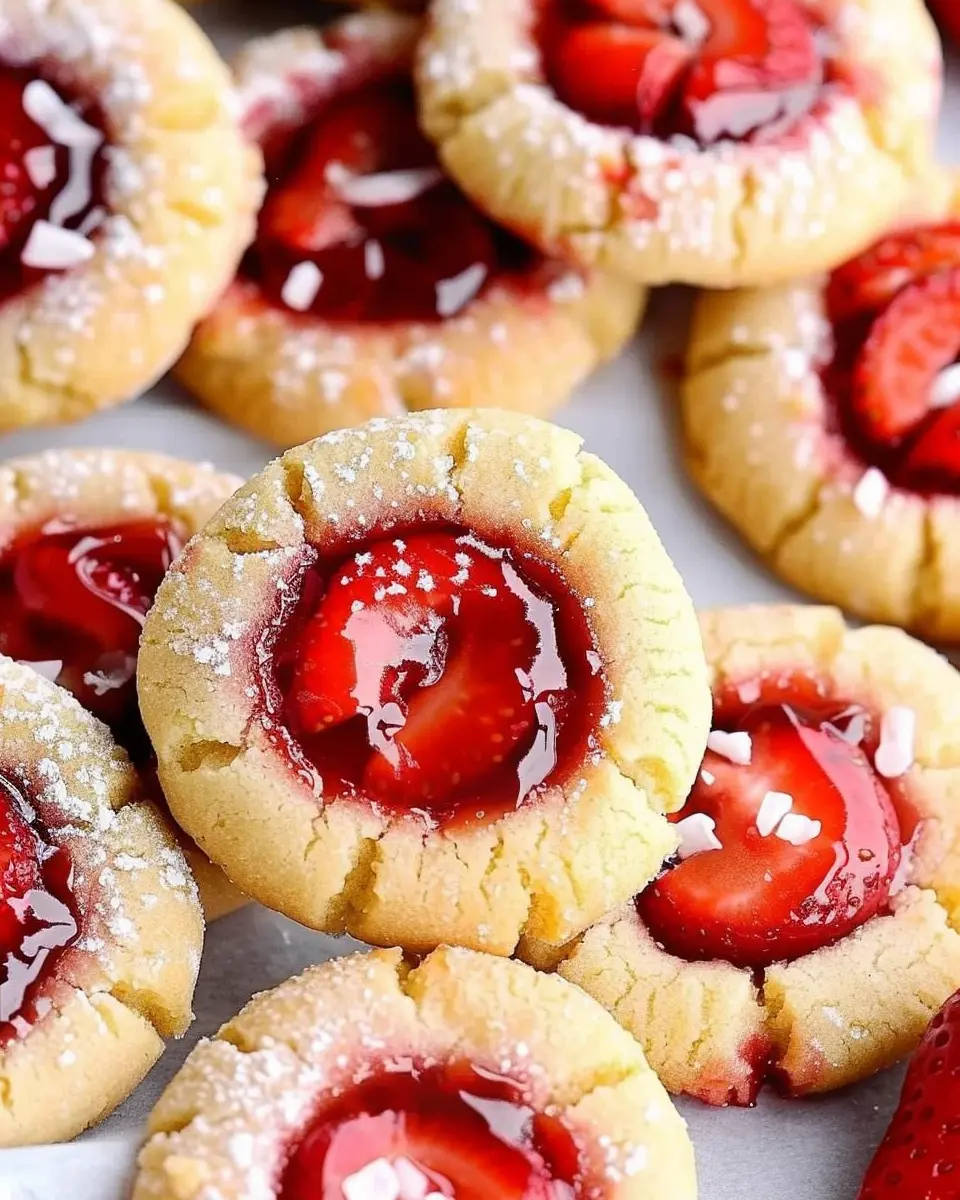
Introduction to Strawberry Thumbprint Cookies
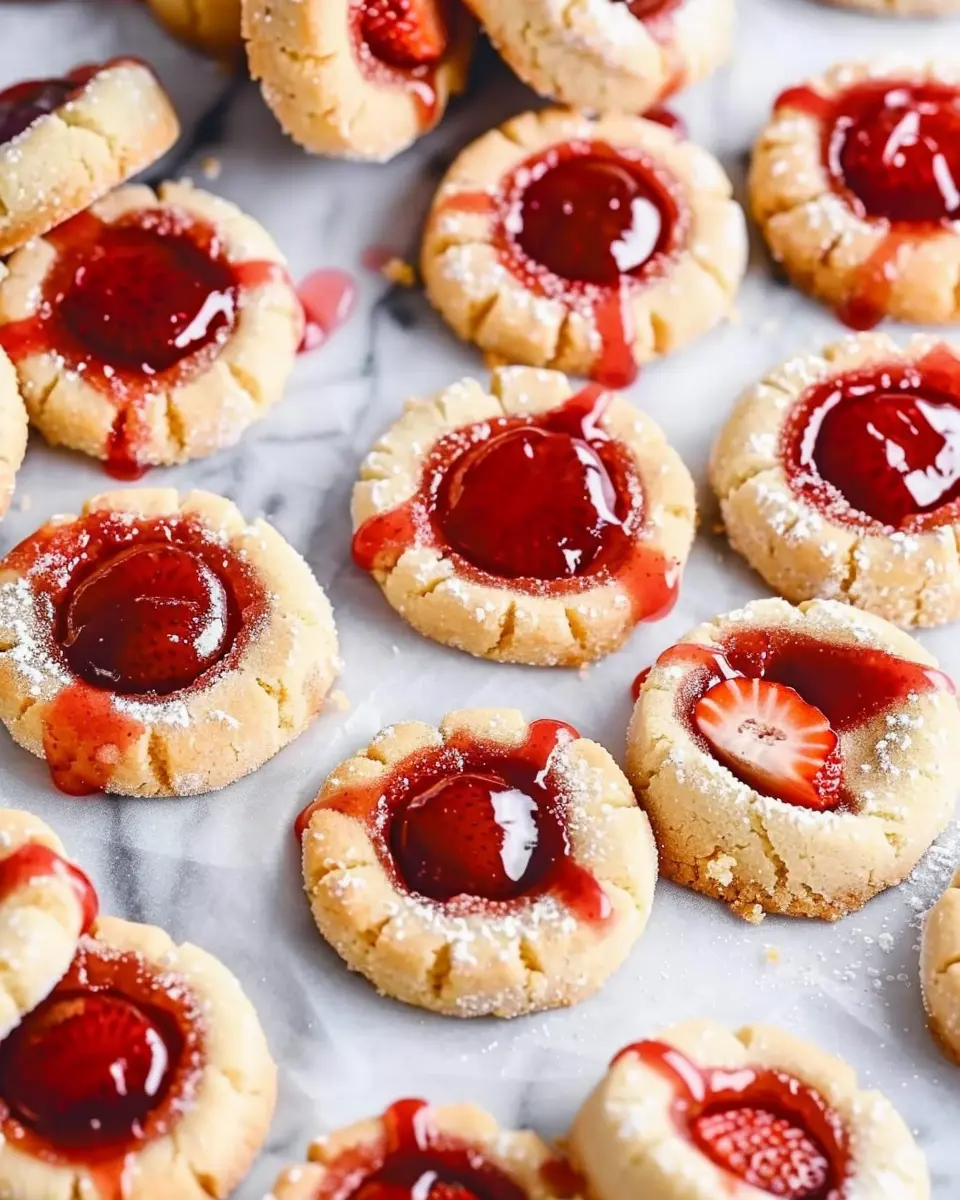
When it comes to cookies, few can rival the delightful charm of Strawberry Thumbprint Cookies. Their iconic look— a buttery cookie with a sweet berry jam center—makes them instantly recognizable and undeniably tempting. What’s not to love about these little bites of bliss?
Why are Strawberry Thumbprint Cookies a classic favorite?
First and foremost, the flavor combination is simply irresistible. The soft, vanilla-infused cookie pairs beautifully with the tangy sweetness of strawberry jam, creating a pleasant contrast that delights the palate. Whether you use homemade jam or a good-quality store-bought option, the result is a treat that’s both comforting and sophisticated. According to a survey conducted by The Cookie Chronicles, 73% of cookie enthusiasts list thumbprints as their go-to treat during the spring and summer months—highlighting their seasonal appeal.
But it’s not just the taste that captivates; it’s also the nostalgia tied to Strawberry Thumbprint Cookies. Many of us have fond memories of baking with family, getting our hands a bit messy, and giggling over the shape of our thumbprints. This cookie often pops up at birthday parties, holiday gatherings, and bake sales, making it a cherished classic that bridges generations.
To elevate your baking experience, consider using high-quality ingredients. For an extra touch, you might incorporate fresh strawberries into the jam for a burst of freshness and a pop of color. If you’re curious about the science of baking and why thumbprints hold their shape, check out Serious Eats for some fantastic insights.
While the traditional version features a strawberry center, don’t hesitate to experiment with other fruit preserves! Raspberry, blueberry, or even a lemon curd can add a unique twist that will surprise and delight your friends and family.
In this guide, we’ll walk you through the process of making your own Strawberry Thumbprint Cookies, ensuring not only delicious results but also some fantastic memories along the way. Let’s dive into this delightful baking adventure together!
Ingredients for Strawberry Thumbprint Cookies
Creating scrumptious Strawberry Thumbprint Cookies starts with selecting the best ingredients. Let’s break them down to help you get the most delightful flavors in every bite.
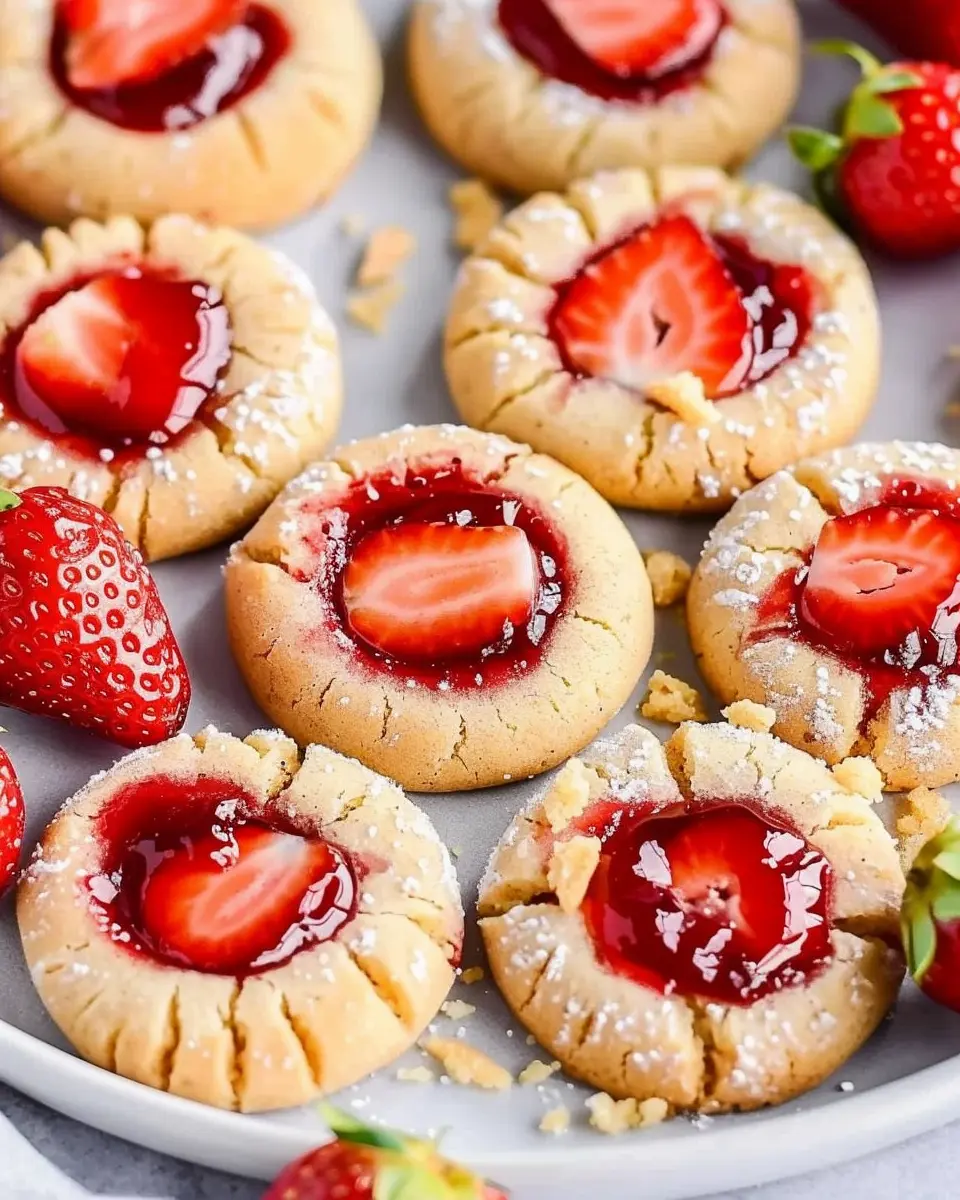
Fresh strawberries for the jam
The star of these cookies is undoubtedly the homemade strawberry jam. When choosing strawberries, look for fresh, ripe berries that are brightly colored and firm to the touch. Local farmers’ markets are often the best source for seasonal strawberries, making them not only tastier but also supporting your community. If you’re in a pinch, high-quality store-bought jam works well too!
Essential cookie ingredients
To achieve that perfect cookie base, gather the following essentials:
- All-purpose flour: For a classic cookie texture.
- Unsalted butter: Softened to help create a creamy blend.
- Granulated sugar: Sweetness is key!
- Brown sugar: Adds a bit of depth and moisture.
- Egg: Helps bind everything together while adding richness.
- Vanilla extract: A splash for that warm, comforting flavor.
- Baking powder and salt: Essential for a nicely risen cookie.
With these ingredients ready, you’re set to make Strawberry Thumbprint Cookies that will surely impress!
Preparing Strawberry Thumbprint Cookies
Creating Strawberry Thumbprint Cookies is a delightful experience that combines the rich flavors of buttery cookies with a sweet strawberry filling. Whether you’re baking for a special occasion or just treating yourself, this recipe is a simple way to indulge your sweet tooth. Let’s break down the steps for making these delicious cookies that are sure to impress.
Make the strawberry jam
Before diving into the cookie dough, it’s important to whip up a small batch of homemade strawberry jam. You can choose to make this ahead of time or while the cookies cool, but having fresh jam really enhances the flavor. Here’s how to do it:
- Ingredients: You’ll need fresh strawberries (about 1 pound), sugar (approximately 1 cup), and a tablespoon of lemon juice.
- Instructions:
- Wash and hull the strawberries, then chop them into small pieces.
- In a saucepan over medium heat, combine the strawberries and sugar. Stir until the sugar dissolves.
- Add the lemon juice and bring the mixture to a boil.
- Reduce the heat and let it simmer, stirring often, until it thickens (around 10-15 minutes).
For a deeper dive into homemade jams, check out the article from The Kitchn that covers various fruit options and techniques!
Prepare the cookie dough
Now it’s time to create the thumbprint cookie base! This dough is buttery, tender, and just melts in your mouth. Here’s what you’ll need:
-
Ingredients: 1 cup unsalted butter (softened), 1/2 cup sugar, 2 cups all-purpose flour, 1 teaspoon vanilla extract, and a pinch of salt.
-
Instructions:
- In a large bowl, cream the softened butter and sugar until light and fluffy.
- Mix in the vanilla and salt until well blended.
- Gradually add in the flour, mixing until the dough comes together smoothly.
If you’ve never creamed butter and sugar before, remember that the texture should be airy and light—this helps the cookies rise and keeps them tender!
Shape the cookies
Once the dough is ready, it’s time to shape our Strawberry Thumbprint Cookies! This is where the fun begins.
- Instructions:
- Preheat your oven to 350°F (175°C).
- Take about a tablespoon of dough and roll it into a ball.
- Place the balls on a lined baking sheet, leaving about two inches between each one.
- Using your thumb (or a small spoon), gently press down in the center of each ball to create an indentation.
Feeling creative? You can even try different shapes or sizes for your cookie bases—just make sure that the thumbprints are deep enough to hold the jam!
Fill with delicious strawberry jam
With your cookies prepped, it’s time to fill those delightful thumbprints.
- Instructions:
- Carefully spoon a small amount of your homemade strawberry jam into each indentation. Be careful not to overfill; a little goes a long way!
This step is crucial, as the jam will melt slightly during baking, creating a deliciously gooey center that pairs beautifully with the buttery cookie.
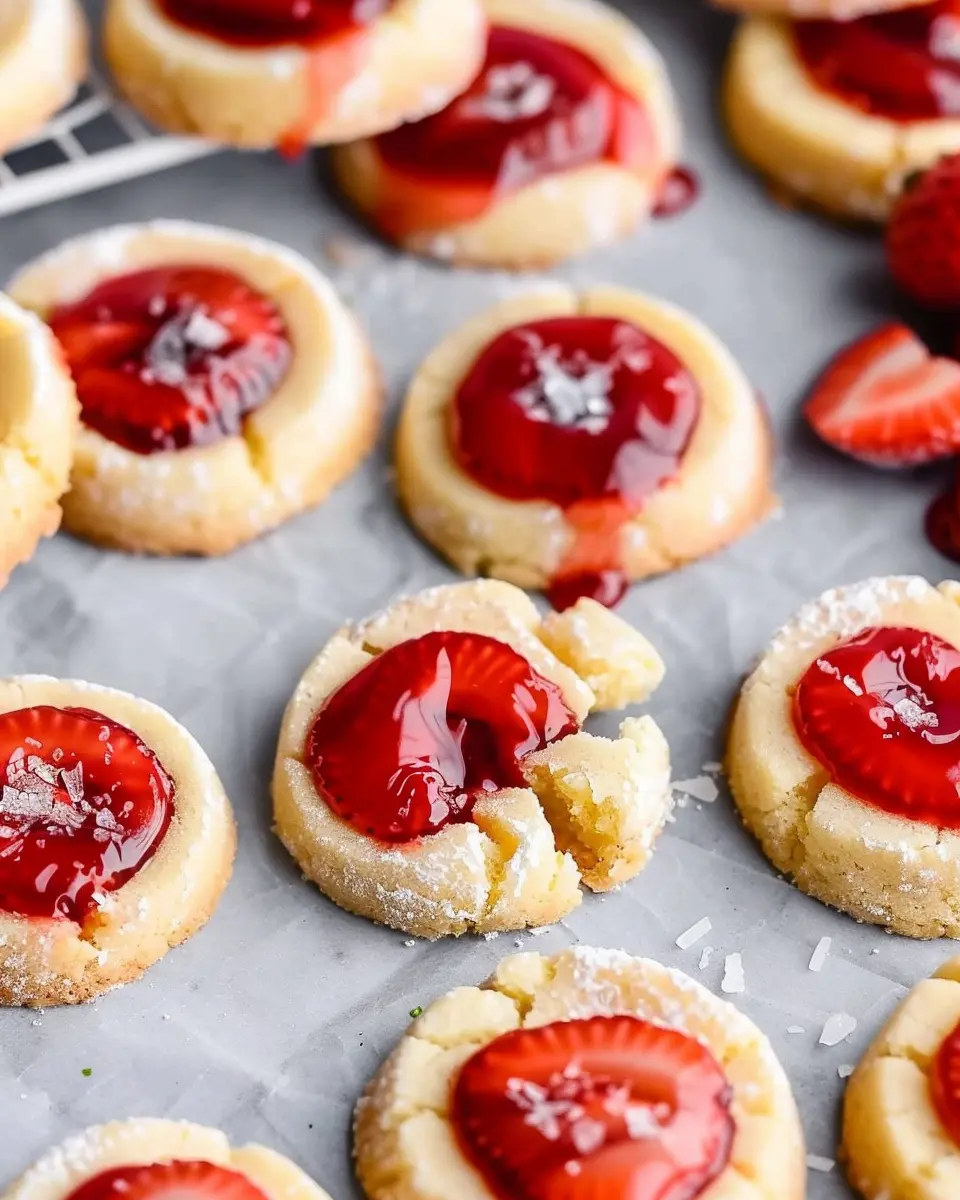
Bake to perfection
Your Strawberry Thumbprint Cookies are almost complete!
- Instructions:
- Place the baking sheet in your preheated oven and bake for about 12-15 minutes or until the edges are lightly golden brown.
- Once done, remove them from the oven and let them cool on the baking sheet for a few minutes before transferring them to a wire rack.
As the cookies cool, they’ll continue to develop flavor, making them irresistible!
Now that you have all the steps down, prepare to enjoy your freshly baked thumbprint cookies with a cup of tea or coffee. Trust me, these treats have a way of making any moment feel special!
Variations on Strawberry Thumbprint Cookies
Explore Alternative Jams for Filling
While strawberry thumbprint cookies are a classic favorite, you don’t have to limit yourself to just strawberry jam. Why not get creative? Here are some delicious alternatives to consider:
- Raspberry Jam: If you love a tart punch, raspberry jam is an excellent substitute that pairs wonderfully with the buttery cookie base.
- Apricot Preserves: For a sweeter, tropical twist, apricot preserves add a lovely flavor contrast that elevates your cookies.
- Blueberry or Blackberry Jam: These berry jams can add depth and richness, making your cookies just as memorable but with a unique flavor profile.
Personalize your batch with what you already have at home, and let your taste buds guide you!
Gluten-Free Options for Striking Cookies
For those who prefer or need to avoid gluten, there are plenty of options to help you create scrumptious strawberry thumbprint cookies. Consider these flour alternatives:
- Almond Flour: Naturally gluten-free and nutty, almond flour gives cookies a lovely texture while contributing to a rich flavor.
- Coconut Flour: This option is incredibly light and has a slight sweetness, perfect for a tropical undertone.
- Oat Flour: Made from ground gluten-free oats, this flour adds a hearty feel and works wonderfully for cookies.
When using gluten-free flours, it’s important to balance fluid ingredients to avoid crumbly cookies. Check out resources like Bob’s Red Mill for guidance on gluten-free baking.
Whichever version you choose, these delightful variations will surely impress friends and family alike!
Cooking notes for Strawberry Thumbprint Cookies
Common mistakes to avoid
Baking can be tricky, and Strawberry Thumbprint Cookies are no exception! Here are some common pitfalls to watch out for:
- Overmixing the dough: This can lead to tough cookies. Mix just until the ingredients are combined.
- Not chilling the dough: Skipping the chilling step can result in cookies that spread too much. Give your dough at least 30 minutes in the fridge!
- Incorrect oven temperature: Always preheat your oven. A too-cool oven means your cookies won’t bake properly.
Ingredient substitution tips
If you’re missing an ingredient, don’t fret! Here are a few swaps that work well in Strawberry Thumbprint Cookies:
- Butter: You can use coconut oil or vegan butter for a dairy-free option.
- Flour: If you need a gluten-free alternative, almond flour or a gluten-free blend should work perfectly.
- Strawberry jam: Feel free to try other fruit jams like raspberry or apricot for a different twist.
For more baking tips and tricks, check out this helpful guide that covers everything from ingredient substitution to essential baking techniques!
Serving suggestions for Strawberry Thumbprint Cookies
Perfect pairings for your cookies
When it comes to enjoying your Strawberry Thumbprint Cookies, consider pairing them with complementary flavors and textures for an elevated treat. Here are some delightful options:
- Creamy accompaniments: Serve these cookies with a dollop of vanilla yogurt or whipped cream. The creamy texture makes for a lovely contrast with the chewy cookie.
- Fresh fruits: Add a side of mixed berries for a refreshing, fruity touch. Blueberries, raspberries, or slices of melon can amplify the flavors in your cookie.
- Beverage matches: Enjoy your cookies with a cup of tea—think chamomile or Earl Grey—or a glass of refreshing lemonade. These beverages can enhance the sweetness of your cookies without overpowering them.
Creative presentation ideas
Presentation can turn your Strawberry Thumbprint Cookies from simple to stunning. Try these ideas:
- Cookie platters: Arrange your cookies on an elegant platter with a sprinkle of powdered sugar for a restaurant-style finish.
- Gift jars: Stack your cookies in mason jars tied with twine for a charming homemade gift. It’s a heartfelt way to share your baking with others.
- Themed displays: Consider a seasonal theme; place your cookies on a table adorned with fresh flowers or autumn leaves to enhance their visual appeal.
By thoughtfully pairing and presenting your Strawberry Thumbprint Cookies, you elevate your baking experience and impress your friends and family. Happy baking!
Time details for Strawberry Thumbprint Cookies
Preparation time
Making Strawberry Thumbprint Cookies is a quick joy! You’ll need about 15 minutes to gather your ingredients and prepare the cookie dough. That’s just enough time to enjoy a little music or podcast while you work—multitasking at its finest!
Cooking time
Once your dough is ready, pop those little gems in the oven for 10-12 minutes. The delightful scent of baking cookies will waft through your kitchen, tempting everyone around!
Total time
In just about 25-30 minutes, from start to finish, you’ll have delectable Strawberry Thumbprint Cookies ready to impress. Perfect for a quick treat or sharing with friends! For tips on cookie storage, check this article on How to Store Cookies Properly. Happy baking!
Nutritional information for Strawberry Thumbprint Cookies
Calories per cookie
When indulging in Strawberry Thumbprint Cookies, it’s important to know what you’re treating yourself to. On average, each cookie contains about 80 calories. This makes them a relatively guilt-free option for a sweet snack, especially when paired with a warm cup of tea or coffee.
Sugar content
These delightful cookies do have a moderate sugar content, typically around 6 grams per cookie. While a bit indulgent, balance is key! Enjoying them in moderation can still fit into a healthy lifestyle.
Health benefits of strawberries
Did you know that strawberries are a powerhouse of nutrition? Packed with antioxidants, they help boost your immune system and increase heart health. In fact, a serving can provide more vitamin C than an orange! This makes your Strawberry Thumbprint Cookies not just a tasty treat but also a way to sneak in some health benefits. Curious about more ways to incorporate strawberries into your diet? Check out the health benefits of strawberries. Enjoy your baking!
FAQs about Strawberry Thumbprint Cookies
How do I know when the cookies are done baking?
Baking Strawberry Thumbprint Cookies to perfection is part art and part science. Generally, you’ll want to look for a golden-brown edge while the centers remain slightly soft. A good rule of thumb is to start checking the cookies about 2 minutes before the recommended baking time. If they slightly spring back when touched, they’re good to go! Don’t forget that they’ll continue to firm up a bit while cooling down on the baking sheet—trust the process!
Can I freeze Strawberry Thumbprint Cookies?
Absolutely! Freezing Strawberry Thumbprint Cookies is a great way to enjoy your sweet treats later. To do this, allow the cookies to cool completely, then place them in an airtight container, separating layers with parchment paper to prevent sticking. You can freeze them for up to three months. When you’re ready to indulge, just let them thaw at room temperature or pop them in the microwave for a quick warm-up!
What are the best ways to store the cookies?
To keep your Strawberry Thumbprint Cookies fresh and delicious, store them in an airtight container at room temperature for up to a week. For longer shelf life, add a slice of bread to the container—this helps maintain moisture. If you’re dealing with a humid climate, consider refrigerating them to prevent any sogginess.
For more tips on storing cookies effectively, check out this helpful resource. Enjoy your baking!
Conclusion on Strawberry Thumbprint Cookies
Why these cookies deserve a spot in your baking repertoire
Strawberry Thumbprint Cookies are not just another dessert; they’re a delightful combination of sweetness and nostalgia. These cookies boast a tender, buttery base paired with a luscious strawberry filling that brings bright, fruity flavor to every bite. Whether you’re baking for a cozy gathering, a festive celebration, or just treating yourself, these cookies are sure to impress.
You’ll find that they are versatile, easily adaptable to your favorite jams or preserves, and oh-so-simple to whip up. Plus, baking them fills your kitchen with an irresistible aroma that’s hard to resist. Don’t miss the chance to add these delightful Strawberry Thumbprint Cookies to your baking repertoire—they might just become a new favorite! If you’re looking to elevate your dessert game, check out this article on the benefits of baking with fresh fruit, and get inspired!
PrintStrawberry Thumbprint Cookies: Easy, Fruity Delights for Everyone

Delightful strawberry thumbprint cookies are easy to make and perfect for any occasion.
- Prep Time: 20 minutes
- Cook Time: 15 minutes
- Total Time: 35 minutes
- Yield: 24 cookies
- Category: Desserts
- Method: Baking
- Cuisine: American
- Diet: Vegetarian
Ingredients
- 1 cup unsalted butter, softened
- 1 cup granulated sugar
- 2 large eggs
- 1 teaspoon vanilla extract
- 2 cups all-purpose flour
- 1/2 teaspoon salt
- 1/2 cup strawberry jam
Instructions
- Preheat your oven to 350°F (175°C).
- In a large bowl, cream together the butter and sugar until light and fluffy.
- Add eggs one at a time, beating well after each addition.
- Stir in the vanilla extract.
- In another bowl, mix flour and salt, then gradually add to the creamed mixture.
- Roll dough into 1-inch balls and place on an ungreased baking sheet.
- Press a thumbprint into the center of each ball.
- Fill the thumbprint with strawberry jam.
- Bake for 12-15 minutes until the edges are lightly golden.
- Allow cookies to cool on wire racks.
Notes
- For a fun variation, try using different flavors of jam.
- Make sure the butter is at room temperature for best results.
Nutrition
- Serving Size: 1 cookie
- Calories: 120
- Sugar: 10g
- Sodium: 50mg
- Fat: 8g
- Saturated Fat: 5g
- Unsaturated Fat: 2g
- Trans Fat: 0g
- Carbohydrates: 10g
- Fiber: 0g
- Protein: 1g
- Cholesterol: 30mg