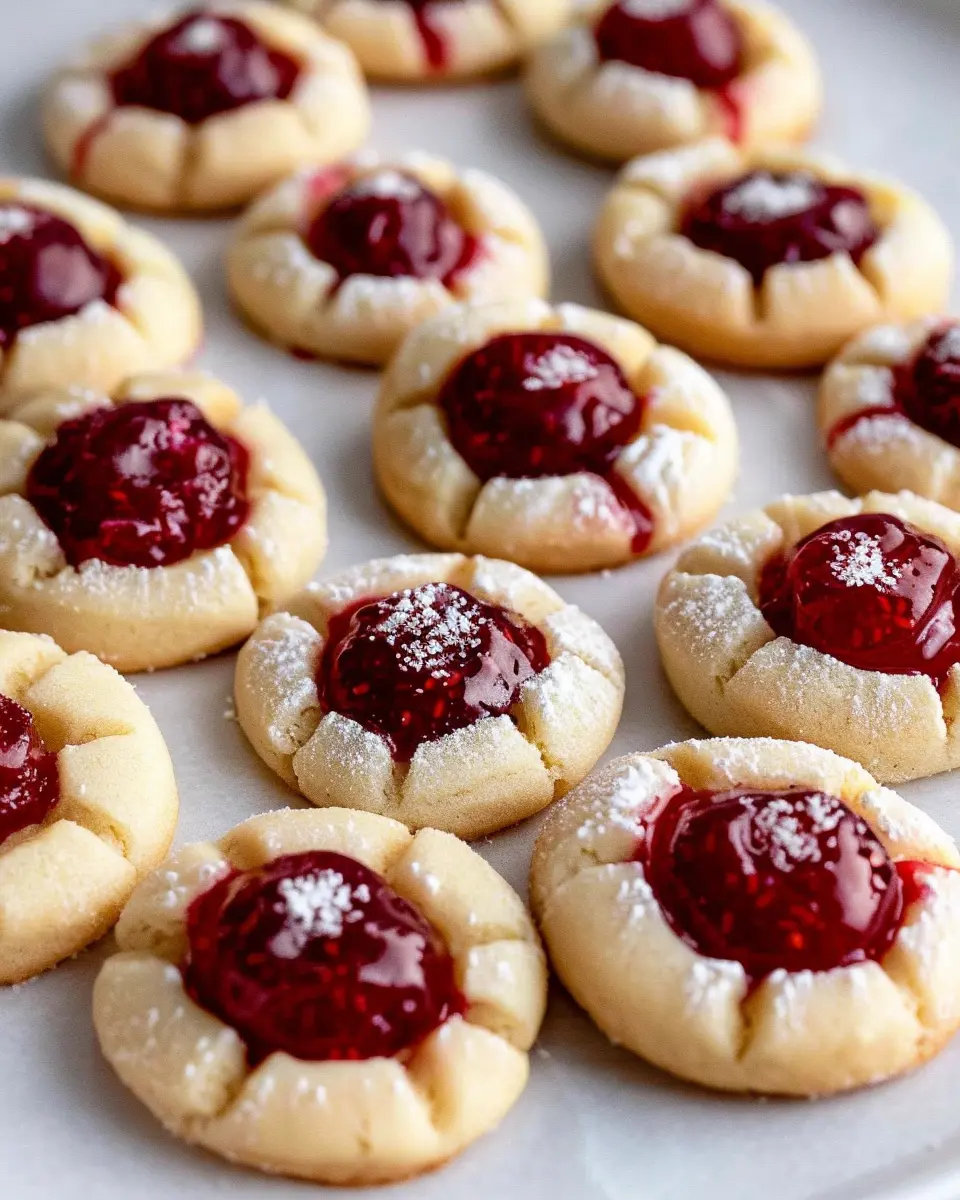
Introduction to Raspberry Thumbprint Cookies
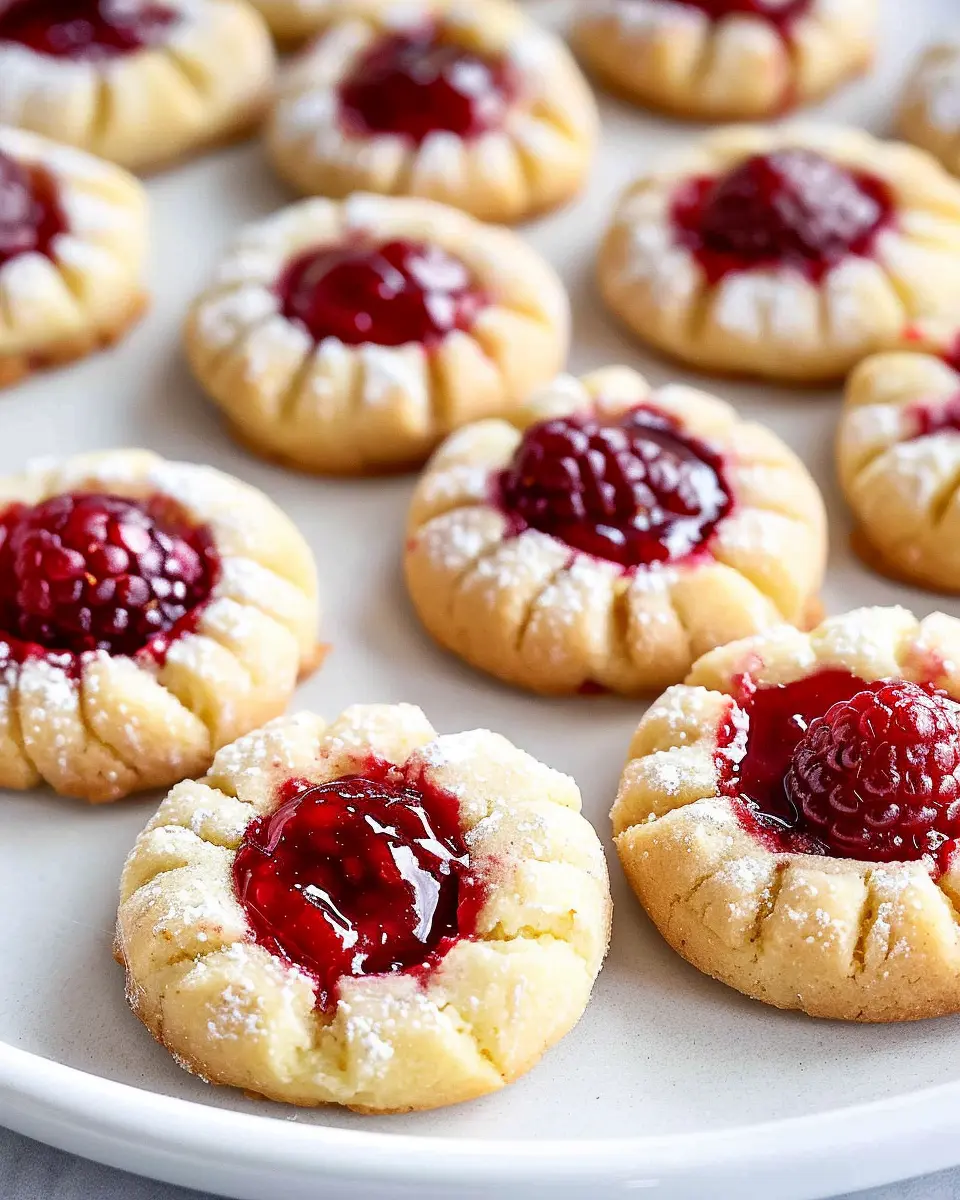
When it comes to sweet treats that combine simplicity with delightful flavor, raspberry thumbprint cookies are a must-try! These cookies not only bring a pop of color to your dessert table but also offer a delicious balance of buttery goodness and fruity tanginess. Whether you’re a seasoned baker or just starting out, these charming cookies are perfect for any occasion—from cozy gatherings to holiday celebrations.
Why Raspberry Thumbprint Cookies are a Must-Try
Imagine the moment when you take a bite of these luscious cookies. The rich, shortbread-like texture melts in your mouth, while the sweet-tart raspberry filling adds a burst of flavor that surprises and delights your taste buds. Plus, they’re incredibly versatile. You can swap out the raspberry jam for your favorite fruit preserves, making them customizable to your liking.
Thriving on simplicity, the ingredient list is short and sweet—flour, sugar, butter, and a delightful fruit filling. If you’re looking to impress without spending hours in the kitchen, these cookies are perfect for you. They’re an excellent choice for potlucks, family gatherings, or cozy nights at home with a hot cup of tea. Plus, you can prepare a batch in under an hour!
Not only are raspberry thumbprint cookies tasty, but they are also a fantastic way to engage with friends or family. Try a cookie-decorating party where everyone can customize their thumbprint cookies with different jams. It can be a fun bonding activity that encourages creativity.
In terms of nutrition, these cookies can give you a guilt-free treat every now and then—especially when you use lower-sugar alternatives or organic fruit preserves. According to a study from the Journal of Food Science, engaging in cooking activities can enhance well-being, leading to a happier and healthier lifestyle.
So whether you’re a novice baker looking for a simple recipe to try or an experienced chef wanting to add a new twist to your cookie repertoire, raspberry thumbprint cookies are the way to go! Grab your apron and let’s get baking—your taste buds will thank you. If you’re looking for more cookie inspiration, check out resources like Serious Eats for tips galore!
Ingredients for Raspberry Thumbprint Cookies
Essential Ingredients for Your Cookie Creation
Creating the perfect raspberry thumbprint cookies requires a handful of simple yet essential ingredients. These components not only build flavor but also contribute to that delightful texture we all love in a cookie. Here’s what you’ll need:
- All-purpose flour: This forms the base of your cookies, giving them structure and that satisfying chewiness.
- Butter: Use unsalted butter for a rich, creamy flavor. It also ensures your cookies don’t stray into overly salty territory.
- Granulated sugar: Sweetness is key, as well as a slight crunch that granulated sugar provides.
- Powdered sugar: This adds a touch of sweetness without altering the cookie’s density.
- Egg yolk: The yolk adds richness and moisture, helping to bind everything together.
- Raspberry jam: The star of the show! Choose a high-quality jam for that burst of fruity goodness in each bite.
These ingredients combine beautifully, resulting in raspberry thumbprint cookies that are not only delicious but also visually stunning. For tips on choosing the best raspberry jam, check out this guide. Happy baking!
Step-by-Step Preparation of Raspberry Thumbprint Cookies
Raspberry thumbprint cookies are the perfect blend of tender, buttery cookie with a delightful burst of raspberry jam in the center. Whether you’re looking to impress friends at a gathering or just want a sweet treat at home, these cookies are an excellent choice. Let’s walk through the preparation step by step, ensuring your baking experience is enjoyable and stress-free.
Gather Your Ingredients
Before you dive into the dough, it’s crucial to have all your ingredients at hand. Here’s what you’ll need:
- 1 cup unsalted butter, softened
- 3/4 cup granulated sugar
- 1 teaspoon vanilla extract
- 2 cups all-purpose flour
- 1/4 teaspoon salt
- 1/4 teaspoon almond extract (optional, but highly recommended)
- 1/2 cup raspberry jam (or your choice of jam)
- Powdered sugar for dusting (optional)
Having everything collected makes the process smoother and helps in keeping your kitchen organized. Plus, it’s a great way to ensure you don’t forget anything crucial. Pro tip: If you need help determining ingredient quantities, check out resources like the U.S. Department of Agriculture Food Composition Databases for standard measurements.
Creaming the Butter and Sugar
Now, let’s warm up those muscles! In a large mixing bowl, beat the softened butter and granulated sugar together until the mixture is light and fluffy. This process is crucial because it creates air pockets in the butter, which will lead to a lighter cookie texture. Aim for about 3-5 minutes of mixing.
Don’t rush this step; it’s the foundation of your raspberry thumbprint cookies. Once you’ve achieved that light and creamy consistency, add in the vanilla extract and almond extract (if using)—mix them until well combined.
Forming the Cookie Dough
With your buttery mixture ready, it’s time to incorporate the dry ingredients. Gradually add in the flour and salt to your creamed mixture. Use a spatula or a wooden spoon—this will ensure the dough comes together without overworking it. You’re looking for a soft dough that’s slightly tacky to the touch.
At this point, if you’re feeling adventurous, consider folding in some finely chopped nuts for an added crunch, or throw in some lemon zest for a citrus kick!
Chilling the Dough
Once your dough is mixed, wrap it in plastic wrap and pop it into the refrigerator for about 30 minutes. Chilling the dough is essential for shaping—this makes it easier to work with and helps control the spread of your cookies during baking.
If you’re short on time, you can chill for as little as 15 minutes, but for the best results, a longer chill helps enhance the flavor.
Shaping and Filling the Cookies
After the dough has chilled, take it out and preheat your oven to 350°F (175°C). Scoop out tablespoon-sized portions of dough and roll them into balls. Place them on a parchment-lined baking sheet about 2 inches apart.
Now, here’s where the fun begins—using your thumb (or the back of a small teaspoon), gently press into the center of each ball to create a tiny well. Fill these wells with your raspberry jam, but avoid overfilling—too much jam can bubble over while baking.
Baking to Perfection
With your cookies ready for the oven, bake them for about 12-15 minutes, or until the edges are lightly golden. Keep an eye on them—every oven tends to behave a bit differently. The key here is to remove them from the oven just as they start turning golden to ensure a soft, chewy texture.
Glazing the Cookies
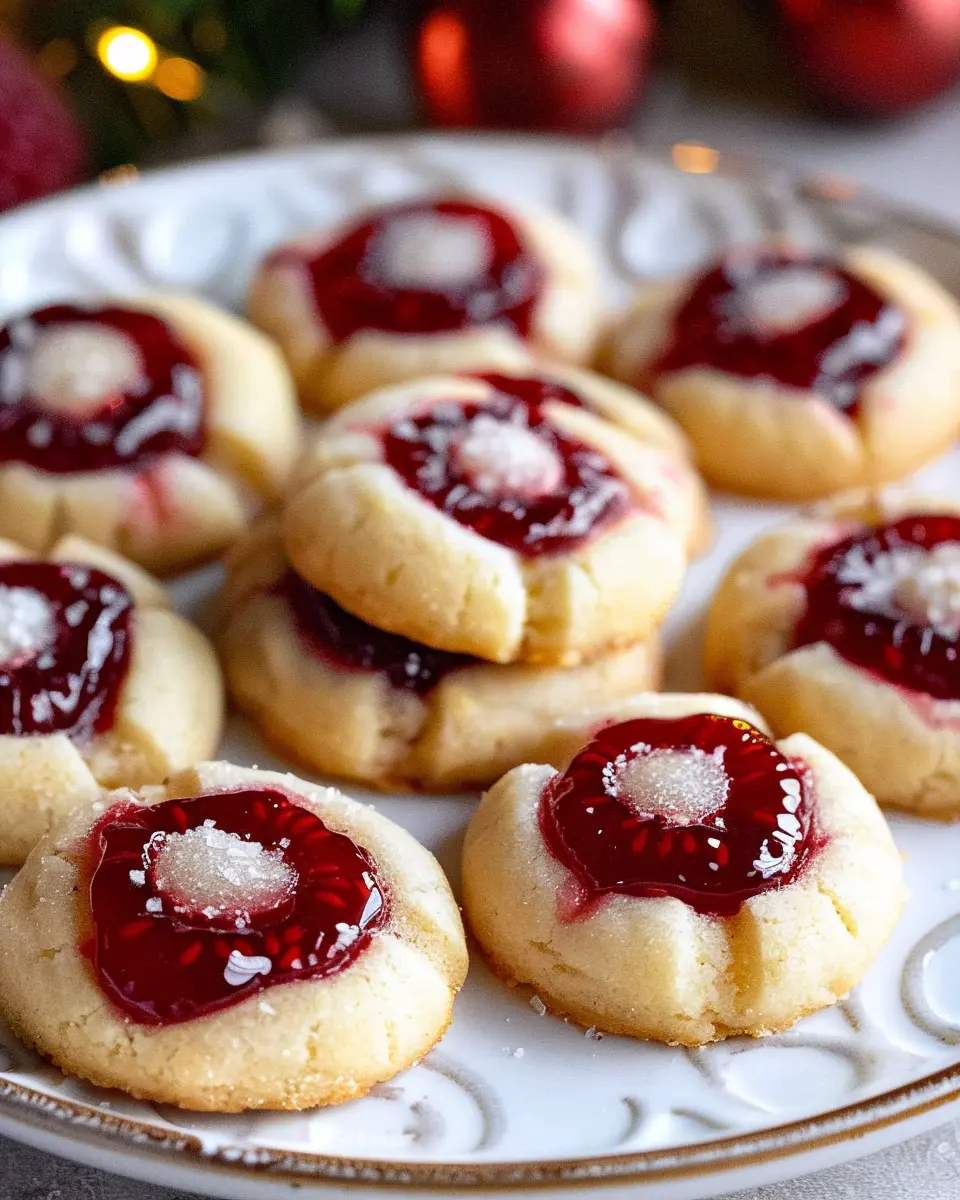
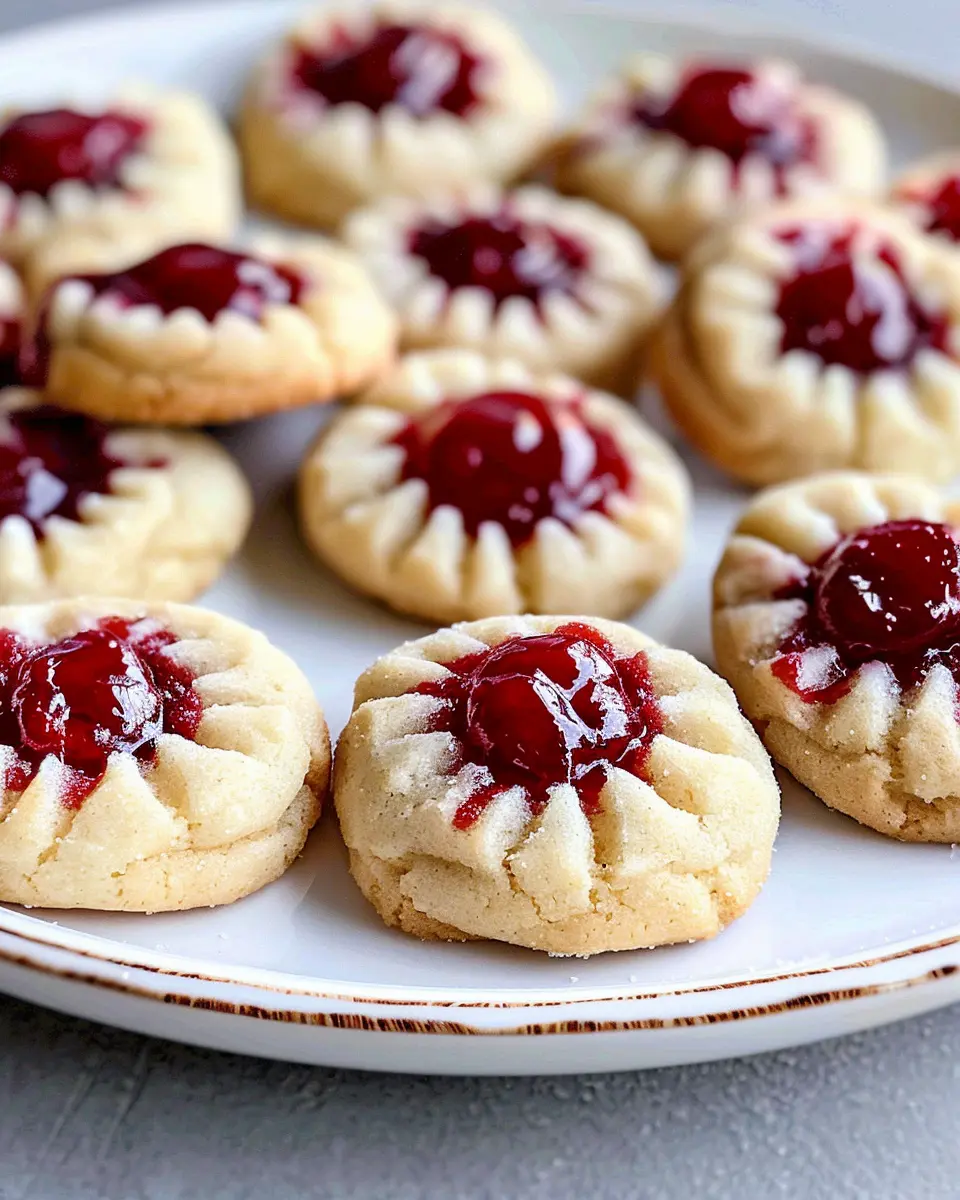
Once your raspberry thumbprint cookies are out of the oven, let them cool on the baking sheet for 5 minutes before transferring them to a wire rack. For an extra touch, you can dust the cooled cookies with powdered sugar or drizzle a simple glaze made of powdered sugar and a splash of water.
There you have it—delicious, homemade raspberry thumbprint cookies that are sure to delight! Now it’s time to savor your work. Whether you share them or keep them all to yourself, I guarantee they won’t last long! Happy baking!
Delicious Variations of Raspberry Thumbprint Cookies
When it comes to raspberry thumbprint cookies, the classic recipe is delightful on its own, but why stop there? Here are some fun variations that can bring new life to this beloved treat!
Alternative Jams and Preserves
While raspberry jam is the star of the show, you can easily switch things up with other delicious options. Think strawberry, apricot, or even peach preserves. Each alternative adds a unique flavor profile and twist to your cookies. For a gourmet touch, consider using homemade jams, which can elevate the taste and impress your guests. Just check out this guide on making fruit preserves for some inspiration. The best part? You can even mix two flavors together—imagine a raspberry-strawberry combo!
Nutty Additions: Adding Almonds and Pecans
Want to add a little crunch? Incorporating nuts like almonds or pecans into your raspberry thumbprint cookies can enhance both flavor and texture. You can finely chop the nuts and mix them into the dough or sprinkle them on top before baking. Not only do they add a delightful crunch, but they also contribute healthy fats and protein. Try toasting your nuts lightly beforehand; this simple step can significantly boost their flavor and aroma, making your cookies irresistibly delicious!
Feeling creative? Why not host a cookie-making night with your friends? Explore these variations together and see who can come up with the most inventive combination. Happy baking!
Baking Tips and Notes for Raspberry Thumbprint Cookies
Common Mistakes to Avoid
When making raspberry thumbprint cookies, there are a few pitfalls to watch out for. First, ensure your butter is at room temperature; this helps achieve that perfect creamy texture and ensures your dough combines evenly. Overmixing the dough can lead to tough cookies, so stir until just combined. Another common mistake is using too much jam; while it’s tempting to fill those thumbprints to the brim, too much can cause them to spill over during baking. Be sure to use a tablespoon of jam per cookie for the right balance.
Storing Your Cookies
To keep your raspberry thumbprint cookies fresh, store them in an airtight container at room temperature. They typically stay good for about a week. If you want to extend their shelf life, consider freezing them. Place the cookies in a single layer on a baking sheet until frozen, then transfer them to a freezer-safe bag. When you’re ready to indulge, simply thaw them for a sweet treat any time. For more storage tips, check out guides from The Kitchn or Food Network.
Baking should be fun, and with these tips, you’ll be creating delicious raspberry thumbprint cookies with ease!
Creative Serving Suggestions for Raspberry Thumbprint Cookies
Pairing with Your Favorite Beverages
When it comes to enjoying raspberry thumbprint cookies, the right beverage can elevate your experience! Consider serving them with a steaming cup of chai latte or a refreshing herbal tea like hibiscus, which can beautifully complement the tartness of the raspberry jam. If you’re feeling adventurous, a homemade lemonade can provide a zesty contrast that brightens each bite.
Want to impress your guests? Craft a delicious fancy mocktail using fresh fruit and sparkling water. Perfect for gatherings or cozy nights in, these beverages enhance the cookie’s flavors while keeping the vibe casual and fun.
Perfect Desserts for Gatherings
These delightful raspberry thumbprint cookies are not just stand-alone treats; they can also star in a delightful dessert platter. Pair them with other confections like mini cheesecakes, fruit tarts, or chocolate truffles for a visually stunning spread that pleases the palate.
Consider adding a drizzle of dark chocolate over the cookies for an extra touch of elegance. This combination not only allows for a variety of flavors but also makes for a great conversation starter. Your guests will love the experience, giving your gatherings a charming and memorable flair. For more tips on dessert pairings, check out this resource on creating visually appealing platters from Food52.
Time Breakdown for Raspberry Thumbprint Cookies
Preparation Time
Making your raspberry thumbprint cookies starts with a fun mixing and measuring session. You’ll need about 20 minutes of preparation time to gather your ingredients and whip up the cookie dough. Remember, the fresher the ingredients, the better the taste!
Chilling Time
After mixing, let the dough chill in the fridge for at least an hour. This step is crucial for achieving the perfect texture, as it helps the cookies maintain their shape during baking. The chilling time is about 60 minutes, but feel free to use this time to relax or tidy up your kitchen!
Baking Time
Once you’ve chilled the dough, you’re just 12-15 minutes from cookie perfection! Pop those beautiful cookies in the oven, and watch them transform into golden delights. Keep an eye on them, so they don’t overbake!
Total Time
Factoring in all the steps, your total time investment for these delightful raspberry thumbprint cookies hovers around 1 hour and 35 minutes. That’s a small price to pay for a batch of cookies that will impress friends and family alike. Don’t forget to enjoy the process—baking is all about indulging in the moment! For more inspiration, check out this guide on cookie techniques to up your baking game.
Nutritional Facts for Raspberry Thumbprint Cookies
Calories and Macros
When diving into delicious raspberry thumbprint cookies, it’s always smart to check the nutritional profile. Each cookie generally contains around 100-120 calories. Here’s a quick breakdown of the macros:
- Carbohydrates: 15-20g
- Protein: 1-2g
- Fat: 5-7g
- Fiber: 1g
These numbers can vary depending on the exact ingredients used, but this is a solid baseline to work from. For a sweet treat, they’re surprisingly reasonable, allowing you to indulge without a major guilt trip.
Healthy Swaps
Looking to lighten up your raspberry thumbprint cookies? Here are a few easy swaps:
- Whole Wheat Flour: Replace all-purpose flour for a fiber boost.
- Natural Sweeteners: Consider using honey or maple syrup instead of refined sugars.
- Low-Calorie Fruit Preserves: Opt for low-sugar raspberry preserves to cut down on added sugars.
For more detailed information on healthier substitutions, check out Healthline for ideas! Remember, even small changes can make a big difference while keeping your cookies satisfyingly sweet.
Exploring tasty, nutritious options doesn’t have to be overwhelming. Embrace experimentation, and your kitchen creations will surely impress!
FAQs about Raspberry Thumbprint Cookies
How can I adjust the sweetness?
If you find that your raspberry thumbprint cookies are a bit too sweet for your taste, there are a few simple ways to adjust the sweetness in the dough and the filling:
- Reduce sugar: Feel free to lower the amount of sugar by about 10-20% in the cookie dough.
- Use less jam: When filling your thumbprints, use a smaller amount of raspberry jam or choose a sugar-free version for a healthier option.
- Try alternative sweeteners: Consider using honey, maple syrup, or coconut sugar, depending on your dietary preferences. Just remember that each sweetener has its distinct flavor profile.
Can I use different types of flour?
Absolutely! While the classic recipe often calls for all-purpose flour, any variety can work:
- Whole wheat flour: This will add a nutty flavor and increased fiber.
- Almond flour: A fantastic gluten-free option that pairs well with the fruity raspberry filling.
- Oat flour: A lighter choice that can provide a lovely texture while keeping it gluten-free.
Experiment and see which flour you enjoy best!
How long will these cookies last?
When stored properly, your raspberry thumbprint cookies can last up to a week:
- Room temperature: Keep them in an airtight container.
- Refrigeration: Extend freshness for about 10-14 days, but be sure to let them come to room temperature before serving for maximum flavor.
Don’t forget, you can freeze these cookies too! Just make sure they’re well-wrapped to preserve their delightful raspberry flavor. For additional tips on cookie storage, check out this guideline from the Cookie Council.
Now that you have your questions covered, you’re ready to bake some delicious raspberry thumbprint cookies!
Conclusion on Raspberry Thumbprint Cookies
Final Thoughts and Encouragement to Bake
Raspberry thumbprint cookies are not just a treat; they’re a delightful way to connect with your inner baker. The combination of buttery dough and sweet raspberry filling creates a cookie that’s irresistibly good. These cookies are perfect for any occasion—whether you’re enjoying a quiet evening at home or impressing friends at a gathering.
I encourage you to try making these delicious raspberry thumbprint cookies from scratch. You’ll find that the process is simple and incredibly rewarding. Plus, experimenting with different fillings can add a personal touch; consider using chocolate or caramel instead! You’ll discover a whole new world of flavor. So roll up your sleeves, gather your ingredients, and let the baking adventure begin!
For tips and tricks on baking, check out resources at King Arthur Baking or for more delicious dessert ideas, visit Food Network. Happy baking!
PrintRaspberry Thumbprint Cookies: Easy Sweet Treats to Enjoy at Home
Delicious and easy-to-make raspberry thumbprint cookies that are perfect for any occasion.
- Prep Time: 20 minutes
- Cook Time: 15 minutes
- Total Time: 35 minutes
- Yield: 24 cookies
- Category: Dessert
- Method: Baking
- Cuisine: American
- Diet: Vegetarian
Ingredients
- 1 cup unsalted butter, softened
- 1 cup granulated sugar
- 2 cups all-purpose flour
- 1/2 cup powdered sugar
- 1 cup raspberry jam
- 1 teaspoon vanilla extract
- 1/2 teaspoon salt
Instructions
- Preheat your oven to 350°F (175°C).
- In a large bowl, cream butter and granulated sugar until light and fluffy.
- Add in vanilla extract and mix well.
- Gradually add the flour and salt, mixing until combined.
- Form dough into small balls and place on a baking sheet.
- Using your thumb, make an indentation in the center of each ball.
- Fill each indentation with raspberry jam.
- Bake for 12-15 minutes or until the edges are lightly golden.
- Let cool and dust with powdered sugar before serving.
Notes
- For a twist, try using different fruit jams.
- Make sure the butter is softened to room temperature for easy mixing.
Nutrition
- Serving Size: 1 cookie
- Calories: 120
- Sugar: 10 grams
- Sodium: 50 mg
- Fat: 8 grams
- Saturated Fat: 5 grams
- Unsaturated Fat: 2 grams
- Trans Fat: 0 grams
- Carbohydrates: 15 grams
- Fiber: 0 grams
- Protein: 1 gram
- Cholesterol: 30 mg