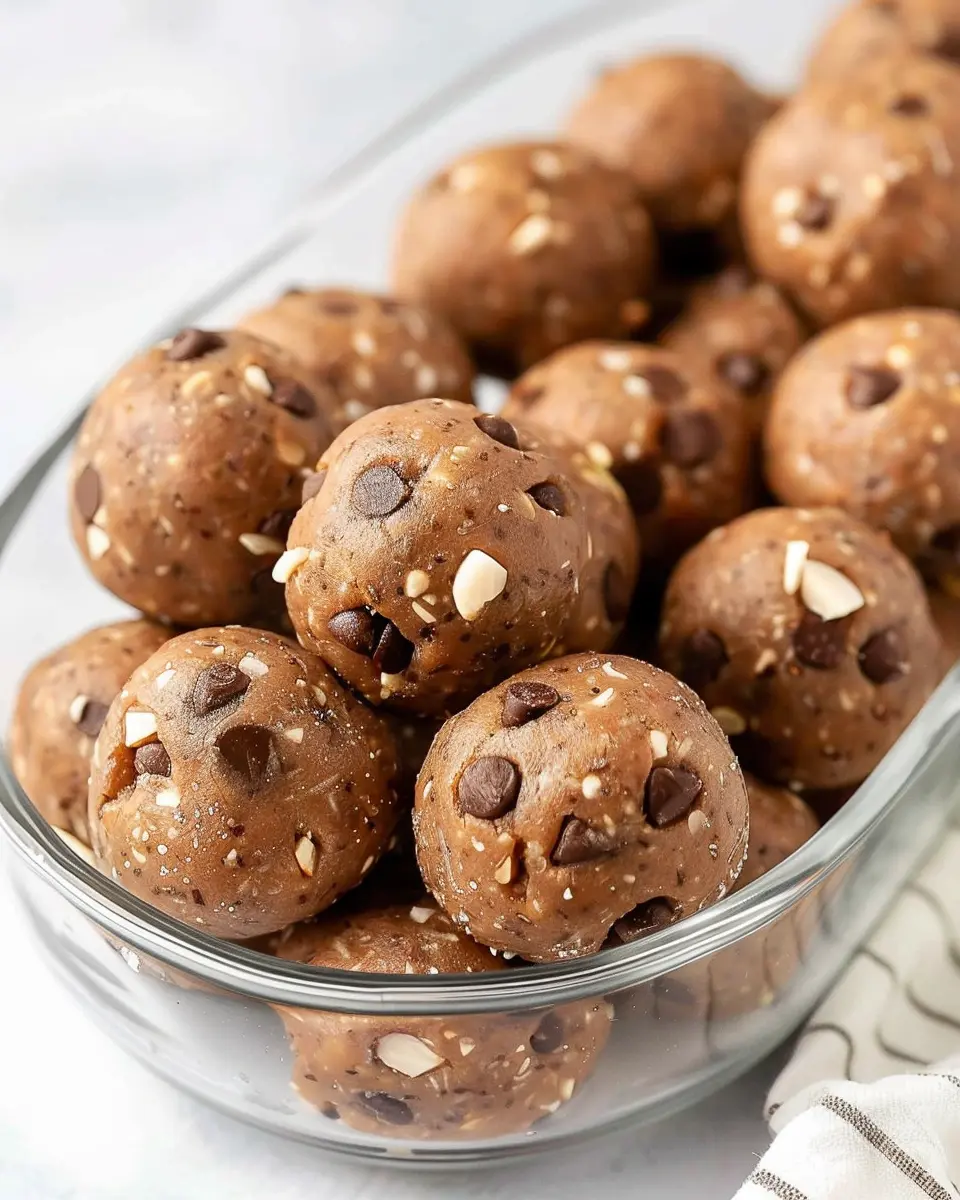
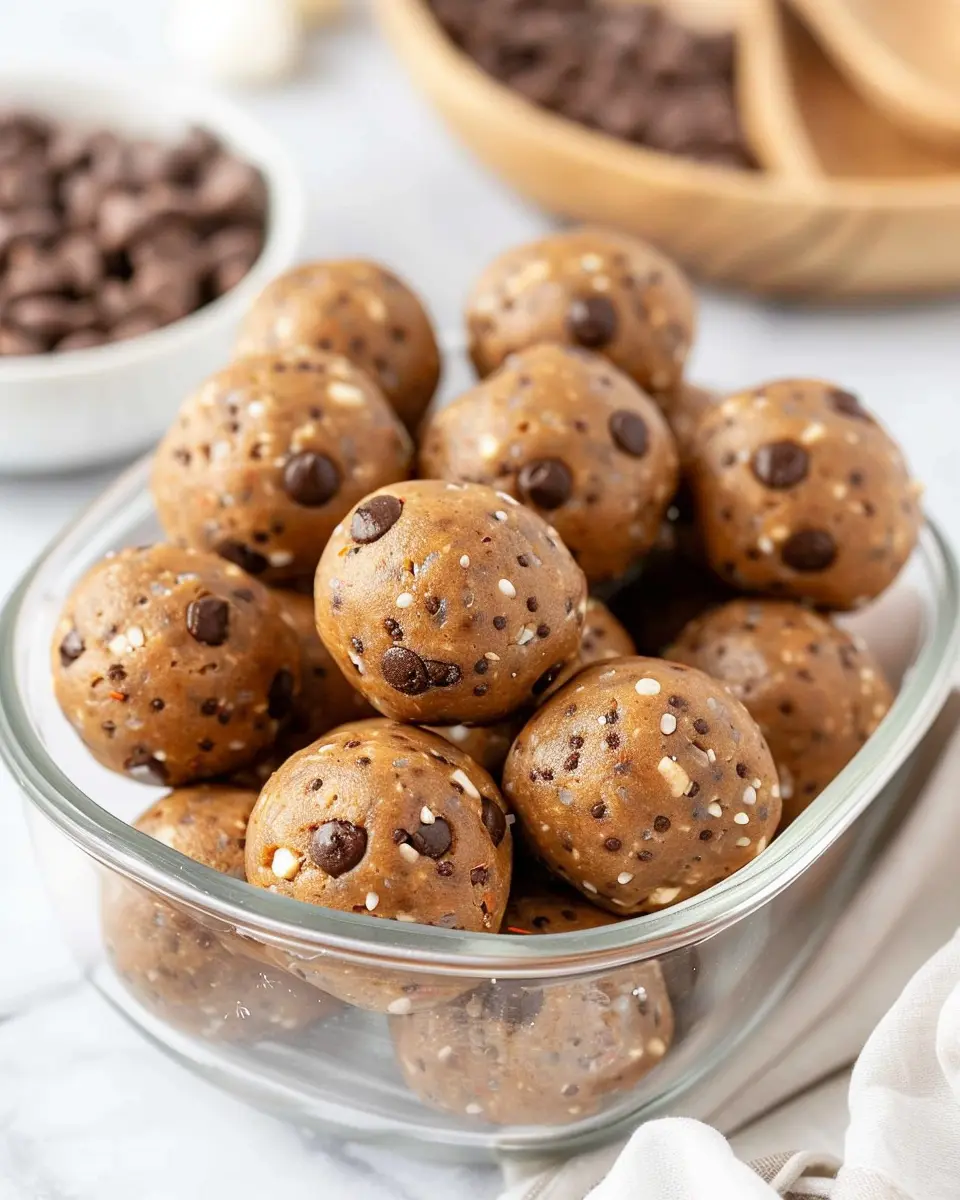
Introduction to No Bake Protein Balls
When you’re juggling work deadlines, social commitments, and maybe even trying out that new hobby, finding the time to eat healthy can feel overwhelming. Enter no bake protein balls, the ultimate snack for young professionals who want to fuel their busy lifestyles without the hassle of cooking. These bite-sized treats are quick to prepare, easy to store, and packed with energy-boosting nutrients to keep you going throughout the day.
Why No Bake Protein Balls are the Ultimate Snack for Young Professionals
Why should you consider making no bake protein balls a staple in your snacking routine? Here are a few compelling reasons:
-
Time-Saving Convenience: With just a handful of ingredients, you can whip up a batch in under 15 minutes. That leaves you with more time for important things, like that meeting or even your afternoon yoga class. If you want to learn more about efficient meal prep techniques, check out this meal prep guide.
-
Nutrient-Packed: These little balls are not just a sweet treat. Depending on your ingredients, you can get a great balance of protein, healthy fats, and fiber. They help keep you satiated, meaning you’re less likely to reach for unhealthy snacks mid-afternoon. According to the American Heart Association, incorporating protein-rich snacks into your diet can help maintain your energy levels.
-
Customizable Options: The beauty of no bake protein balls lies in their versatility. You can mix and match ingredients based on your preferences – think oats, nut butters, honey, or even some dark chocolate chips if you’re feeling fancy! Have a favorite flavor combination? Toss it in, and you’ve got a personalized snack just for you.
-
On-the-Go Friendly: Whether you’re heading to work, hitting the gym, or exploring the city, these protein balls fit easily into your bag. Just grab a couple, and you’re ready to conquer whatever the day throws at you.
So why not add these delicious and nutritious no bake protein balls to your snacking repertoire? You’ll not only satisfy those cravings but also keep your energy levels up and balance your hectic life. Happy snacking!
Ingredients for No Bake Protein Balls
Creating your own no bake protein balls is a breeze, and the ingredients are incredibly versatile. Here’s a breakdown of what you’ll need to whip up these delicious and nutritious snacks.
Base Ingredients
- Oats: Stick to rolled oats for that perfect chewy texture. They’re also a powerhouse of fiber and can help keep you full for longer.
- Nut Butter: Almond butter or peanut butter works wonders. Choose natural varieties without added sugar for a healthier option.
- Protein Powder: This is where the protein boost comes in! You can use whey, plant-based, or whatever you prefer. It’s essential for making them a true protein-packed treat.
Flavor and Sweetness
- Honey or Maple Syrup: These natural sweeteners add a touch of sweetness without overwhelming processed sugars. Plus, they help bind the mixture.
- Dark Chocolate Chips: Optional but highly recommended for a touch of indulgence! Aim for 70% cacao or higher for health benefits.
Extras for Variety
Feel free to enhance flavor and nutrition with:
- Chia Seeds: Great for omega-3s!
- Coconut Flakes: Adds a tropical flair.
- Dried Fruit: Think cranberries or apricots for a chewy contrast.
With these simple ingredients, you can customize your no bake protein balls to suit your taste and dietary needs. Looking for more tips on ingredient swaps? Check out this great resource on healthy ingredients. Happy snacking!
Preparing No Bake Protein Balls
No bake protein balls are a versatile, quick snack that’s perfect for anyone on the go, especially for young professionals looking to maintain energy levels throughout the day. Whether you’re hitting the gym or slumping at your desk, these little delights pack a protein punch and satisfy your sweet cravings without the hassle of baking. Let’s dive into how to prepare these simple bites step by step!
Gather Your Ingredients
Before you start whipping up your no bake protein balls, the first step is to gather all your ingredients. Here’s what you’ll need:
- 1 cup of rolled oats – They serve as the base and provide that chewy texture.
- 1 cup of nut butter – Almond or peanut butter works great for adding creaminess and flavor.
- 1/3 cup of honey or maple syrup – For natural sweetness, you can choose based on your preference.
- 1/2 cup of protein powder – This is where the protein boost comes in. Whey, plant-based, or collagen powders are all great options.
- 1/4 cup of add-ins (e.g., chocolate chips, dried fruit, or nuts) – Get creative! Choose your favorites.
- Pinch of salt – To balance the sweetness.
Having your ingredients prepped ahead of time makes the whole process smoother. This simple preparation is key for a seamless cooking experience.
Mix the Ingredients
Now that you have everything, and your working area is set, it’s time to mix these delicious ingredients together. Start by combining the dry ingredients:
-
In a large bowl, add the rolled oats, protein powder, and salt. Stir them together to evenly distribute everything.
-
In another bowl, mix your nut butter and honey (or maple syrup) until smooth. This combination is what brings the whole mix together!
-
Pour the wet mixture into the dry ingredients and stir until everything is fully incorporated. If you find that the mixture is a bit dry, add a tiny splash of water or additional honey.
-
Feel free to taste and adjust flavors here. Maybe you’d like more sweetness or an extra scoop of peanut butter? Go for it!
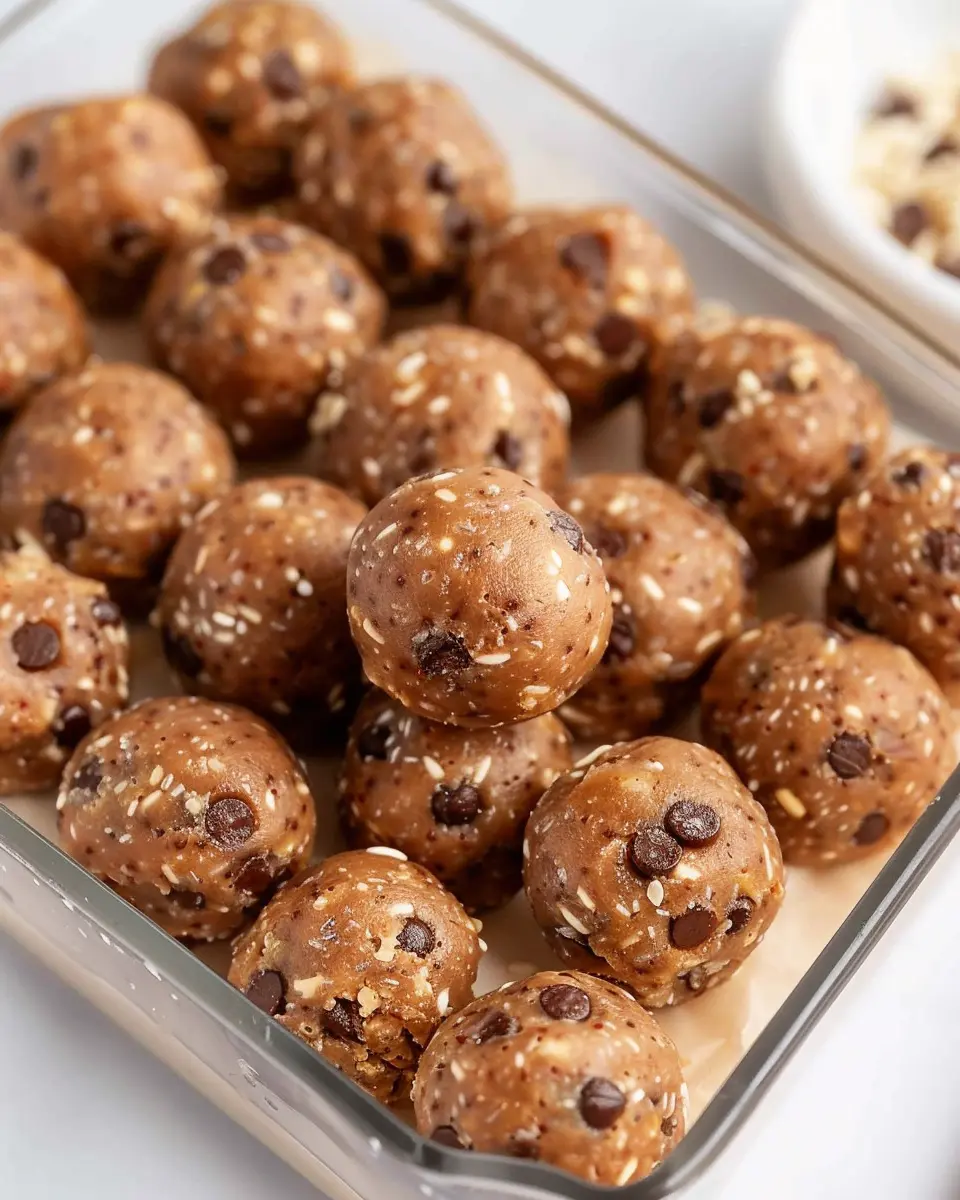
Form the Balls
This is the fun part. Now, using your hands, pinch off a small amount of the mixture (about a tablespoon) and roll it into a ball. Here are some tips to help you succeed:
- Keep your hands slightly damp while rolling. It can help to prevent the mixture from sticking too much.
- Aim for uniform sizes so that they all have a consistent texture and flavor.
Once you’ve rolled out all the mixture into delightful, bite-sized balls, you should have around 12-15 protein balls, depending on the size!
Chill for Perfect Consistency
To ensure your no bake protein balls achieve that marvelous, chewy consistency, it’s time to chill them. Lay them out on a parchment-lined tray and place them in the refrigerator for at least 30 minutes. This helps them firm up and makes them even more enjoyable to eat. If you’re in a hurry, the freezer will work in about 10-15 minutes!
Store for Freshness
Once your protein balls are ready, it’s essential to store them properly to keep them fresh. Use an airtight container to avoid air exposure, which can lead to them drying out. Here are a few storage tips:
- Refrigerate: They can last up to a week in the fridge.
- Freeze for longer: If you want to batch prepare, frozen protein balls can last up to three months. Just thaw them in the fridge when you’re ready to enjoy.
With these simple steps, you can effortlessly prepare your own no bake protein balls, fit for any lifestyle! They are perfect meal prep snacks, post-workout fuel, or a sweet treat during your workday. Prepared right, they ensure you’ve always got a healthy option at hand. Enjoy your culinary adventure! For additional healthy snack ideas, check out Healthline’s recipe section.
Variations on No Bake Protein Balls
No bake protein balls are not only simple to whip up, but they’re also incredibly versatile! Here are two variations that are bound to become your new favorites.
Chocolate Peanut Butter Delight
If you’re a fan of the classic chocolate and peanut butter combo, this variation is a must-try. In a mixing bowl, combine:
- 1 cup of rolled oats
- 1/2 cup of natural peanut butter
- 1/4 cup of honey or maple syrup
- 1/4 cup of chocolate protein powder
- 1/4 cup of dark chocolate chips
Mix until everything is well combined. You can customize the sweetness by adjusting the honey or syrup. Once mixed, roll into bite-sized balls and refrigerate for that chilled, satisfying bite.
Did you know that peanut butter is not only delicious but also packed with protein and healthy fats? For more on the nutritional benefits, check out this insightful article from Healthline.
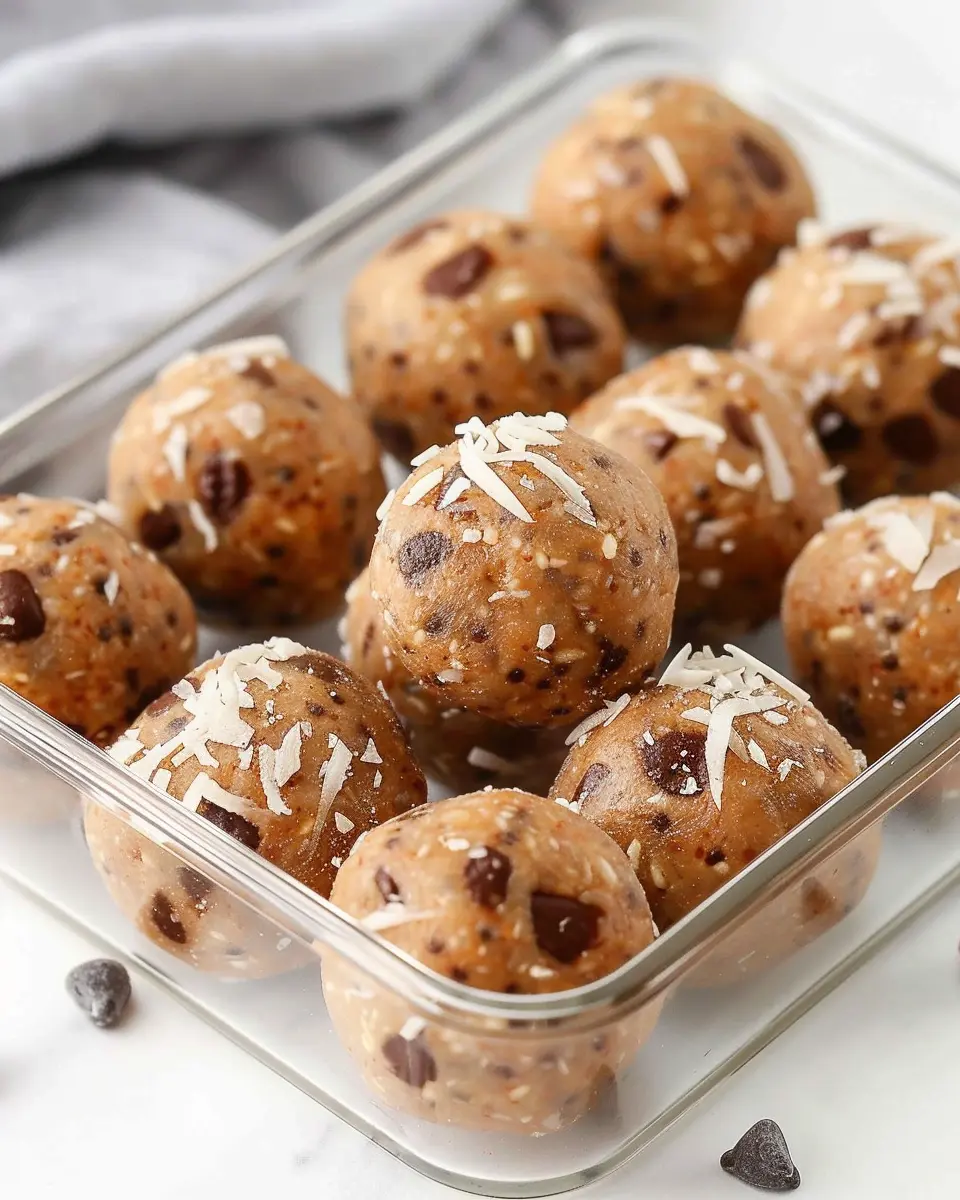
Tropical Coconut Energy Balls
For a refreshing twist, try these tropical coconut energy balls. They’re perfect for summer snacking or anytime you crave a taste of the tropics. Here’s what you’ll need:
- 1 cup of unsweetened shredded coconut
- 1 cup of oats
- 1/2 cup of almond butter
- 1/4 cup of honey
- 1/4 cup of vanilla protein powder
- A sprinkle of sea salt
Mix all the ingredients, then roll into balls and chill. These energy balls are not only delightful but also an excellent source of energy to keep you going throughout the day.
With these variations on your no bake protein balls, you can enjoy a quick, nutritious snack that satisfies your sweet tooth without the guilt!
Cooking Tips and Notes for No Bake Protein Balls
Creating no bake protein balls is a fun and straightforward culinary adventure. Here are some tips to elevate your snack-making experience and ensure delicious results every time.
Choose Your Base Wisely
When selecting the base ingredients, opt for whole, nutrient-dense items such as oats or nut butters. This combo not only provides protein but also keeps you feeling satisfied longer. Consider experimenting with almond or cashew butter for a unique flavor twist.
Sweeten it Up
Natural sweeteners like honey or maple syrup can enhance the overall flavor. Remember, a little goes a long way! You can also add in cocoa powder or vanilla extract for extra depth. Try pure vanilla extract for a rich taste that elevates the simple ingredients.
Mix and Match Textures
Incorporate various textures to keep your taste buds engaged. Think about adding chopped nuts, seeds, or even some dried fruit. These ingredients not only add crunch but also provide additional nutrients.
For further inspiration and tips, you can check resources like Nutrition.gov for nutritional ideas or Healthline for insights on ingredient benefits. Remember, the secret to perfect no bake protein balls lies in sampling along the way, so don’t hesitate to taste as you go!
Storage Suggestions
Store your finished no bake protein balls in an airtight container in the fridge. They typically last up to a week, making them an easy go-to snack. Enjoy making your own variations, and don’t shy away from sharing them with friends!
Serving Suggestions for No Bake Protein Balls
No Bake Protein Balls are a versatile snack that can be enjoyed in many delightful ways. Finding the perfect moment to dig into these nutrient-packed bites enhances your eating experience. Here are some creative serving suggestions to elevate your enjoyment:
Snack Time Boost
These protein balls make a fantastic mid-afternoon pick-me-up! Consider pairing them with fresh fruits like apple slices or banana halves. This combo not only satisfies your sweet tooth but also adds a fiber boost, keeping you fuller longer.
On-the-Go Treat
Heading to the gym or a busy workday? Pack a few of these no bake protein balls along with a bottle of coconut water or almond milk. This pairing fuels your active lifestyle and ensures you have a nutritious snack ready whenever hunger strikes.
Kid-Friendly Fun
If you’ve got little ones at home, offer these protein balls as a fun snack for after school. You can even involve them in the preparation: let them roll the balls and choose their favorite toppings, like chopped nuts or mini chocolate chips.
You can also explore other health benefits of protein on Healthline.
Whether enjoyed solo or as part of a balanced snack, these simple suggestions will enhance your experience with no bake protein balls!
Time Breakdown for No Bake Protein Balls
Preparation Time
Making no bake protein balls is simple and quick! You’ll spend about 10 minutes measuring, mixing, and rolling your ingredients into bite-sized goodness. Grab your favorite mix-ins—think nuts, seeds, or even dried fruit—and prepare to whip up a deliciously nutritious snack.
Chilling Time
After your protein balls are rolled, let them chill in the fridge for 30 minutes. This helps them firm up and enhances their flavor. Plus, the waiting makes it a great moment to practice patience (and plan your next healthy snack!).
Total Time
In just 40 minutes, you’ll have a batch of no bake protein balls ready for munching! Whether you’re powering through a busy workday or enjoying a movie night, these bites are perfect for on-the-go snacking. Need more snack ideas? Check out Healthline’s guide for a variety of nutritious options!
Nutritional Facts for No Bake Protein Balls
When it comes to snacking, no bake protein balls are not only convenient but also packed with nutrition. They’re perfect for a quick boost throughout your busy day. Here’s a look at the nutritional facts:
Calories
Each serving of no bake protein balls generally contains around 100-120 calories. This makes them an excellent option for a guilt-free treat that can curb cravings without sabotaging your daily intake.
Protein Content
These delicious bites are a fantastic source of protein, providing approximately 5-7 grams per ball. This boost is great for muscle recovery and can help keep you fuller longer.
Sugars
In terms of sweetness, no bake protein balls typically have about 4-6 grams of sugar per serving, depending on your choice of sweeteners. This makes them a healthier alternative to traditional snacks while satisfying your sweet tooth.
If you’re curious about how to incorporate more protein into your diet, check out articles on websites like Healthline for tips and insights!
FAQs about No Bake Protein Balls
Can I use different types of nut butter?
Absolutely! One of the best things about no bake protein balls is their versatility. While peanut butter is a popular choice, you can easily substitute it with almond butter, cashew butter, or even sunflower seed butter if you’re looking for a nut-free option. Each type of nut butter adds a unique flavor and nutrition profile, so feel free to experiment—your taste buds may thank you!
How long do No Bake Protein Balls last?
When stored properly, no bake protein balls can last about a week in the refrigerator. Make sure to keep them in an airtight container to maintain their texture and flavor. If you want to make a larger batch, try freezing them. They can stay fresh for up to three months in the freezer. Just pop them in the fridge the night before you plan to enjoy them, and they’ll be ready to go!
Are there vegan options for No Bake Protein Balls?
Yes, indeed! Many no bake protein ball recipes can easily be made vegan. Look for plant-based protein powders, and make sure your sweeteners, like maple syrup or agave nectar, are vegan-friendly. Most nut butters are naturally vegan, so you’re already on the right track! If you’d like a specific vegan recipe, check out these resources here and here.
If you have any more questions or want advice on customizing your no bake protein balls, feel free to leave a comment! Happy snacking!
Conclusion on No Bake Protein Balls
In summary, no bake protein balls are not only a delicious treat but also a nutritious snack that fits seamlessly into a busy lifestyle. These little bites are perfect for post-workout recovery or an afternoon pick-me-up, offering a balance of protein and healthy fats to keep your energy levels up.
Plus, the best part is their versatility—feel free to experiment with different ingredients like nut butter or seeds to create your unique flavor profile. The ease and quick preparation make them a go-to snack for young professionals.
For more tips and variations, check out Nutritional Insights for more recommendations!
PrintNo Bake Protein Balls: Easy Energy Bites for Everyone

No Bake Protein Balls are a quick and healthy snack packed with energy.
- Prep Time: 10 minutes
- Total Time: 40 minutes
- Yield: 12 servings
- Category: Snacks
- Method: No Bake
- Cuisine: American
- Diet: Vegetarian
Ingredients
- 1 cup rolled oats
- 1/2 cup peanut butter
- 1/3 cup honey
- 1/2 cup chocolate chips
- 1/4 cup ground flaxseed
Instructions
- In a mixing bowl, combine oats, peanut butter, honey, flaxseed, and chocolate chips.
- Mix until thoroughly combined.
- Roll the mixture into small balls.
- Chill in the refrigerator for at least 30 minutes.
- Serve chilled.
Notes
- For added flavor, consider mixing in protein powder.
- Store in an airtight container for up to one week.
Nutrition
- Serving Size: 1 ball
- Calories: 100
- Sugar: 8g
- Sodium: 50mg
- Fat: 4g
- Saturated Fat: 1g
- Unsaturated Fat: 3g
- Trans Fat: 0g
- Carbohydrates: 14g
- Fiber: 2g
- Protein: 4g
- Cholesterol: 0mg