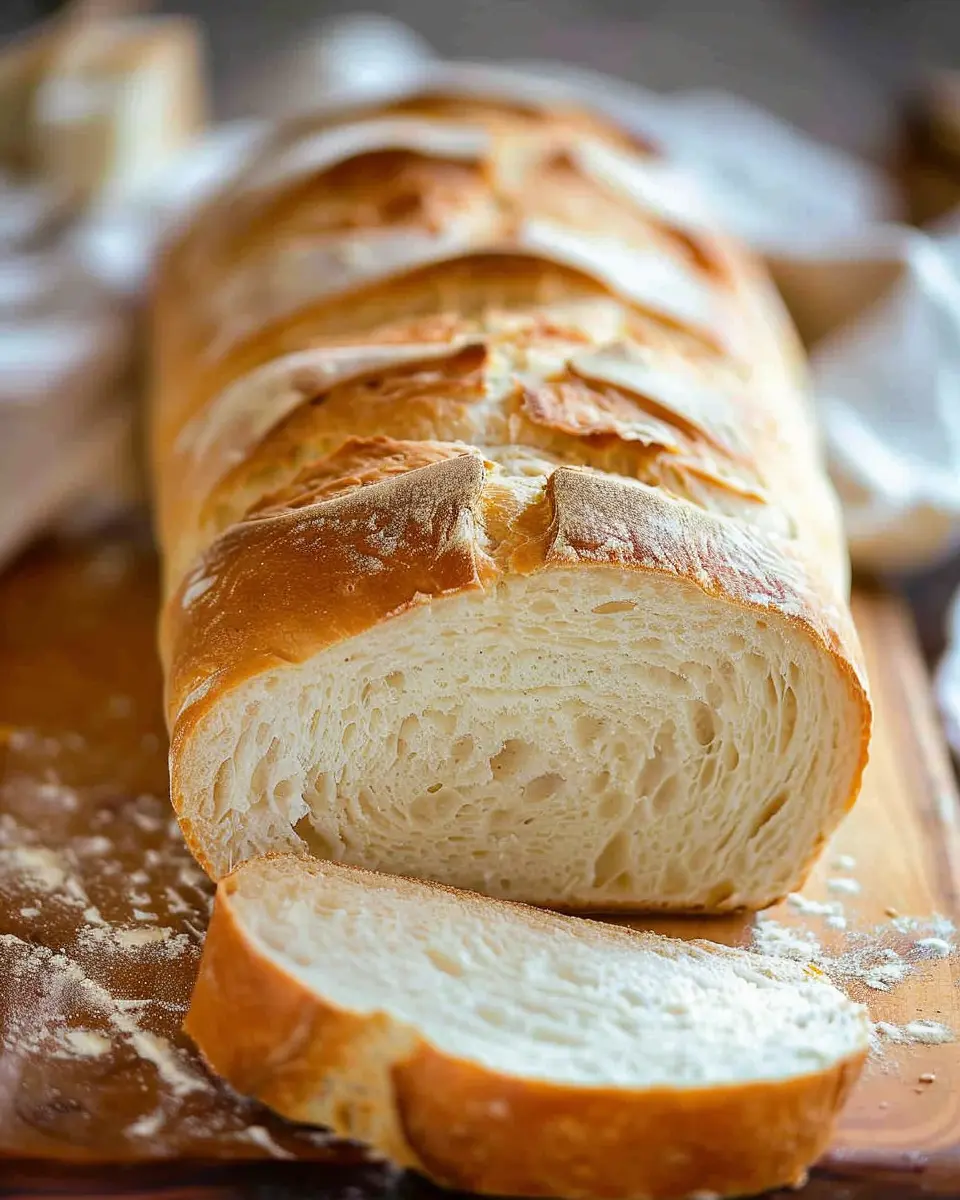
Introduction to Homemade Bread
Why Homemade Bread is a Game Changer for Food Lovers
If you’re a food lover, you already know that the perfect meal begins with the right ingredients. Now, imagine adding a slice of homemade bread to your next culinary masterpiece. It’s not just a side dish; it’s a game changer that elevates everything. The aroma of freshly baked bread wafting through your kitchen is hard to beat. A 2017 study indicated that 75% of people associate the smell of bread with comfort and love. It’s a lovely reminder of home, warmth, and shared experiences.
But it’s not just about the nostalgia—let’s talk about health! Making your own homemade bread allows you to choose quality ingredients without the preservatives often found in store-bought options. You can experiment with hearty whole grains, flavorful seeds, or even gluten-free options. According to a 2019 article by the Whole Grains Council, incorporating whole grains can help improve digestion and energy levels. So, are you ready to feel empowered in your kitchen?
What I love most about baking bread is the process. Unlike store-bought options that can feel bland, homemade bread invites creativity. You can mix in herbs like rosemary or garlic, add seeds for crunch, or even use your favorite spices for a unique flavor twist. Plus, making homemade bread is an ideal excuse to invite friends over for a baking session. Share stories and laughter, and before you know it, you’ll have a delicious loaf to enjoy together.
Not sure where to start? Don’t worry! Making bread is easier than you might think. With just a few ingredients—flour, water, yeast, and salt—you can create something amazing. And if you’re a beginner, you might consider checking out resources like King Arthur Baking for tips and tricks. When you experience the satisfaction of slicing into a warm loaf that you made yourself, you’ll understand why so many food enthusiasts are raving about homemade bread.
So, grab your apron, and let’s dive into the wonderful world of bread-making!
Ingredients for Homemade Bread
Essential ingredients for a basic homemade bread
When whipping up a loaf of homemade bread, it’s crucial to stock your pantry with the right basics:
- Flour: All-purpose flour works well, but bread flour will give you a chewier texture thanks to its higher protein content.
- Water: Warm water (around 110°F) is ideal to activate the yeast.
- Yeast: Active dry yeast or instant yeast are popular choices for a reliable rise.
- Salt: This not only enhances flavor but also strengthens the dough structure.
- Sugar: A bit of sugar can help feed the yeast and improve browning.
For a deeper dive into yeast types, check out this guide on yeast.
Optional ingredients to elevate your loaf
Want to take your homemade bread to the next level? Consider adding:
- Olive oil: Adds richness and moisture.
- Herbs or spices: Rosemary, garlic, or even cinnamon can create tantalizing flavors.
- Seeds or nuts: Think poppy seeds, sunflower seeds, or walnuts for a delightful crunch.
- Milk or dairy alternatives: Replace some water with milk for a softer texture.
With these ingredients, you’ll not only create a loaf but a centerpiece for any meal. So, roll up your sleeves and get baking!
Preparing Homemade Bread
Making homemade bread is a rewarding experience. There’s something soothing about the process, from the smell of yeast blooming to the feeling of kneading dough in your hands. Let’s dive into the step-by-step process of crafting your own delicious loaf!
Prepare the dough
The first step in making homemade bread is preparing your dough. Gather the following ingredients for a classic white bread:
- 4 cups all-purpose flour
- 2 teaspoons active dry yeast
- 1 teaspoon sugar
- 1 teaspoon salt
- 1 ½ cups warm water (about 110°F)
Start by combining the warm water, sugar, and yeast in a large bowl. Let this mixture sit for about 5–10 minutes until it’s frothy. This foamy happiness is your yeast activating and doing its magic, meaning you’re on the right track!
Next, incorporate the flour and salt. You can use a wooden spoon or a dough whisk to combine the ingredients until they form a shaggy dough. Don’t worry if it looks a bit messy—that’s part of the charm!
Knead the dough
Now comes the fun part: kneading! Transfer your dough onto a lightly floured surface. Use the heel of your hand to push the dough away from you and then fold it back over. Rotate the dough a quarter turn and repeat this motion. You’re looking for a smooth and elastic texture, which typically takes about 8–10 minutes of kneading.
A helpful tip: If your dough is sticky, sprinkle a little more flour as needed, but avoid adding too much, which could lead to a dry loaf. As you knead, think of it like a workout for the dough—you’re literally giving it the strength it needs to rise later.
First rise – letting the magic happen
After kneading, place your dough in a greased bowl, cover it with a damp cloth, and let it rise in a warm place. Patience is key here! This first rise should last about 1 to 2 hours, or until the dough has doubled in size. If you’re feeling curious, check out this guide on the science of bread rising to learn more about what’s happening while your dough is resting.
Shape and prepare for the second rise
Once your dough has risen beautifully, it’s time to shape it. Gently punch it down to release any trapped air. Then, turn it out onto a floured surface and shape it into a loaf or rolls, depending on your preference. Consider placing your shaped loaf into a greased loaf pan for a more uniform look.
After shaping, cover the dough again with a cloth and let it rise a second time. This should take about 30–45 minutes, or until it has puffed up again. Meanwhile, preheat your oven to 375°F, making sure it’s nice and hot for a fantastic bake.
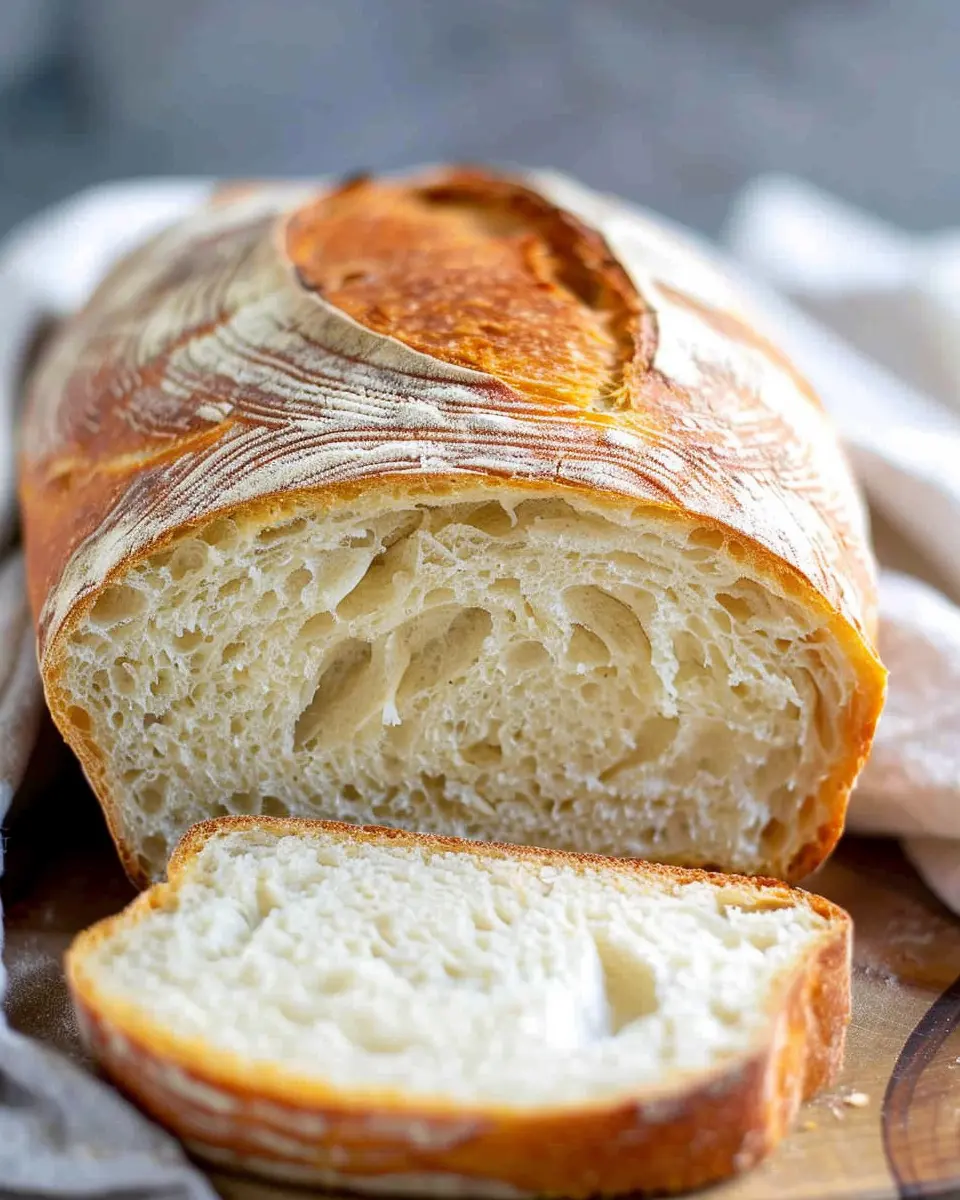
Bake the perfect loaf of bread
When the second rise is complete, it’s showtime! Place your loaf in the preheated oven and bake for 25–30 minutes or until the crust is golden brown and sounds hollow when tapped. Trust me; you’ll be impatiently waiting for that moment, dreaming of the first warm slice topped with a bit of butter!
Once baked, let your bread cool on a wire rack. This step is crucial because it gives your bread a chance to set its texture. Enjoy it fresh or use it for your favorite sandwiches, like turkey bacon or chicken ham. The options are endless!
Crafting homemade bread is not just about enjoying a delicious product; it’s about the small joys and milestones in your kitchen. It’s achievable for everyone, so roll up your sleeves and let’s get baking!
Variations on Homemade Bread
When it comes to homemade bread, the possibilities are nearly endless. Whether you’re looking for a wholesome option, a flavorful twist, or even something sweet, there’s a variation to match your cravings. Here are a few delicious ideas to inspire your baking adventures.
Whole Grain Homemade Bread
For those who enjoy a nutty flavor and a hearty texture, whole grain homemade bread is a fantastic choice. Made from whole wheat flour, this bread not only offers a richer taste but also packs a nutritional punch. It’s loaded with fiber and essential nutrients. To enhance the flavor even more, consider adding seeds like flaxseed or sunflower. They provide that extra crunch and boost your bread’s health benefits.
You can find great tips for making whole grain bread at King Arthur Baking.
Herb-Infused Homemade Bread
Imagine slicing into a warm loaf of herb-infused homemade bread. The aroma alone is enough to transport you to a rustic Italian kitchen. Incorporate fresh or dried herbs like rosemary, thyme, or oregano for a fragrant delight. These herbs pair beautifully with any meal or can be enjoyed on their own with olive oil for dipping. Plus, experimenting with herbal combinations can lead you to your next favorite recipe!
Sweet Variations: Homemade Bread with Cinnamon and Sugar
Who says homemade bread has to be savory? A sweet loaf with cinnamon and sugar can serve as a delightful breakfast or dessert. Simply mix cinnamon with sugar and sprinkle it between layers of dough before rolling it up. The result? A swirled masterpiece that’s perfect with a cup of coffee. You can even experiment by adding nuts or raisins for texture.
Baking bread at home isn’t just about feeding the body; it’s about nurturing the soul. So why not give one of these variations a try? Your kitchen will thank you!
Cooking Tips and Notes for Homemade Bread
Importance of Proofing Your Yeast
Proofing your yeast is a crucial step when making homemade bread. This process activates the yeast, ensuring that your bread rises beautifully. To proof, simply combine warm water (about 110°F) with a pinch of sugar and sprinkle the yeast on top. Let it sit for about 5-10 minutes until it becomes frothy. This not only confirms that your yeast is alive but also gives your bread that delightful texture. If your yeast doesn’t bubble, it’s time for a fresher batch!
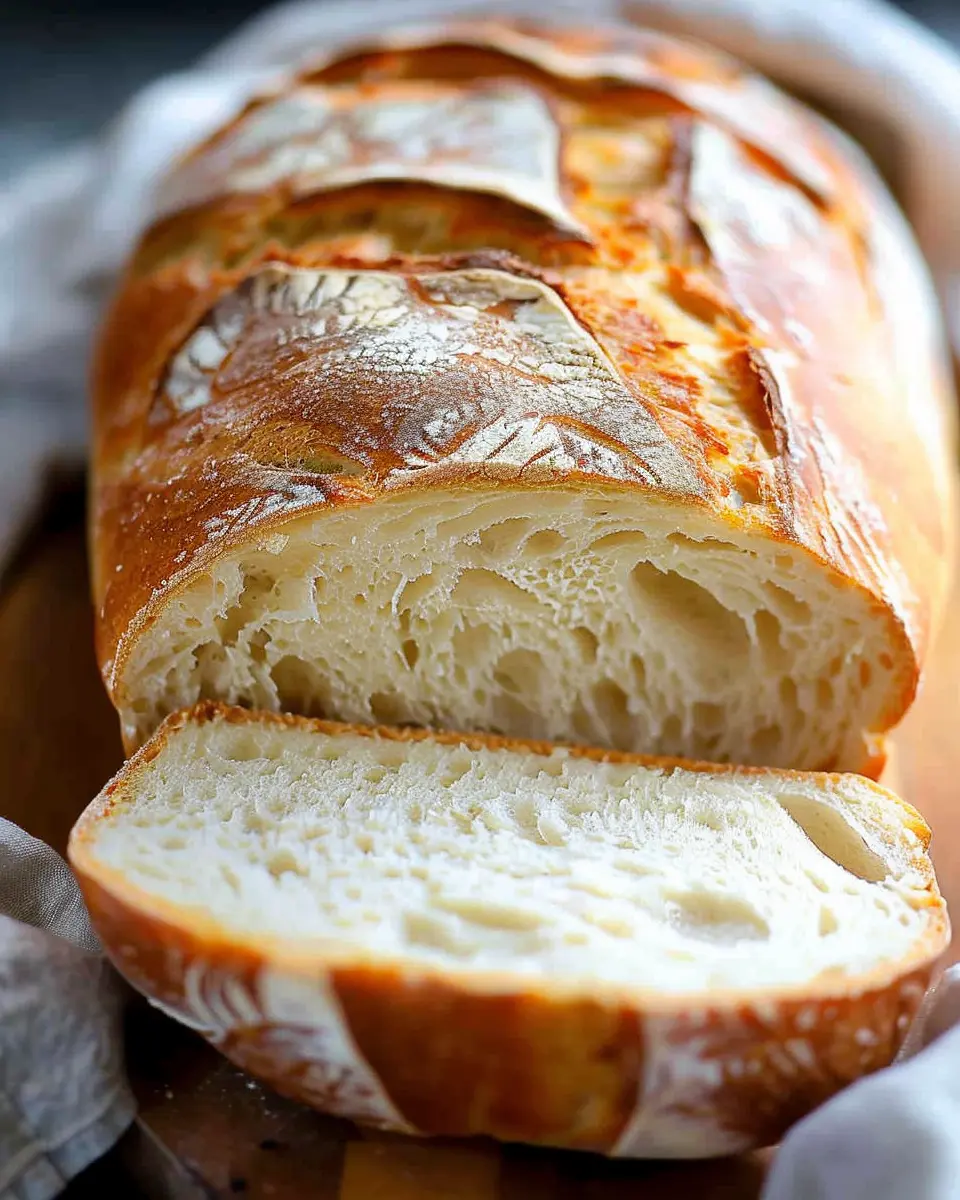
Tips for Achieving the Perfect Crust
Creating that irresistible crust on your homemade bread can be a game changer. Here are some tips that experts swear by:
- Steam: Introduce steam in your oven during the first few minutes of baking. This can be done by placing a pan of hot water on the oven floor, which helps create a crispy crust.
- Temperature: Start baking at a higher temperature and then reduce it for the remainder of the time. A hotter start allows for better oven spring.
- Dusting: Dust the top of your dough with flour or use an egg wash before baking to enhance the crust’s color and flavor.
Baking bread can be incredibly rewarding. Remember, practice makes perfect! For more tips, check out resources from The Bread Baker’s Guild or King Arthur Baking. Happy baking!
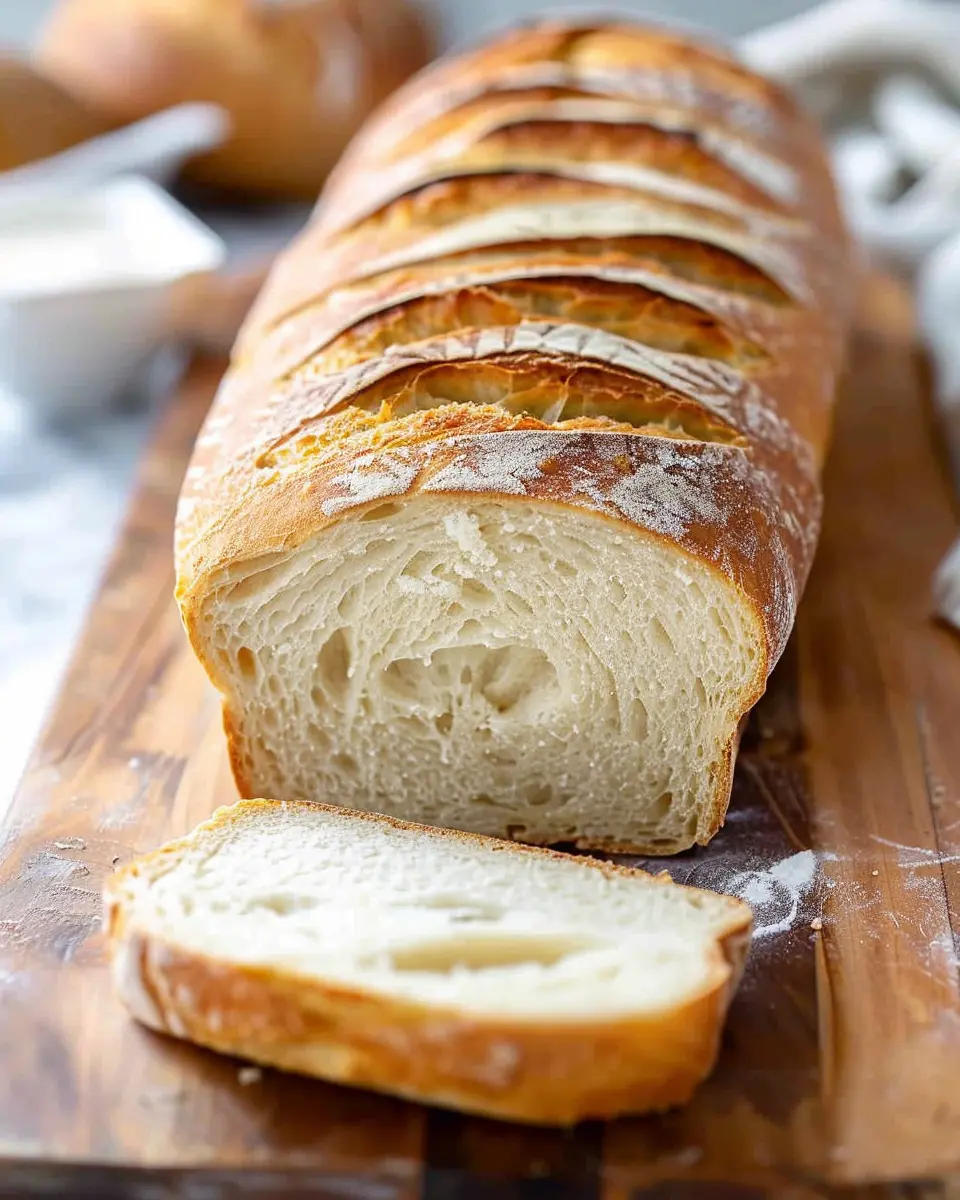
Serving Suggestions for Homemade Bread
Pairing Your Homemade Bread with Spreads and Toppings
Your freshly baked homemade bread is a canvas waiting for delicious enhancements. Consider slathering on:
- Butter: Perfect when melted on warm slices.
- Cream Cheese: Add herbs or a bit of honey for a flavorful twist.
- Avocado: Smash it up with lime and salt for a nutritious topping.
- Peanut Butter or Almond Butter: Ideal for a quick breakfast or snack, especially with banana slices.
For a bit of crunch, try topping with sunflower seeds or chia seeds. Did you know that according to a survey by the National Peanut Board, nearly 94% of Americans enjoy peanut butter?
Creative Sandwiches Using Your Fresh Bread
Why not turn your homemade bread into something extraordinary? Here are a few ideas for sandwiches that pack a punch:
- Turkey Bacon Club: Layer turkey bacon, lettuce, and tomato on toasted bread for a satisfying meal.
- Chicken Ham and Cheese: Sandwich some chicken ham with your favorite cheese and add a touch of mustard for kick.
- Vegetarian Delight: Stack roasted veggies, hummus, and feta for a vibrant, plant-based option.
These combos not only make great meals but can also impress your friends. Plus, they are versatile enough to accommodate different dietary preferences! Check out more sandwich ideas at BBC Good Food. Enjoy experimenting!
Time Breakdown for Making Homemade Bread
When it comes to crafting homemade bread, understanding the timing can elevate your baking game.
Preparation time
Typically, the preparation time takes around 15 minutes. This includes gathering your ingredients and getting everything mixed together.
Rising time
The magic happens during rising! You’ll want to allow the dough to rise for about 1 to 2 hours, depending on how warm your kitchen is. This is when the yeast works its wonders, creating that fluffy texture we all love.
Baking time
Baking your homemade bread usually takes about 30 minutes. That’s the moment when your kitchen starts to smell delightful.
Total time
All in all, expect about 2 to 2.5 hours from start to finish. It may seem like a commitment, but the result is oh-so-rewarding!
Taking the time to make homemade bread not only fills your kitchen with warm goodness but allows for personal creativity too! If you’re curious about more bread-making tips or techniques, check out resources like King Arthur Baking for expert advice. Happy baking!
Nutritional Facts for Homemade Bread
Calories per slice
One slice of homemade bread typically contains around 80-100 calories, depending on the ingredients used. This makes it a versatile option for your meals without breaking the calorie bank.
Nutritional benefits of homemade bread
When you craft your own homemade bread, you’re not just making a tasty treat; you’re also creating a nutritional powerhouse. You’ll often find more fiber, vitamins, and minerals compared to many store-bought alternatives. Ingredients like whole grains, seeds, and nuts can elevate the nutritional profile significantly. According to the Whole Grains Council, consuming whole grains can lower the risk of chronic diseases like heart disease and diabetes.
Comparison to store-bought options
Compared to most pre-packaged breads, homemade bread generally avoids preservatives and artificial additives. Not only can you control what goes in your loaf, but you can also adjust flavors and textures to suit your palate. Many store-bought options are loaded with sugars and unhealthy fats, while you can choose wholesome ingredients for your bread. A quick look at labels can reveal just how much better your homemade version can be—both in taste and nutrition!
For those eager to dive deeper into the benefits of whole grains, explore resources from the Harvard T.H. Chan School of Public Health here. And for more on comparing homemade versus store-bought options, check out this insightful article from the American Heart Association here.
FAQs about Homemade Bread
How do I know if my yeast is active?
A critical step in making delicious homemade bread is ensuring your yeast is alive and kicking. To test if your yeast is active, simply mix warm water (about 110°F or 43°C) with a teaspoon of sugar and sprinkle the yeast on top. Let it sit for about 5–10 minutes. If it’s bubbly and foamy, congratulations! Your yeast is good to go. If not, it might be time to replace it. For more detailed yeast tips, check out King Arthur Baking.
Can I freeze homemade bread?
Absolutely! Freezing homemade bread is a fantastic way to extend its shelf life. Just allow the bread to cool completely after baking, then wrap it tightly in plastic wrap and aluminum foil or place it in an airtight freezer bag. It can stay fresh in the freezer for up to three months. When you’re ready to enjoy it, simply thaw at room temperature or pop slices in the toaster for a quick brunch treat.
What if my dough is too sticky or too dry?
Finding that perfect dough consistency can be tricky for new bakers. If your dough feels too sticky, try adding a little flour, a tablespoon at a time, until it reaches the right balance. Conversely, if your dough seems too dry, add water gradually, mixing well until it becomes soft and elastic. Don’t hesitate to get your hands in there—sometimes, a little homemade bread love is all your dough needs! For more baking tips, consider visiting the Bread Enthusiast.
Making bread at home is a journey, and every loaf teaches us something new. Happy baking!
Conclusion on Homemade Bread
The Joys of Baking Your Own Bread and Its Long-Term Benefits
Baking your own homemade bread is not just a delightful pastime; it offers countless long-term benefits. The act itself can be meditative, transforming your kitchen into a cozy retreat. When you knead the dough, the world outside seems to fade away. Plus, there’s a profound satisfaction in slicing into a loaf you’ve crafted with your own hands.
Choosing to bake at home means you control the ingredients, opting for whole grains and avoiding preservatives found in store-bought options. This not only supports your health but also allows you to experiment with flavors, making each loaf unique. And let’s face it—nothing beats the aroma of fresh-baked bread wafting through your home. For tips on getting started, check out resources like King Arthur Baking. There’s simply no substitute for homemade bread!
PrintHomemade Bread: The Easy Way to Bake Delicious Loaves at Home
Learn how to bake delicious homemade bread with this easy recipe.
- Prep Time: 15 minutes
- Cook Time: 35 minutes
- Total Time: 1 hour 50 minutes
- Yield: 1 loaf
- Category: Breads
- Method: Baking
- Cuisine: American
- Diet: Vegetarian
Ingredients
- 4 cups all-purpose flour
- 1 tablespoon sugar
- 2 teaspoons salt
- 1 packet active dry yeast
- 1 and 1/2 cups warm water
Instructions
- In a large bowl, mix the flour, sugar, and salt together.
- Dissolve yeast in warm water and let it sit for about 5 minutes.
- Add the yeast mixture to the dry ingredients and mix until combined.
- Knead the dough on a floured surface for about 10 minutes.
- Place the dough in a greased bowl, cover it, and let it rise for 1 hour.
- Punch down the dough, shape it into a loaf, and place it in a greased loaf pan.
- Let the dough rise again for about 30 minutes.
- Bake in a preheated oven at 375°F for 30-35 minutes.
Notes
- For a crustier loaf, place a pan with water in the oven while baking.
- Experiment with adding herbs or cheese for different flavors.
Nutrition
- Serving Size: 1 slice
- Calories: 120
- Sugar: 1g
- Sodium: 200mg
- Fat: 1g
- Saturated Fat: 0g
- Unsaturated Fat: 0g
- Trans Fat: 0g
- Carbohydrates: 24g
- Fiber: 1g
- Protein: 4g
- Cholesterol: 0mg