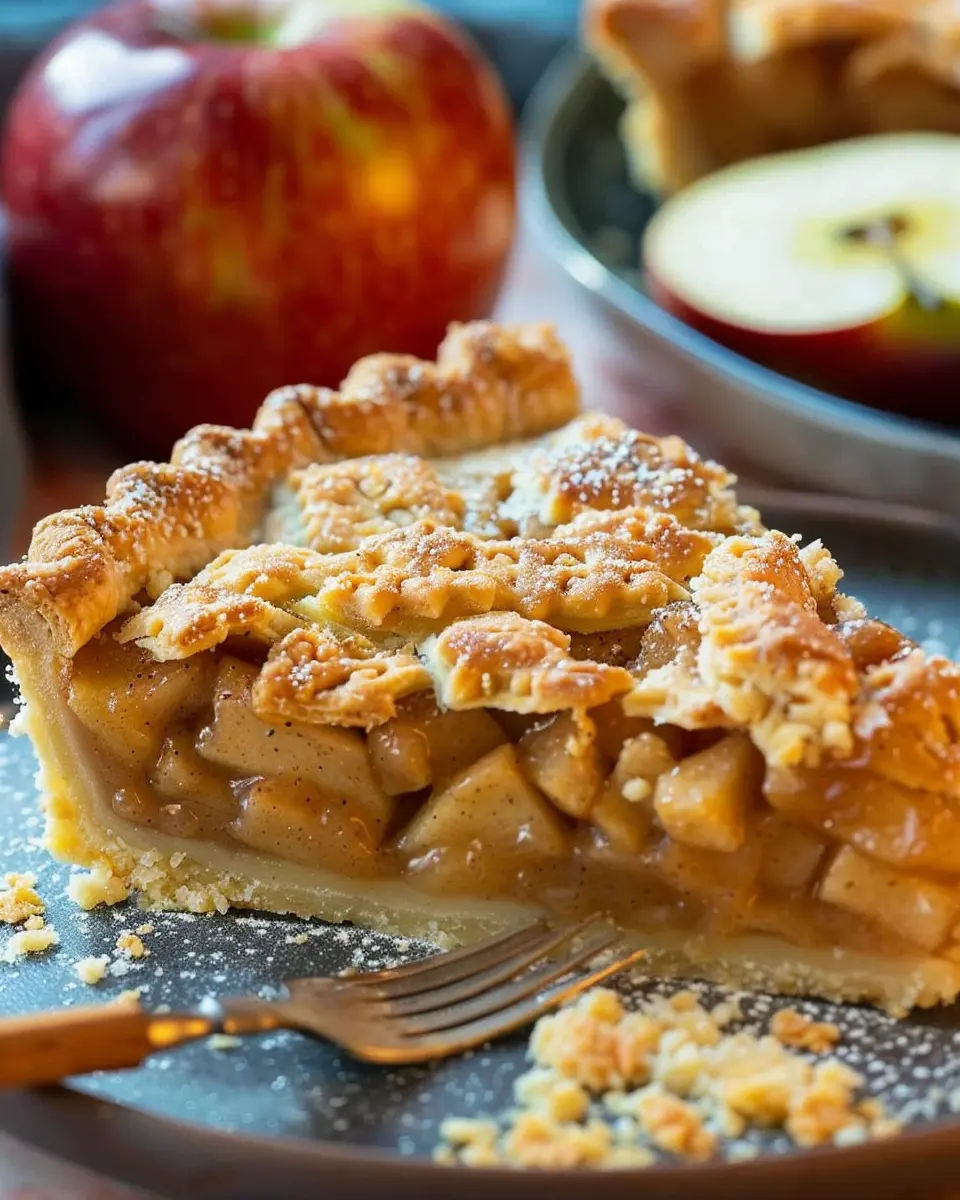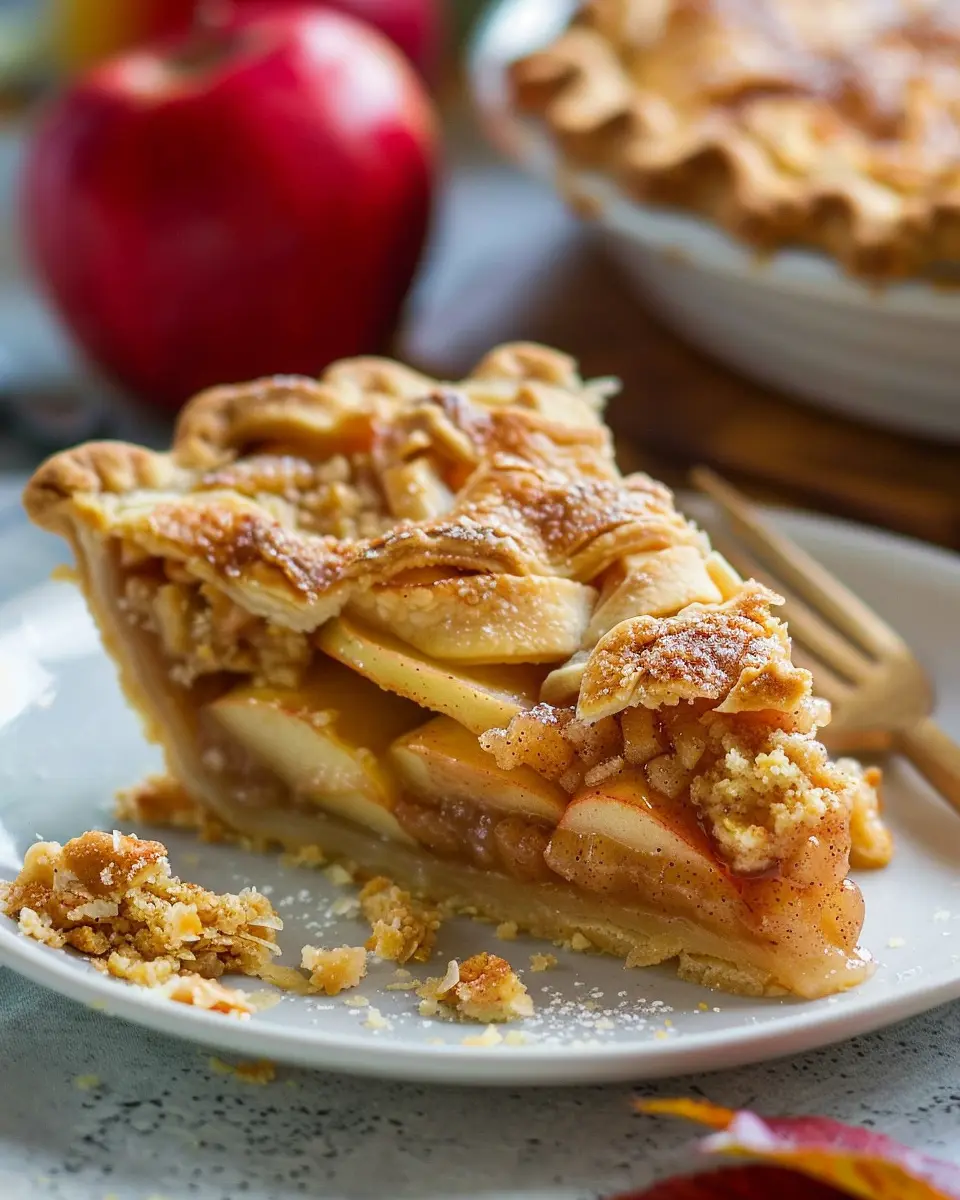
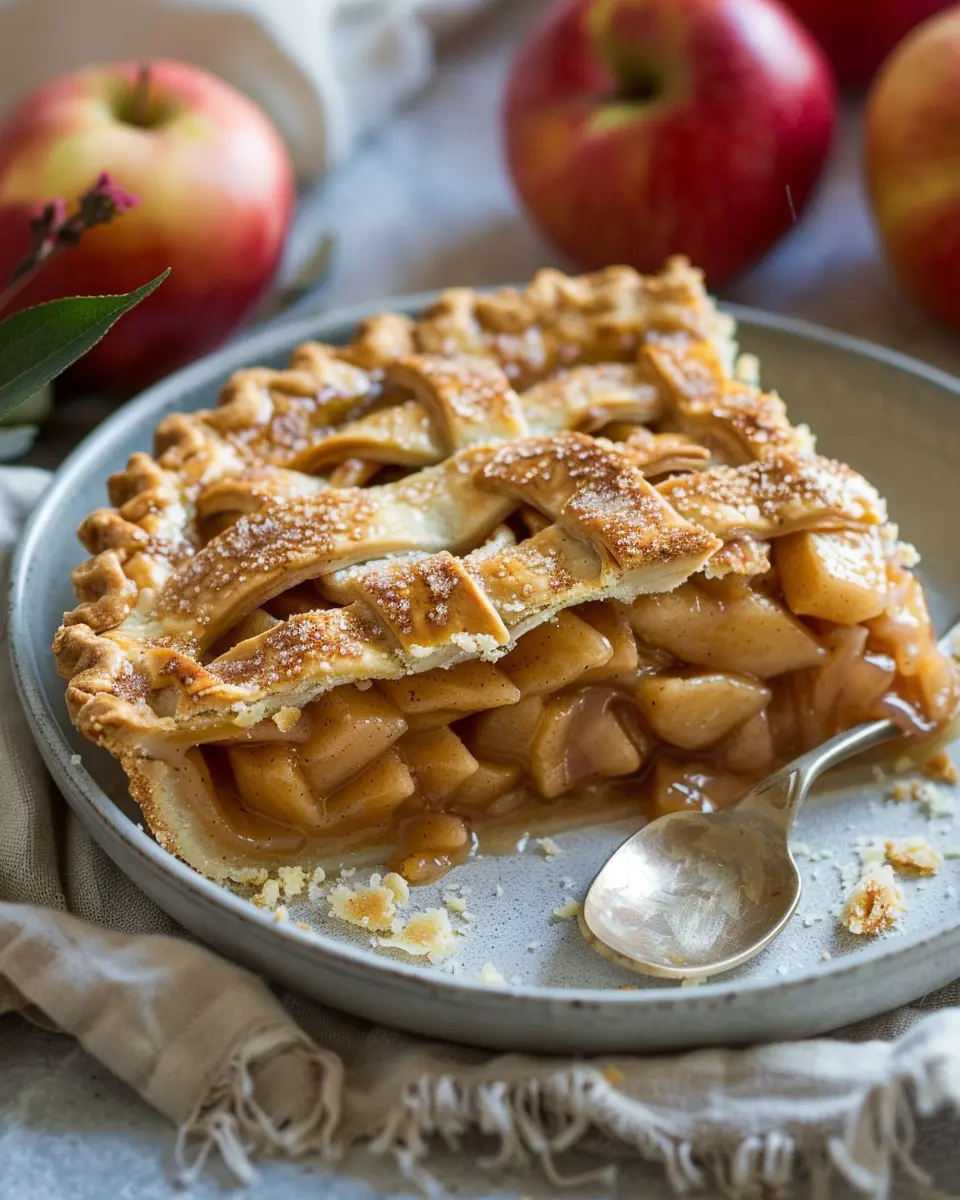
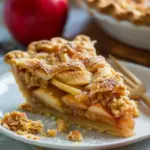
Introduction to Dutch Apple Pie
If you’re a young professional juggling a busy life, you know the value of finding quick and satisfying meal solutions. Enter Dutch apple pie, a delightful twist on the classic dessert that not only celebrates the sweet and tart flavors of apples but also makes your life easier. This pie is the perfect fusion of simplicity and taste, making it a game changer for those of us who want to impress without a lot of fuss.
Why Dutch Apple Pie is a Game Changer for Young Professionals
Life can often feel overwhelmed by long work hours, social engagements, and a seemingly endless to-do list. So, why add a complicated dessert to the mix? The beauty of Dutch apple pie lies in its straightforward preparation. With a buttery crust topped with crumbly streusel, this pie requires fewer ingredients and less time than the traditional version. Plus, it allows for flexibility—think of it as a canvas for your creativity!
- Quick to Prepare: You can whip up a Dutch apple pie in under an hour, from prep to oven.
- Crowd Pleaser: Impress your friends or coworkers at gatherings and potlucks. Who doesn’t love a homemade dessert?
- Adaptable Recipe: Feel free to substitute ingredients based on what you have on hand. Maybe you prefer turkey bacon as a savory side or chicken ham with your brunch. The versatility doesn’t end with the filling; you can experiment with different spices or add a scoop of ice cream on top.
Furthermore, a study by the American Bakers Association shows that baked goods, especially those made at home, have a significant impact on emotional well-being. So not only will you create something delicious, but you’re bound to feel good doing it!
By incorporating Dutch apple pie into your repertoire, you’re setting yourself up for sweet moments of joy in the kitchen. Whether you’re celebrating a special occasion or simply indulging after a long week, you’ll find that this pie elevates your culinary game while keeping your stress levels in check. Ready to dive into the delightful world of Dutch apple pie? Let’s get baking!
For more delicious dessert ideas, check out The Pioneer Woman or visit Allrecipes for even more inspiration.

Ingredients for Dutch Apple Pie
Essential ingredients for the crust
Creating the perfect Dutch Apple Pie begins with a flaky and buttery crust. You’ll need:
- All-purpose flour: About 2 ½ cups ensures a sturdy base.
- Unsalted butter: Use 1 cup, chilled and diced, for that melt-in-your-mouth texture.
- Cold water: Just a few tablespoons will help bind everything together.
When making your crust, remember to work quickly to keep the butter cold—a key to achieving that delightful flakiness.
Key ingredients for the crumb topping
Next, let’s dive into that irresistible crumb topping that makes Dutch Apple Pie so special. Gather:
- Brown sugar: Approximately ¾ cup adds depth and richness.
- Oats: 1 cup, for a chewy texture that contrasts beautifully with the filling.
- Cinnamon: A teaspoon brings warmth and spice, elevating the flavor profile.
Combine these to create a satisfying crunch that’s the star of the show!
Must-have apples for the filling
For the filling, the right apples can make or break your Dutch Apple Pie. Opt for these varieties for the best results:
- Granny Smith: Tart and firm, they maintain their shape while baking.
- Honeycrisp: Sweet with a crisp texture, adding complexity to the filling.
- Braeburn: A perfect blend of tartness and sweetness.
Using a combination will bring out an array of flavors, making your pie even more tantalizing! For more tips on selecting the best apples, check out resources from the USDA.
Preparing Dutch Apple Pie
Making a Dutch Apple Pie is more than just following a recipe; it’s about creating a comforting treat that embodies warmth and nostalgia. There’s something uniquely satisfying about the combination of a flaky crust, tender apples, and a crunchy crumb topping. Let’s dive into the steps you need to take to prepare this classic dessert.
Make the Pie Crust
The foundation of any pie is its crust. For a truly scrumptious Dutch Apple Pie, you’ll want to create a flaky, buttery crust. Here’s how:
- Ingredients needed: 2 ½ cups all-purpose flour, 1 tsp salt, 1 tsp sugar, 1 cup unsalted butter (cold and cubed), and 6–8 tbsp ice water.
- Instructions: In a large mixing bowl, combine the flour, salt, and sugar. Add the cold, cubed butter and mix until you have a sandy texture. Gradually add ice water, stirring until the dough comes together. Avoid overmixing. Wrap the dough in plastic and chill it in the fridge for at least 30 minutes.
The chilling time is crucial as it allows the gluten to relax, resulting in a beautifully flaky crust. If you want to explore more about dough preparation, Food Network has some fantastic resources on their baking section.
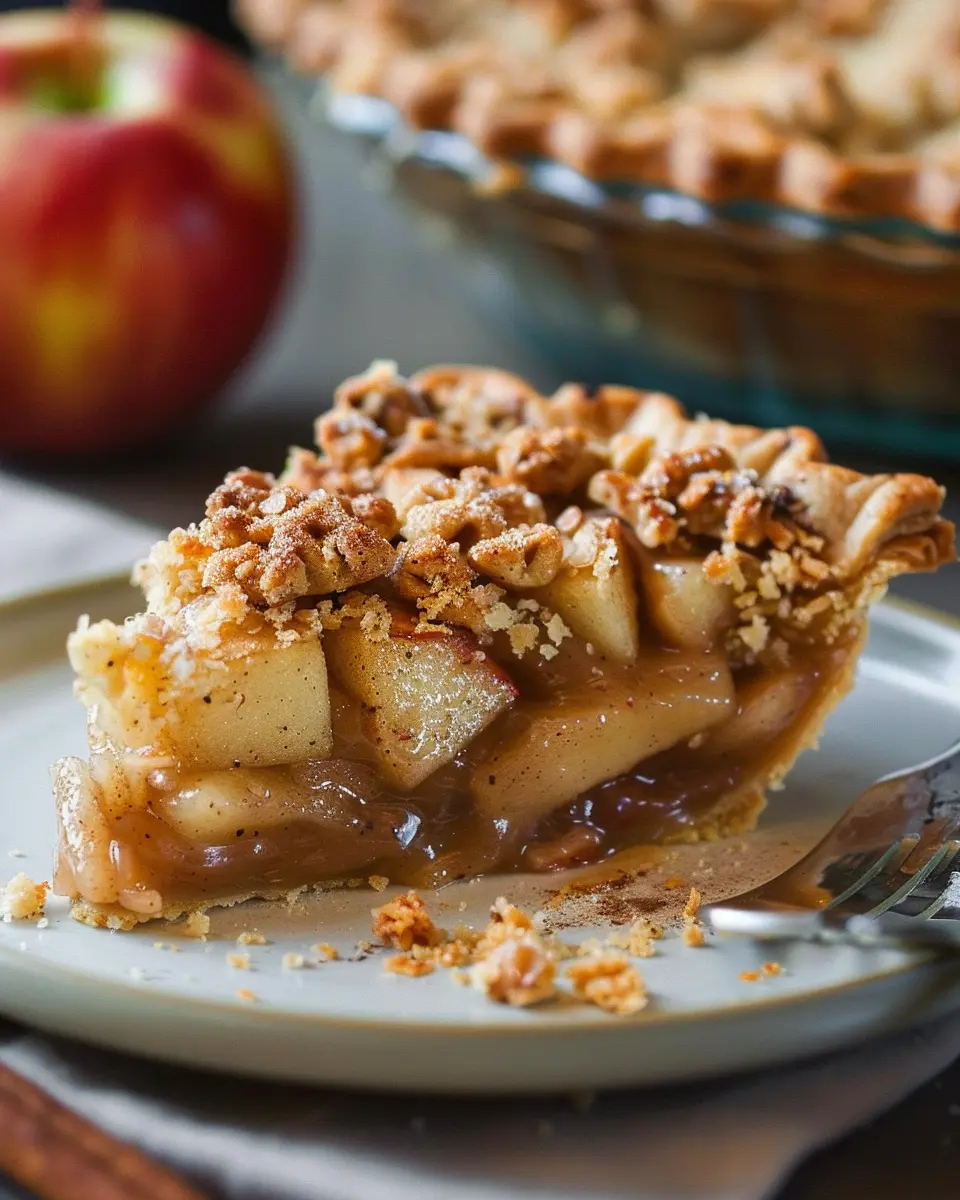
Prepare the Crumb Topping
Now that your dough is chilling, it’s time to whip up that irresistible crumb topping that distinguishes a Dutch Apple Pie from other varieties. This topping is simple yet profoundly satisfying.
- Ingredients: 1 cup all-purpose flour, 1 cup rolled oats, 1 cup brown sugar, ½ cup unsalted butter (melted), and 1 tsp cinnamon.
- Instructions: In a mixing bowl, combine flour, oats, brown sugar, and cinnamon. Pour in the melted butter and mix until the mixture resembles coarse crumbs. This topping will add texture and sweetness, complementing the tartness of the apples beautifully.
Slice and Season the Apples
Now comes the star of the show—the apples. Choosing the right variety can significantly impact the flavor of your pie.
- Recommended types: Granny Smith, Honeycrisp, or a mix of tart and sweet apples.
- Preparation: Peel, core, and slice about 6–8 cups of apples. Toss them with 1 tsp cinnamon, ½ cup sugar, and a splash of lemon juice. The lemon juice will help maintain their color and enhance their natural flavors.
Think about how satisfying it is to slice those apples while the aroma of warm spices fills your kitchen. It’s not just cooking; it’s creating an experience.
Assemble the Pie
With the components ready, it’s time to bring everything together.
- Roll out the chilled pie dough on a floured surface and fit it into a 9-inch pie dish.
- Layer the seasoned apples evenly over the crust.
- Generously sprinkle the crumb topping over the apples, ensuring even coverage.
This is where you can get creative! Feel free to add some chopped walnuts or pecans to the crumb topping for an extra crunch.
Bake the Pie to Perfection
The final step is to bake your Dutch Apple Pie until it reaches golden brown perfection.
- Instructions: Preheat your oven to 350°F (175°C) and bake the pie for 45-50 minutes. If the edges start to brown too quickly, cover them with foil to prevent burning.
- Tip: Let the pie rest for at least 30 minutes after removing it from the oven. This allows the filling to set and makes for easier slicing.
Enjoying this pie fresh out of the oven is a real treat. Pair it with a scoop of vanilla ice cream, and you’ve got a classic dessert that’s irresistible.
By following these steps to prepare your Dutch Apple Pie, you’re not just making a dessert; you’re making memories that you can share with friends and family. Happy baking!
Variations on Dutch Apple Pie
Classic Dutch Apple Pie with a Twist
If you’re a fan of the traditional Dutch Apple Pie, why not switch things up a bit? One popular variation involves adding a hint of spice with a teaspoon of cinnamon or nutmeg to your apple filling. You might also consider blending in some brown sugar to give it that deep, caramelized flavor. This not only enhances the apple’s natural sweetness but also adds a cozy depth to each bite. Have you ever tried drizzling a touch of caramel sauce on top before serving? It’s a game-changer!
Gluten-Free Dutch Apple Pie
For those who are gluten-sensitive, making a delicious Gluten-Free Dutch Apple Pie is easier than you think! Simply substitute regular flour with a gluten-free blend, which you can easily find at most grocery stores. Almond flour or coconut flour can also add a unique flavor and texture. Just remember to keep an eye on your crust, as gluten-free options can bake a bit differently. Serve it with a scoop of vanilla ice cream, and you’ll hardly notice the difference!
Dutch Apple Pie with Added Fruits
Looking to get a bit creative? Adding other fruits to your Dutch Apple Pie can make for an exciting twist. Pairs like fresh pears or berries not only enhance the flavor but also offer lovely pops of color. You could try combining tart apples with blueberries or raspberries for a delightful flavor journey. Just be sure to adjust your sugar levels accordingly, as some fruits are sweeter than others. This variation allows for seasonal creativity, so embrace what’s fresh and available!
For more on the benefits of baking with seasonal produce, check out this article from the USDA.
Cooking tips and notes for Dutch Apple Pie
Tips for a flaky crust
A flaky crust is essential for a Dutch Apple Pie. Here are a few tips to get that perfect texture:
- Chill your ingredients: Make sure your butter and water are cold. This helps create steam during baking for that flaky quality.
- Don’t overwork the dough: Mix just until combined. Over-mixing activates the gluten, making the crust tough instead of tender.
- Use a light touch: When rolling out the dough, be gentle. The goal is to keep the layers of fat intact, which helps achieve flakiness.
For more detailed instructions, check out King Arthur Baking’s crust tips.
How to achieve the perfect crumble
A delicious crumble topping can elevate your Dutch Apple Pie. Here’s how to get it just right:
- Use cold butter: Just like your crust, cold butter in the crumble will create that delightful texture.
- Mix it well: Combine flour, sugar, oats, and butter until it’s crumbly, but don’t make it too fine; some larger chunks add great texture.
- Spice it up: A pinch of cinnamon or nutmeg can enhance the flavor profile beautifully.
With these tips, your Dutch Apple Pie is sure to impress! Happy baking!
Serving Suggestions for Dutch Apple Pie
Pairing with Ice Cream
There’s something magical about a warm slice of Dutch Apple Pie topped with a scoop of creamy vanilla ice cream. As the ice cream melts into the pie’s tender apples and crisp streusel topping, it creates a delightful contrast of temperatures and textures. If you’re feeling adventurous, try different flavors like caramel or cinnamon ice cream to elevate your dessert. For an extra touch, drizzle some warm caramel sauce over the top for a sweet finish that your guests will rave about!
Creative Presentations for Gatherings
When hosting a gathering, the presentation of your Dutch Apple Pie can make a huge impact. Consider serving individual mini pies in ramekins or mason jars for a charming touch. You can also arrange slices on a rustic wooden board, garnished with fresh mint leaves or thin apple slices for a pop of color. Adding a side of whipped cream or a sprinkle of powdered sugar can also make your dessert look extra enticing. Not only does it taste amazing, but a beautiful presentation also turns your homemade creation into a centerpiece!
For more tips on making the perfect dessert bar, check out The Kitchn.
Time Breakdown for Dutch Apple Pie
Preparation Time
Making a delicious Dutch Apple Pie starts with about 30 minutes of preparation. This includes peeling and slicing the apples, mixing the flavorful spices, and getting the crust just right. Trust me, putting in this effort will pay off with every delectable bite.
Baking Time
Once your pie is ready, you’ll need to bake it for about 45 to 55 minutes. This allows the apples to soften and the crust to achieve that perfect golden-brown finish. The tantalizing aroma that fills your home during baking is pure bliss!
Total Time
All in all, you’re looking at approximately 1 hour and 30 minutes from start to finish. Just think of how rewarding it feels to slice into a homemade Dutch Apple Pie, knowing you’ve created something truly special. For more tips on pie-making, check out this helpful guide from Serious Eats. Happy baking!
Nutritional facts for Dutch Apple Pie
Calories per slice
When you indulge in a slice of Dutch Apple Pie, you can expect around 300 calories, making it a delightful treat without going overboard. Just keep portion sizes in check to enjoy it guilt-free.
Sugar content
Typically, a piece contains approximately 20 grams of sugar, which can vary based on the sweetness of the apples and added sugars in the recipe. For those watching their sugar intake, consider using less sweetener or exploring natural alternatives.
Fat content
The fat content hovers around 15 grams per slice, largely due to the buttery crust and any added toppings. While it’s a rich dessert, you could swap regular butter for a lighter option to reduce fat without sacrificing flavor.
For more information on healthier baking alternatives, check out these tips from Healthline. Enjoy your Dutch Apple Pie while being mindful of the nutritional balance!
FAQs about Dutch Apple Pie
Can I use store-bought crust for Dutch Apple Pie?
Absolutely! Using a store-bought crust can be a time-saver without sacrificing flavor. If you’re short on time or just prefer the convenience, a high-quality pie crust can still result in a delicious Dutch Apple Pie. Just check that it’s deep enough to hold all that delightful apple filling and crumb topping. Brands like Pillsbury and Marie Callender’s offer great options you can find at your local grocery store.
What types of apples yield the best flavor?
Choosing the right apples is key to achieving that perfect balance of sweetness and tartness. For an exceptional Dutch Apple Pie, consider using a mix of apples such as:
- Granny Smith: Tart and firm, ideal for balancing out the sweetness.
- Honeycrisp: Sweet with a crisp texture, they hold up beautifully during baking.
- Fuji or Gala: These bring a natural sweetness that enhances the overall flavor.
Combining these varieties tends to offer a more complex and satisfying taste. According to the USDA, using a mix can result in a pie that has a delightful depth of flavor.
How should I store leftover pie?
To keep your leftover Dutch Apple Pie fresh, allow it to cool completely, then cover it loosely with plastic wrap or foil. Store it in the refrigerator, where it can last up to 3-4 days. If you want to keep it longer, consider freezing it. Just wrap individual slices tightly in plastic wrap and then aluminum foil; they can last up to six months in the freezer. When you’re ready to enjoy it, simply thaw and reheat in the oven for that fresh-baked taste! For more tips on pie storage, check out resources from The Pie Council.
Conclusion on Dutch Apple Pie
The joy of making and sharing Dutch Apple Pie
There’s something truly special about baking a Dutch Apple Pie that goes beyond its delicious taste. The process of assembling fresh apples, aromatic spices, and a buttery crust transforms your kitchen into a comforting haven. Sharing this warm pie with friends or family creates lasting memories, sparking conversations and laughter. Did you know that a study from the Institute of Culinary Education found that cooking together fosters stronger bonds? So, whether you enjoy it on a chilly evening or at a festive gathering, a slice of homemade Dutch Apple Pie can bring joy and warmth to any occasion. Consider exploring more about the cultural significance of pies here.
PrintDutch Apple Pie: The Best Homemade Recipe You’ll Cherish
Indulge in the delightful taste of traditional Dutch apple pie, made with fresh apples and a flaky crust that will remind you of home.
- Prep Time: 20 minutes
- Cook Time: 50 minutes
- Total Time: 1 hour 10 minutes
- Yield: 8 servings
- Category: Dessert
- Method: baking
- Cuisine: Dutch
- Diet: vegetarian
Ingredients
- 6 cups sliced apples
- 1 cup sugar
- 2 tablespoons all-purpose flour
- 1 teaspoon cinnamon
- ½ teaspoon nutmeg
- 1 tablespoon lemon juice
- 1 pie crust (homemade or store-bought)
Instructions
- Preheat the oven to 425°F (220°C).
- In a large bowl, combine sliced apples, sugar, flour, cinnamon, nutmeg, and lemon juice. Toss until apples are evenly coated.
- Pour the apple mixture into the prepared pie crust.
- Cover with another pie crust or a crumble topping.
- Bake in the preheated oven for 45-50 minutes until crust is golden brown and apples are bubbly.
- Allow to cool before serving.
Notes
- Serve warm with vanilla ice cream for extra indulgence.
- Store leftovers in the refrigerator for up to 3 days.
Nutrition
- Serving Size: 1 slice
- Calories: 320
- Sugar: 20g
- Sodium: 100mg
- Fat: 15g
- Saturated Fat: 7g
- Unsaturated Fat: 8g
- Trans Fat: 0g
- Carbohydrates: 40g
- Fiber: 3g
- Protein: 2g
- Cholesterol: 20mg