Introduction to Chocolate Thumbprints
The Irresistible Charm of Chocolate Thumbprints
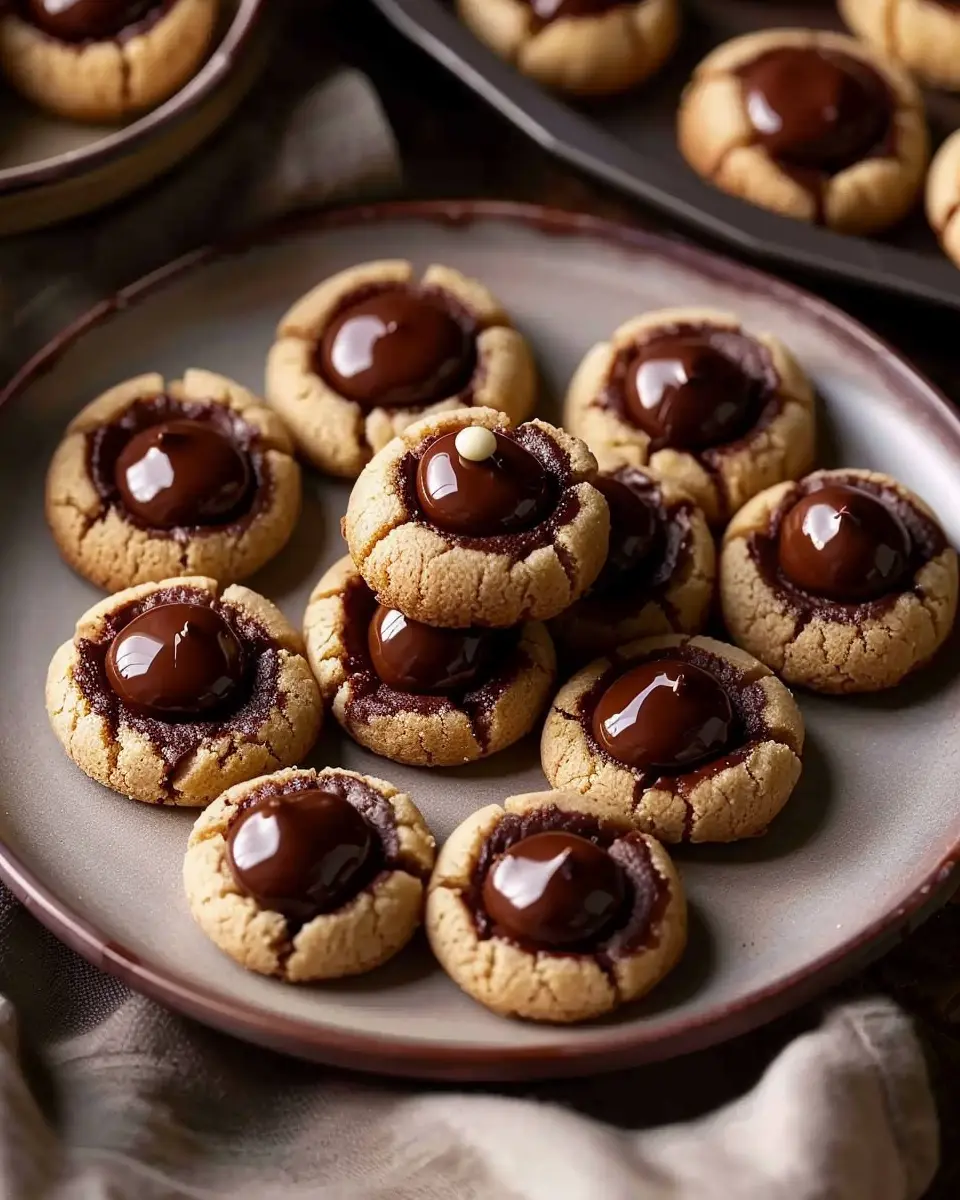
When it comes to cookies, few treats evoke the same warm feelings as chocolate thumbprints. Picture this: a melt-in-your-mouth cookie featuring a rich, chocolatey flavor, adorned with a luscious dollop of your favorite jam or creamy ganache in the center. It’s a delightful combination that perfectly balances sweet and savory, capturing the hearts of cookie lovers everywhere.
One of the many reasons chocolate thumbprints have gained immense popularity is their versatility! Whether you prefer a classic raspberry jam or some adventurous options like hazelnut chocolate spread, you can easily customize these cookies to fit your taste. This adaptability makes them a favorite for special occasions, holiday gatherings, or simply a cozy night in.
The origins of this delectable cookie can be traced back to various culinary traditions, with thumbprints often seen in different forms around the world. For instance, in Sweden, there’s a similar treat called “Hallongrotta,” filled with raspberry preserves. Fascinating, right? If you’re ever curious, you can read more about global cookie styles here.
Now, if you’re looking to impress friends at your next gathering or simply want to indulge in a guilt-free treat, making chocolate thumbprints is an excellent choice. Not only are they easy to whip up, but they also bring the fun of baking right into your kitchen. Plus, there’s something delightfully satisfying about making thumbprints with your own hands, creating an inviting and personal touch.
It’s worth noting that these cookies are often made with simple pantry staples, making them both accessible and budget-friendly. Flour, sugar, butter, and chocolate – what could be better? And if you’re short on time, these cookies can be prepared in less than an hour, leaving you with plenty more time to enjoy your sweet creations.
So, as you embark on your chocolate thumbprint baking adventure, remember that it’s all about exploring the flavors you love while enjoying the process. Enjoy baking, tasting, and sharing these delightful snacks, and warm up some friendships along the way!
Ingredients for Chocolate Thumbprints
When it comes to making delightful chocolate thumbprints, having the right ingredients can make all the difference. This classic treat is not only easy to whip up, but it also hits the spot for chocolate lovers. Here’s what you’ll need:
- All-purpose flour: 1 cup (for the perfect base)
- Cocoa powder: 1/3 cup (the key to that rich chocolate flavor)
- Granulated sugar: 1/2 cup (to add sweetness)
- Butter: 1/2 cup, softened (for a melt-in-your-mouth texture)
- Egg: 1 large (works as a binder)
- Vanilla extract: 1 teaspoon (brightens the flavor)
- Salt: A pinch (balances the sweetness)
- Chocolate chips or your favorite chocolate filling: for the luscious center (go ahead, pick dark or milk chocolate!)
For some extra tips, consider using high-quality cocoa powder, such as Valrhona or Scharffen Berger, to elevate your cookie game. You might also find inspiration and more unique variations on sites like Serious Eats or Bon Appétit.
Now that you know what goes into these chocolate thumbprints, are you ready to dive into the baking process?
Step-by-Step Preparation of Chocolate Thumbprints
Making chocolate thumbprints is like unlocking a treasure chest of deliciousness. This delightful cookie, with its signature chocolate center and buttery exterior, is bound to impress your friends, family, or even just yourself! Let’s walk through this easy preparation step-by-step.
Preheat the oven and beat the butter and sugar
The first thing to do is preheat your oven to 350°F (175°C). This ensures that when your cookies are ready, the oven will be primed and ready to go.
While that’s happening, grab a large mixing bowl and beat together 1 cup of softened butter and 3/4 cup of granulated sugar. You’ll want to cream these together for about 2-3 minutes until the mixture is light and fluffy. This step is crucial—air needs to get into the butter for the perfect cookie texture. Think of it as getting your butter ready for a spa day! You can also check out this guide on how to cream butter and sugar for tips.
Incorporate the flour for your dough
Next, it’s time to add the dry ingredients. Gradually mix in 2 cups of all-purpose flour, 1/2 cup of unsweetened cocoa powder, 1/4 teaspoon of salt, and 1/2 teaspoon of baking powder. This combination will create that safe, velvety dough we’re after.
Use a spatula or your hands to work the flour in until it’s fully incorporated, being careful not to overmix. A little tip: If the dough feels a bit crumbly, don’t hesitate to add a tablespoon of milk to bring it all together.
Shape the cookie balls
Now that you have your wonderfully soft dough, let’s turn it into cookie balls! Scoop out about 1 tablespoon of dough and roll it into a ball. Place each ball onto a lined baking sheet about 2 inches apart to give them room to spread.
This is where the fun begins! Pro tip: Wet your hands lightly to prevent the dough from sticking. Plus, as you roll those luscious balls, take a moment to appreciate your handiwork—nothing beats the feeling of making something from scratch!
Bake, create indentations, and bake again
With your cookie balls on the tray, it’s time to bake! Place the baking sheet in the oven for 10-12 minutes. When the time’s up, remove them and use your thumb (or the back of a spoon) to create a little indentation in the center of each cookie – this is where all the magic happens with your chocolate filling later.
Return the cookies to the oven for an additional 3-5 minutes. The key here is not to overbake! They should be slightly soft but firm enough to hold their shape once cooled.
Prepare the chocolate filling
While your cookies are baking away, why not prepare the most exciting part? In a microwave-safe bowl, combine 1 cup of semi-sweet chocolate chips and 1/2 cup of heavy cream. Microwave the mixture in increments of 30 seconds, stirring in between, until smooth and glossy—trust me, the aroma will have your mouth watering!
If you’re curious about the science behind chocolate melting, check this out from Serious Eats to prevent burning.
Fill the cookies with luscious chocolate
Once your cookies have cooled (patience is a virtue!), it’s showtime. Use a teaspoon to fill each indentation with the melted chocolate mixture. Let the filling set for about 15 minutes at room temperature—this will allow it to thicken slightly and create a captivating glossy finish.
And voilà! You have just crafted some irresistible chocolate thumbprints. Whether served at a party or enjoyed with a cup of coffee, these cookies are sure to be a hit. I hope you enjoy every bite as much as I do!
Variations on Chocolate Thumbprints
Chocolate thumbprints are a delightful treat that can easily be customized to fit your taste buds or occasion. Here are some imaginative variations that can elevate your baking game.
Nut-infused thumbprints
If you’re a fan of texture and crunch, consider making nut-infused chocolate thumbprints. Simply fold in your favorite nuts—like walnuts, pecans, or even macadamia nuts—into the cookie dough. The addition of nuts not only enhances the flavor but also provides a satisfying bite. You can even sprinkle some finely chopped nuts on top of the dough before baking, giving your cookies a beautiful finish.
If you’re looking for inspiration on nut pairings, check out resources like The Nut Society for some expert recommendations.
Fruit-filled thumbprints
For those who enjoy a fruity twist, fruit-filled chocolate thumbprints are a superb option. Instead of the traditional chocolate ganache filling, use a dollop of fruit preserves or jam—think raspberry, apricot, or lemon curd. The tartness of the fruit contrast beautifully with the rich chocolate, creating a balanced flavor that’s downright irresistible.
When assembling these cookies, try using a piping bag to create a more elegant presentation. You might also want to explore various jams on Fruit Spread for some fun and unique ideas.
Whether you opt for nutty or fruity variations, these chocolate thumbprints offer endless possibilities for delicious excursions in the world of baking!
Cooking Tips and Notes for Chocolate Thumbprints
Creating the ultimate chocolate thumbprints is a delightful experience, and these tips will help you master the art.
Choosing the Right Chocolate
- Quality Matters: Invest in good-quality chocolate, like semi-sweet or dark chocolate chips. The flavor difference is notable, and it results in a richer filling.
- Chop or Chip: If you prefer, you can chop a chocolate bar into small pieces instead of using chips. This creates a more gourmet feel.
Getting the Perfect Texture
- Chill Your Dough: After mixing, allow the dough to chill in the fridge for at least 30 minutes. This helps in creating a firmer dough that holds its shape during baking.
- Scoop Evenly: For uniform thumbprints, consider using a cookie scoop. This ensures each cookie is the same size, leading to even baking.
Personal Touches
Feel free to add a unique twist! Try incorporating a dash of sea salt on top for a delightful contrast to the sweetness.
For more baking tips, you can check out resources like King Arthur Baking and Serious Eats for extensive guidance. Enjoy your baking adventure!
Serving Suggestions for Chocolate Thumbprints
When it comes to enjoying your delicious chocolate thumbprints, the possibilities are delightfully endless! These decadent cookies aren’t just a treat on their own; they can also be paired perfectly with various accompaniments for a truly indulgent experience.
Pairing with Beverages
Consider serving your chocolate thumbprints alongside a warm cup of coffee or hot chocolate. The rich flavors complement each other beautifully, creating a comforting moment. You might also try refreshing herbal teas with hints of mint or citrus to balance the sweetness.
Creative Presentation Ideas
For special occasions, lean into presentation! Arrange the cookies on a beautiful platter, perhaps with a sprinkle of powdered sugar on top for a touch of elegance. Add fresh fruits like strawberries or a drizzle of caramel sauce to elevate the dessert aesthetic.
Sweet Snack Combos
Why not create a dessert charcuterie board? Combine your chocolate thumbprints with an assortment of nuts, dried fruits, and even some creamy cheese. This unexpected pairing could be a great conversation starter at your next gathering.
Experiment with your favorite toppings and pairings to find what makes these delightful cookies truly shine! For more inspiration on flavor pairings, check out The Spruce Eats for ideas.
Time Breakdown for Chocolate Thumbprints
Preparation Time
Making chocolate thumbprints is a delightful yet straightforward experience. You’ll need about 20 minutes to gather your ingredients, mix the dough, and roll them into those adorable little balls.
Baking Time
Once your oven is preheated, these treats take around 12-15 minutes to bake. Keep an eye on them; you want them perfectly baked, not too soft nor too hard.
Total Time
In total, you’re looking at about 35-40 minutes from start to finish. That’s not too shabby for a sweet delight that’s bound to impress friends and family! If you’re interested in more quick dessert ideas, check out this helpful guide on easy desserts for additional inspiration!
Nutritional Facts for Chocolate Thumbprints
When indulging in chocolate thumbprints, it’s always good to know what you’re treating yourself to. Here’s a quick breakdown of the nutritional content for these delightful cookies.
Calories
Each chocolate thumbprint typically contains around 100-120 calories, making them a satisfying yet manageable treat for a midday snack or dessert.
Sugar
These cookies carry about 8-10 grams of sugar each, which contributes to their rich flavor. For those monitoring their sugar intake, consider enjoying them in moderation or sharing!
Fat Content
With roughly 5-7 grams of fat per cookie, they strike a balance between indulgence and satisfaction. The fats come primarily from butter, which adds that delightful melt-in-your-mouth texture.
If you want more detailed insights into healthy snacking, check out sites like Healthline or Nutrition.gov for valuable information. Enjoy every bite of your chocolate thumbprints!
FAQs about Chocolate Thumbprints
Why are they called thumbprints?
The delightful name chocolate thumbprints comes from the unique way these cookies are made. After rolling the dough into balls, you use your thumb to create a little indentation in the center for the filling. This simple technique not only leaves a charming imprint but also makes it super easy to add your favorite toppings or fillings, like rich chocolate ganache or fruity jam. It’s a sweet reminder that great flavors often come from small, thoughtful details in the baking process.
Can I make them gluten-free?
Absolutely! Making chocolate thumbprints gluten-free is quite easy. Simply swap out all-purpose flour with a gluten-free flour blend. Many well-known brands offer quality gluten-free options, such as King Arthur or Bob’s Red Mill, which can work beautifully in this recipe. Just ensure your other ingredients are also gluten-free, as cross-contamination can occur. If you’re looking for an alternative, almond flour can also make for a delightful variation, giving the cookies a nutty flavor!
How should I store leftover chocolate thumbprints?
To keep your chocolate thumbprints fresh and delicious, store them in an airtight container at room temperature. They typically stay good for about a week, though they’re often gone much faster! If you want to prolong their life, consider refrigerating them, which can extend their shelf life by several days. Just keep in mind that refrigeration might change their texture slightly. For longer storage, you can freeze them for up to three months. When you’re ready to enjoy them again, simply thaw them at room temperature!
For more baking tips, you might find insights from the Baking Society helpful!
Conclusion on Chocolate Thumbprints
In summary, chocolate thumbprints are more than just a delightful treat; they embody comfort and connection. Whether you’re whipping them up for a cozy evening at home or baking for a gathering, these cookies are a hit with everyone. Their unique charm lies in the combination of a soft chocolate base and a delectable filling—choices are endless!
Remember, experimenting with your favorite fillings can make your cookies even more special. They also make fantastic gifts, beautifully packaged—they’re sure to impress! So why not indulge your inner baker? You can explore more cookie variations to inspire your next baking adventure!
PrintChocolate Thumbprints: The Best Indulgent Treat You’ll Love

Indulge in the rich flavors of Chocolate Thumbprints, a delightful treat perfect for any occasion.
- Prep Time: 15 minutes
- Cook Time: 12 minutes
- Total Time: 27 minutes
- Yield: 24 cookies
- Category: Dessert
- Method: Baking
- Cuisine: American
Ingredients
- 1 cup all-purpose flour
- 1/4 cup unsweetened cocoa powder
- 1/2 teaspoon baking powder
- 1/4 teaspoon salt
- 1/2 cup unsalted butter, softened
- 1/2 cup granulated sugar
- 1 teaspoon vanilla extract
- 1 large egg yolk
- 1/2 cup chocolate chips, for filling
Instructions
- Preheat the oven to 350°F (175°C).
- In a bowl, whisk together flour, cocoa powder, baking powder, and salt.
- In another bowl, cream together butter and sugar until light and fluffy.
- Add vanilla and egg yolk to the butter mixture and mix until combined.
- Gradually add the dry ingredients to the wet ingredients and mix until just combined.
- Roll the dough into balls and place them on a baking sheet.
- Use your thumb to make an indentation in the center of each cookie.
- Fill each indentation with a chocolate chip.
- Bake for 10-12 minutes and let cool before serving.
Notes
- For a variation, try using different types of chocolate for the filling.
- These cookies can be topped with nuts or sprinkles before baking if desired.
Nutrition
- Serving Size: 1 cookie
- Calories: 120
- Sugar: 8g
- Sodium: 50mg
- Fat: 6g
- Saturated Fat: 4g
- Unsaturated Fat: 1g
- Trans Fat: 0g
- Carbohydrates: 15g
- Fiber: 1g
- Protein: 1g
- Cholesterol: 20mg