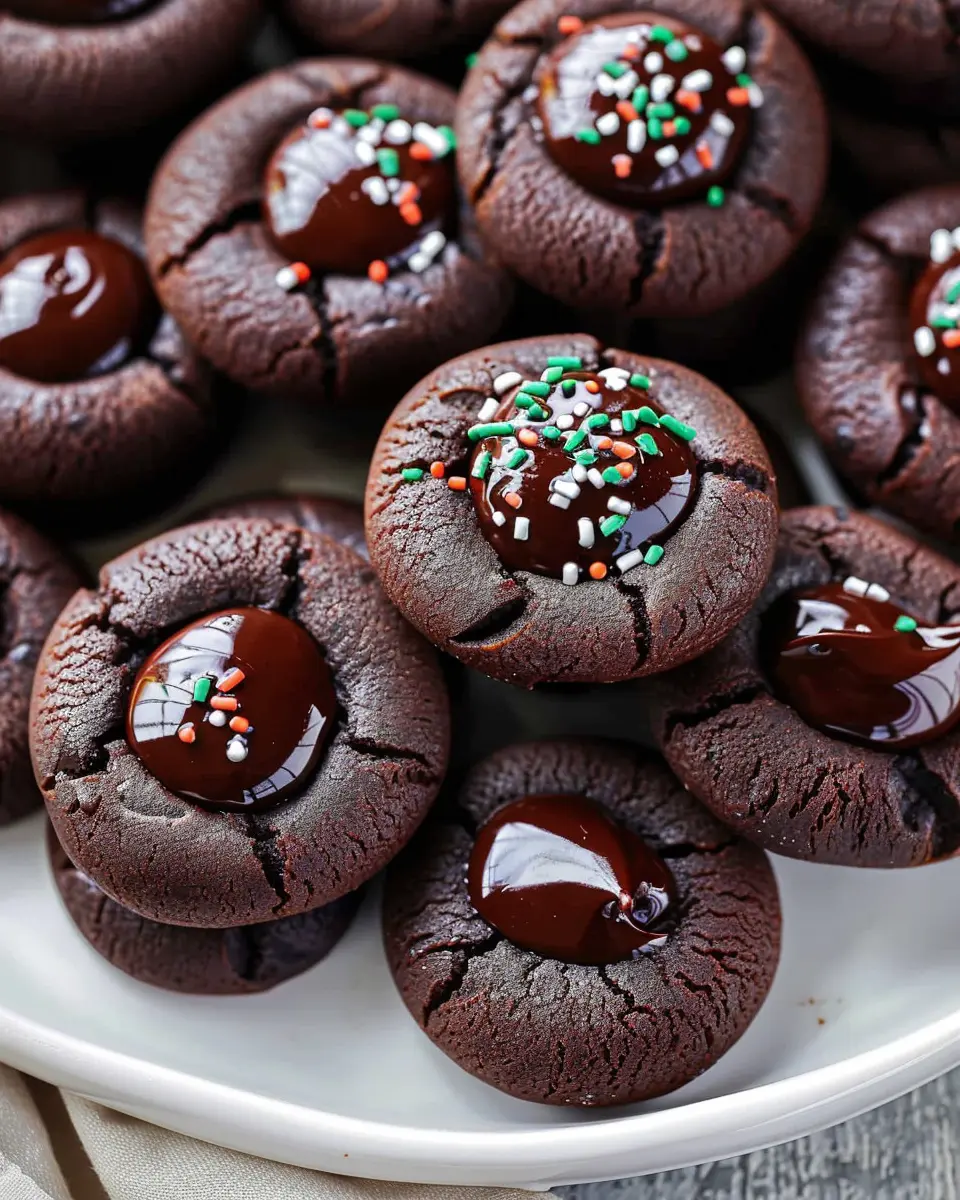
Introduction to Chocolate Thumbprint Cookies
When it comes to delightful treats that merge simplicity with elegance, chocolate thumbprint cookies take the cake—quite literally! These cookies are the perfect combination of rich chocolate flavors and inviting textures. The best part? They’re surprisingly easy to make, which is always a bonus for those of us juggling careers, social lives, and the occasional Netflix binge.
The Irresistible Charm of Chocolate Thumbprint Cookies
Why the fascination with chocolate thumbprint cookies, you ask? First, there’s their classic good looks, characterized by their distinct thumbprint dimple, waiting patiently for a dollop of luscious filling—think smooth chocolate ganache or vibrant fruit preserves. Not only do they look great on a dessert platter, but they also pack a flavor punch that delights every palate.
Did you know that cookie-making is as much about creativity as it is about culinary skill? According to a study published by the American Culinary Federation, cookies are one of the most popular desserts made in homes across the U.S. With just a few simple ingredients, these cookies can be customized to your liking. Want to make them gluten-free? Swap in almond flour! Looking for a nutty twist? Add some crushed pecans into the mix.
Community and Connection
These cookies have a way of bringing people together. Imagine gathering with friends, sharing stories, while savoring the warm, soft cookies fresh from your kitchen. There’s something magical about preparing food for loved ones that transcends mere taste. Plus, they make for great gifts, especially during the holiday season. Just toss some in a cute tin, and you’re set!
While chocolate thumbprint cookies are perfect for any occasion, they shine brightest in casual get-togethers and festive gatherings. Don’t hesitate to experiment with different fillings and toppings, maybe even incorporate seasonal flavors. For inspiration, check out this great guide to toppings on Serious Eats.
With their perfect blend of taste, texture, and charm, it’s no wonder these cookies have earned a cherished spot in the baking world. Let’s dive into the recipe and uncover just how easy it is to whip up these delightful treats that are sure to win hearts and taste buds alike!
Ingredients for Chocolate Thumbprint Cookies
When it comes to baking, the right ingredients make all the difference, especially for delightful Chocolate Thumbprint Cookies. Here’s what you’ll need to create these heavenly treats:
Essential Ingredients
- All-Purpose Flour: 1 cup gives the cookies structure.
- Unsweetened Cocoa Powder: ½ cup enhances the chocolate flavor.
- Granulated Sugar: ¾ cup for just the right sweetness.
- Butter: ½ cup (at room temperature) forms a rich base.
- Egg Yolk: 1 adds moisture and richness.
- Vanilla Extract: 1 teaspoon elevates the taste profile.
- Baking Powder: ½ teaspoon helps the cookies rise.
- Salt: A pinch balances the sweetness.
For The Filling
- Chocolate Chips: ½ cup, your choice of semi-sweet or dark.
- Heavy Cream: 2 tablespoons ensures a smooth, melty texture.
By gathering these key ingredients, you’ll unlock a world of deliciousness with your Chocolate Thumbprint Cookies. For more insights on cookie-making tips and techniques, check out this baking guide for expert advice. Baking is as much about the journey as it is about the end result. Enjoy the process!
Step-by-step preparation for Chocolate Thumbprint Cookies
Making Chocolate Thumbprint Cookies can be a delightful way to bring a touch of sweetness into your day. These cookies, with their gooey chocolate centers, are not only delicious but also simple to make. Let’s walk through each step together to ensure your cookies turn out perfect.
Gather your ingredients
First things first, let’s gather all the ingredients you’ll need. Having everything on hand before you start saves time and hassle. Here’s what you’ll need:
- 1 cup of unsalted butter, softened
- 1 cup of granulated sugar
- 2 cups of all-purpose flour
- ½ cup of unsweetened cocoa powder
- 1 teaspoon of baking soda
- ½ teaspoon of salt
- 2 egg yolks
- 1 teaspoon of vanilla extract
- 1 cup of chocolate chips or your choice of chocolate for the filling
Make sure you have high-quality chocolate for the ganache—it truly makes a difference. Here are some recommendations for chocolate brands that yield great results.
Prepare the dry ingredients
In a medium bowl, mix together your dry ingredients to set the base for your Chocolate Thumbprint Cookies. Combine the flour, cocoa powder, baking soda, and salt. Whisk them together until well blended. This step is crucial, as it ensures even distribution of lean ingredients, giving your cookies a delightful texture.
Cream the butter and sugars
Now, it’s time for one of the most satisfying steps: creaming the butter and sugars. In a large mixing bowl, beat together the softened butter and the granulated sugar using a hand mixer or stand mixer. You want this mixture to become light and fluffy, taking about 3-5 minutes. The air you whip in will help the cookies rise and achieve that tender, melt-in-your-mouth quality.
Add egg yolks and vanilla, mix until fluffy
Next, it’s time to incorporate the egg yolks and vanilla. Add in the two egg yolks and a teaspoon of vanilla extract to the butter-sugar mixture. Beat until it’s all well combined. You’ll notice the mixture becoming even fluffier and more inviting. Who doesn’t love that rich vanilla scent filling the kitchen?
Combine wet and dry ingredients
Gradually add your dry ingredient mixture to the wet ingredients, mixing on low speed until just combined. The dough will be soft and slightly tacky at this point. Avoid overmixing, as this could lead to tough cookies.
Shape the dough into balls
Once combined, use a cookie scoop or your hands to shape the dough into small balls—about an inch in diameter. Roll them between your palms until smooth. This step is fun! Remember to keep that joyful energy; your cookies will reflect it.
Create thumbprint indents and refrigerate
Place the shaped dough balls on a baking sheet lined with parchment paper. Using your thumb (or the back of a spoon), gently press down the center of each ball to create a small well. Cover the sheet with plastic wrap and refrigerate for about 30 minutes. Chilling the dough helps prevent spreading during baking, keeping those beautiful shapes intact.
Bake the cookies to perfection
Preheat your oven to 350°F (175°C). Bake the chilled cookies for about 10-12 minutes, or until the edges look firm. Don’t worry if the centers puff up; they will deflate slightly once they cool. Let them cool on the baking sheet for a few minutes before transferring them to a wire rack.
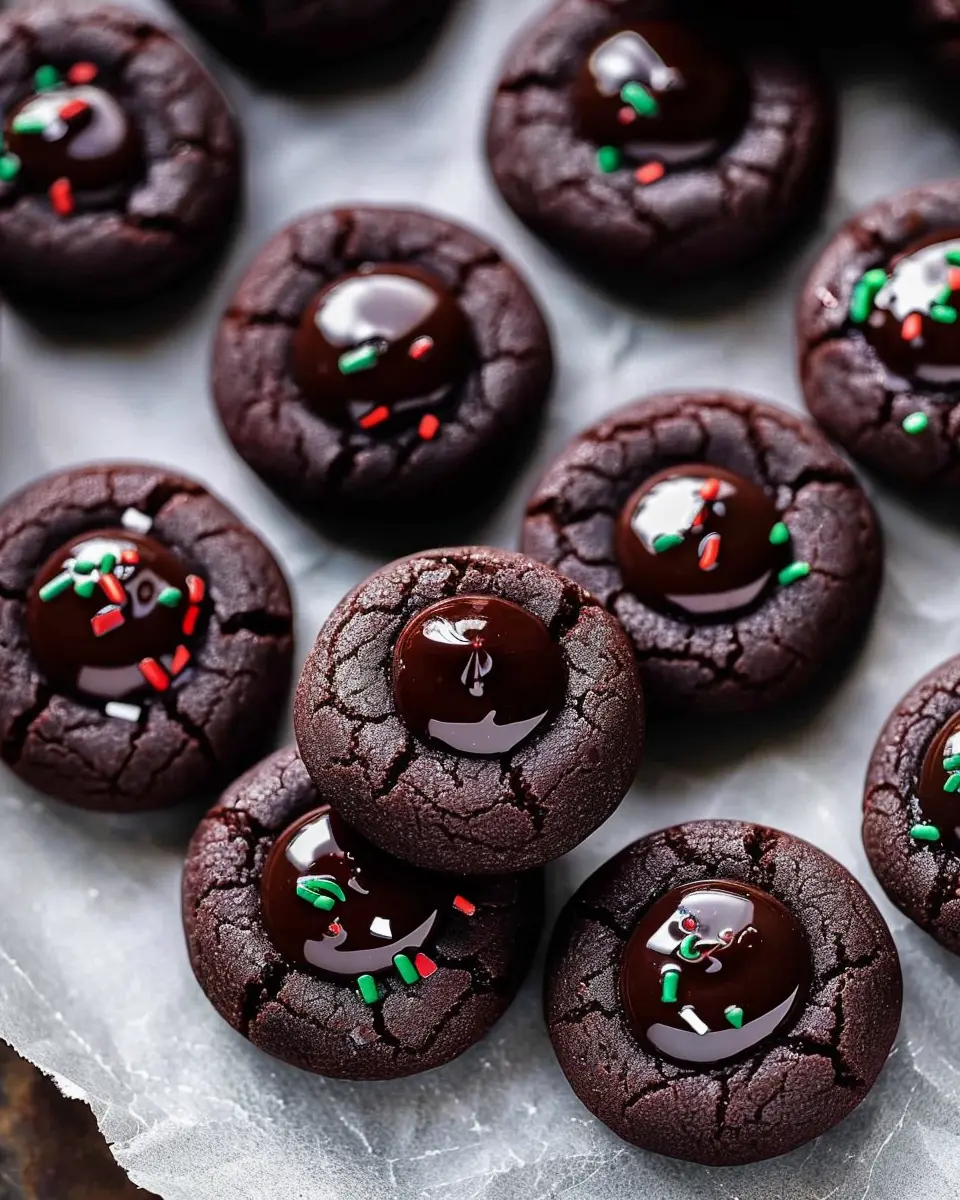
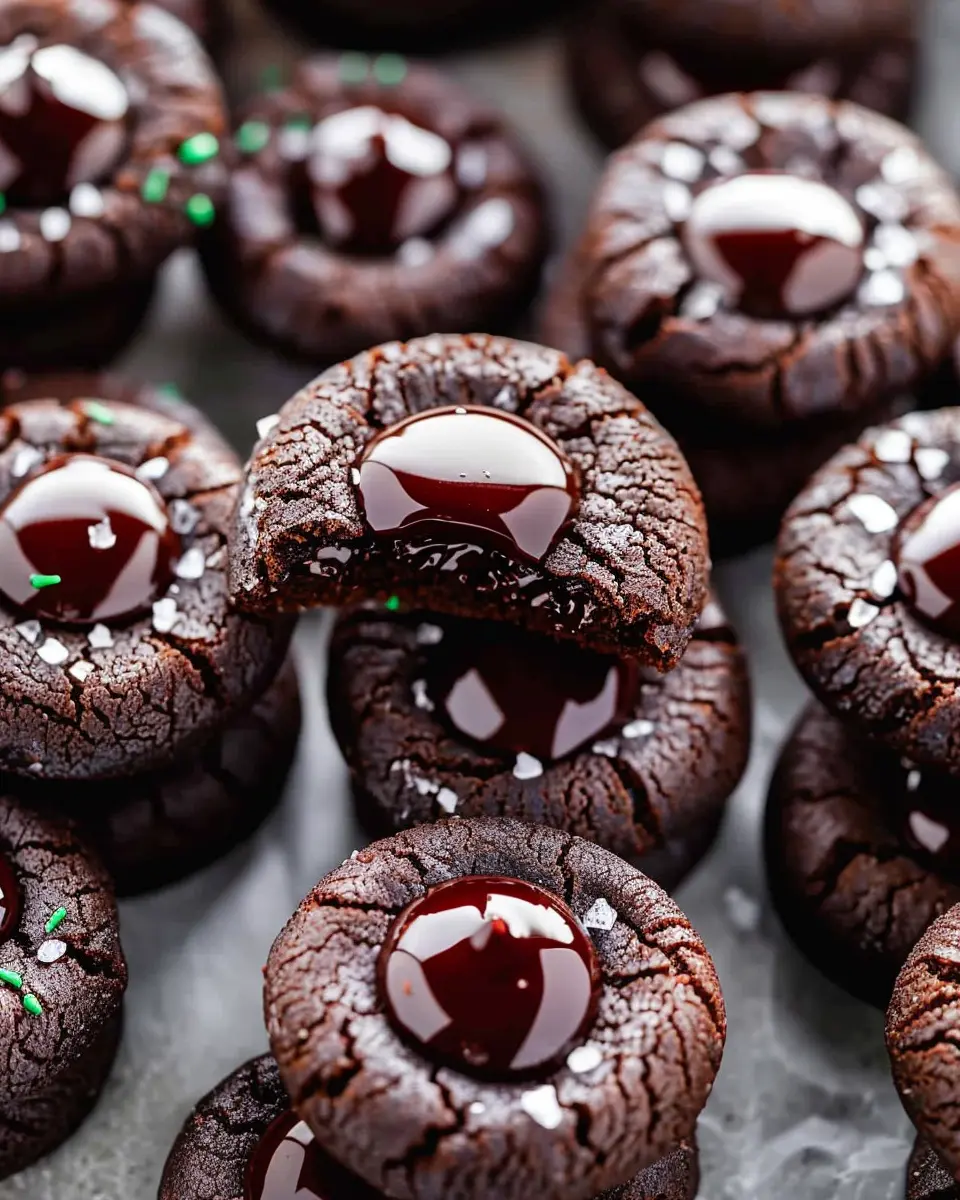
Prepare the chocolate ganache
While your cookies are baking, let’s whip up a simple chocolate ganache. In a small saucepan, heat half a cup of heavy cream over medium heat until it starts to simmer. Remove it from the heat and pour it over the chocolate chips in a bowl. Stir until smooth and glossy. This ganache will fill those thumbprints with sheer chocolate bliss.
Assemble and chill the cookies
Once the cookies have cooled, fill each thumbprint with a dollop of the chocolate ganache. Let the cookies sit at room temperature for a few minutes and then transfer them to the fridge for about 15-20 minutes to set the ganache.
Now you have your delicious Chocolate Thumbprint Cookies ready to impress friends and family! Whether you’re sharing them at a gathering or indulging in a well-deserved treat, these cookies promise a melt-in-your-mouth experience. Enjoy!

Variations on Chocolate Thumbprint Cookies
When it comes to Chocolate Thumbprint Cookies, the classic recipe is just the beginning. Let’s explore a couple of delightful variations that can cater to different palates and add some creative flair to your baking.
Nutty Chocolate Thumbprint Cookies
Why not elevate your Chocolate Thumbprint Cookies by introducing nuts? Chopped walnuts or hazelnuts can add an irresistible crunch and flavor. To make these nutty delights:
- Incorporate Nuts: Fold chopped walnuts or hazelnuts into the cookie dough before forming the thumbprint indents. This infusion brings a rich, earthy flavor that complements the chocolate beautifully.
- Nut Toppings: Consider using nut-based toppings for your filled thumbprints. Almond butter or hazelnut spread can be a luxurious alternative to traditional fillings.
If you’re feeling adventurous, use nut-flavored oils for an extra punch. Your friends will be asking for the recipe faster than they can devour the cookies!
Jam-Filled Chocolate Thumbprint Cookies
For those who have a sweet tooth that craves fruitiness, jam-filled Chocolate Thumbprint Cookies offer a burst of flavor that’s hard to resist.
- Choose Your Jam: Opt for classic raspberry or strawberry for a sweet-sour contrast that enhances the chocolate. Alternatively, apricot or peach jams can add a unique twist.
- Filling Technique: Make your thumbprint a little deeper to allow ample room for jam. This will ensure you get that delightful bite of chocolate and fruit with every cookie!
Want to learn more about flavor pairings? Check out resources like SBA or Food52’s Guides for inspiration.
Baking should be fun and experimental, so don’t hesitate to give these variations a go! Whether you prefer a nutty crunch or a fruity burst, these adaptations are sure to impress your friends and elevate your Chocolate Thumbprint Cookies game.
Cooking Tips and Notes for Chocolate Thumbprint Cookies
Baking Challenges and How to Overcome Them
Making Chocolate Thumbprint Cookies can be an enjoyable experience, but sometimes things don’t go as planned. Here are a couple of common challenges and how to handle them:
- Crumbly Dough: If your dough feels too crumbly, consider adding a tablespoon of milk or water. This can help bind the ingredients together better.
- Hardened Cookies: If your cookies come out too hard, it could be due to over-baking. Always set a timer a couple of minutes before the recommended bake time and check for a soft center.
For more baking tips, you can check reliable resources like King Arthur Baking.
Storage Tips for Freshness
To keep your Chocolate Thumbprint Cookies fresh:
- Airtight Container: Store cookies in an airtight container at room temperature. This helps maintain their delightful softness.
- Freezing: If you want to enjoy these treats later, freeze the baked cookies in a single layer. When ready to indulge, simply thaw them at room temperature.
Embrace these tips, and your cookies will be the star of any gathering!
Serving suggestions for Chocolate Thumbprint Cookies
Perfect pairings with milk or coffee
When it comes to enjoying Chocolate Thumbprint Cookies, nothing complements these sweet treats quite like a cold glass of milk or a steaming cup of coffee. The rich chocolate and the gooey filling pair beautifully with the creaminess of milk, making every bite more indulgent. If you’re all about that caffeine fix, opt for a smooth coffee brewed with hints of chocolate to mirror the flavors of the cookies. For more adventurous pairings, try a cinnamon-infused latte or a mocha!
Gift ideas with thumbprint cookies
Have you ever considered gifting Chocolate Thumbprint Cookies? They make for a sweet and personal gesture! Wrap these cookies in a decorative tin or a clear cellophane bag and tie them with a ribbon. They’re perfect for holiday gatherings, birthdays, or even just as a surprise for a friend. Consider pairing your cookie gift with a handwritten recipe card to share the joy of baking. After all, home-baked gifts show that you care, and who wouldn’t appreciate a delicious homemade treat? For more inspiration on gifting, check out Martha Stewart’s tips.
Embrace creativity and enjoy these beloved cookies in ways you never imagined!
Time Breakdown for Chocolate Thumbprint Cookies
Preparation Time
Making Chocolate Thumbprint Cookies is a fun and manageable process. You’ll spend about 15 minutes prepping the dough and filling. Gather your ingredients, mix everything well, and shape those delightful little cookie balls. Don’t rush – this is the fun part!
Baking Time
Once your cookie dough is ready, it’s time to bake! Place those beauties in the oven for 10 to 12 minutes. The aroma of chocolate will fill your kitchen, making it hard to resist sneaking a taste!
Total Time
From start to finish, you’ll be looking at roughly 30 minutes to enjoy freshly baked Chocolate Thumbprint Cookies. Perfect for a quick dessert or an afternoon treat! For more tips on coordinating baking times with your busy schedule, check out this article.
Nutritional facts for Chocolate Thumbprint Cookies
When indulging in Chocolate Thumbprint Cookies, it’s good to know what’s in them. Let’s break down the nutritional facts, so you can enjoy every bite while keeping your health in check.
Calories
A typical Chocolate Thumbprint Cookie packs about 120 calories. While it’s a delightful treat, enjoying moderation is key! Pairing these cookies with a cup of herbal tea can enhance both flavor and satisfaction.
Sugar content
While sweet, these cookies contain around 10 grams of sugar each. To keep your cravings at bay, consider balancing them with a protein-rich snack—think Greek yogurt or nuts—to maintain stable energy levels.
Healthier substitutions
Want to make your Chocolate Thumbprint Cookies a bit lighter? Here are some easy substitutes:
- Use whole wheat flour for added fiber.
- Swap in coconut sugar or maple syrup for a lower glycemic index option.
- Try dark chocolate for the filling, as it contains antioxidants and less sugar.
For more ideas on healthy baking, check out this source on healthier substitutions. With these simple changes, you can enjoy your cookies guilt-free and celebrate your love for baking!
FAQs about Chocolate Thumbprint Cookies
Can I make thumbprint cookies gluten-free?
Absolutely! You can enjoy Chocolate Thumbprint Cookies without gluten by substituting all-purpose flour with a gluten-free blend. Look for a blend that includes xanthan gum for the best texture. Many brands, like Bob’s Red Mill or King Arthur Flour, offer great alternatives that perform well in cookies. Don’t forget to check the labels to ensure they’re certified gluten-free, especially if you’re baking for someone with gluten sensitivity.
How should I store leftover cookies?
To keep your Chocolate Thumbprint Cookies fresh, store them in an airtight container at room temperature. They typically last for about 3-5 days. For longer storage, consider placing them in the fridge, but be aware that this may change their texture a bit. If you want to enjoy them later, you can freeze them, but make sure they are separated with parchment paper to prevent sticking.
Can I freeze chocolate ganache?
Yes, you can freeze chocolate ganache! If you have any extra ganache after filling your Chocolate Thumbprint Cookies, allow it to cool completely, then store it in a freezer-safe container. When you’re ready to use it again, simply thaw it in the refrigerator overnight and re-whip it to restore its creamy consistency. This is a great way to avoid waste and have ganache on hand for future baking adventures!
If you’re looking for more tips on cookie storage or gluten-free baking, check out King Arthur Baking or Serious Eats for invaluable resources.
Conclusion on Chocolate Thumbprint Cookies
Why you’ll love making these cookies at home
Making Chocolate Thumbprint Cookies at home is more than just a baking project—it’s an experience. You’ll enjoy the delightful aroma filling your kitchen and the satisfaction of crafting these delicious treats from scratch. With their rich chocolate bases and personalized fillings, these cookies are perfect for any occasion, whether it’s a cozy night in or a festive gathering with friends.
The best part? You can customize them to your liking, experimenting with different fillings like fruity jams or creamy peanut butter. If you’re looking for inspiration, check out Baking Tips for expert advice on perfecting your cookie game! This fun, engaging activity is bound to spark joy and satisfy your sweet tooth.
PrintChocolate Thumbprint Cookies: Best Homemade Treat for Sweet Cravings

Indulge in these delicious Chocolate Thumbprint Cookies that are perfect for any sweet craving.
- Prep Time: 20 minutes
- Cook Time: 12 minutes
- Total Time: 32 minutes
- Yield: 24 cookies
- Category: Dessert
- Method: Baking
- Cuisine: American
- Diet: Vegetarian
Ingredients
- 1 cup unsalted butter, softened
- 1 cup granulated sugar
- 2 cups all-purpose flour
- 1/2 cup cocoa powder
- 1/4 teaspoon salt
- 1 teaspoon vanilla extract
- 1/2 cup chocolate chips
Instructions
- Preheat your oven to 350°F (175°C).
- In a large bowl, cream together the butter and sugar until smooth.
- Add in the flour, cocoa powder, and salt, and mix until combined.
- Stir in the vanilla extract and chocolate chips.
- Roll the dough into small balls and place them on a baking sheet.
- Make an indentation in the center of each ball.
- Bake for 10-12 minutes or until set.
- Fill each thumbprint with additional chocolate after cooling.
Notes
- For a nutty flavor, consider adding chopped nuts to the cookie dough.
Nutrition
- Serving Size: 1 cookie
- Calories: 120
- Sugar: 10g
- Sodium: 50mg
- Fat: 7g
- Saturated Fat: 4g
- Unsaturated Fat: 3g
- Trans Fat: 0g
- Carbohydrates: 15g
- Fiber: 1g
- Protein: 2g
- Cholesterol: 20mg