Introduction to Burnt Basque Cheesecake
What is Burnt Basque Cheesecake?
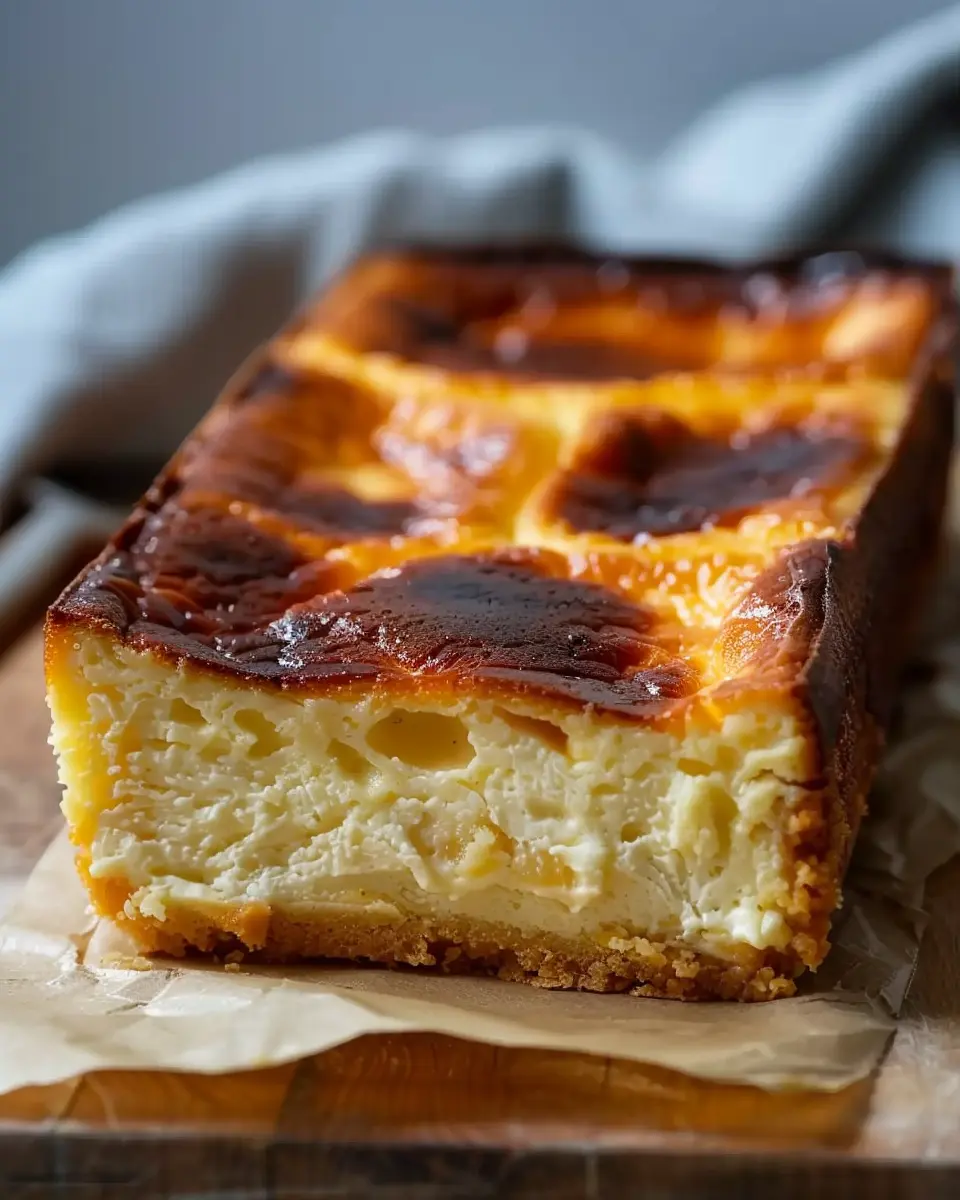
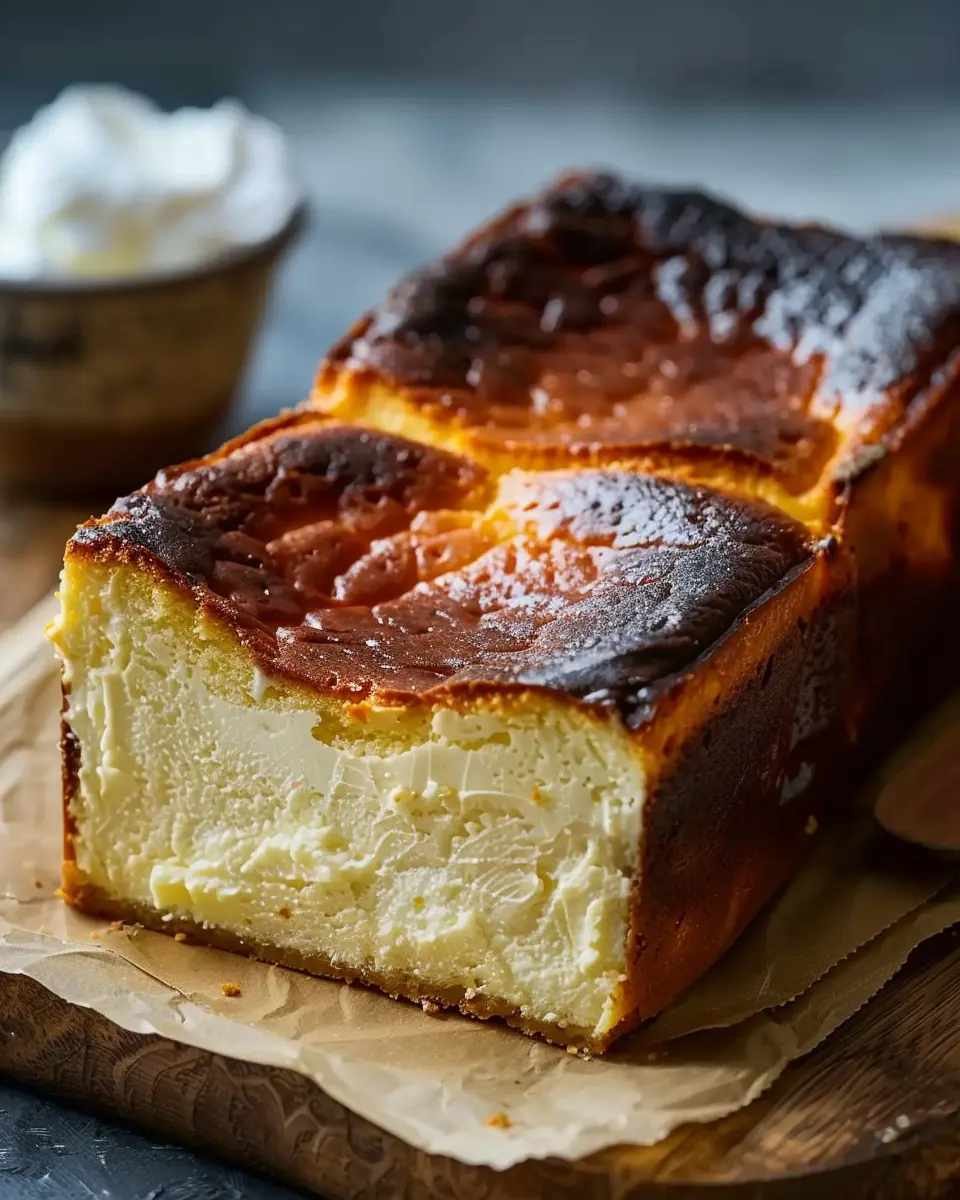
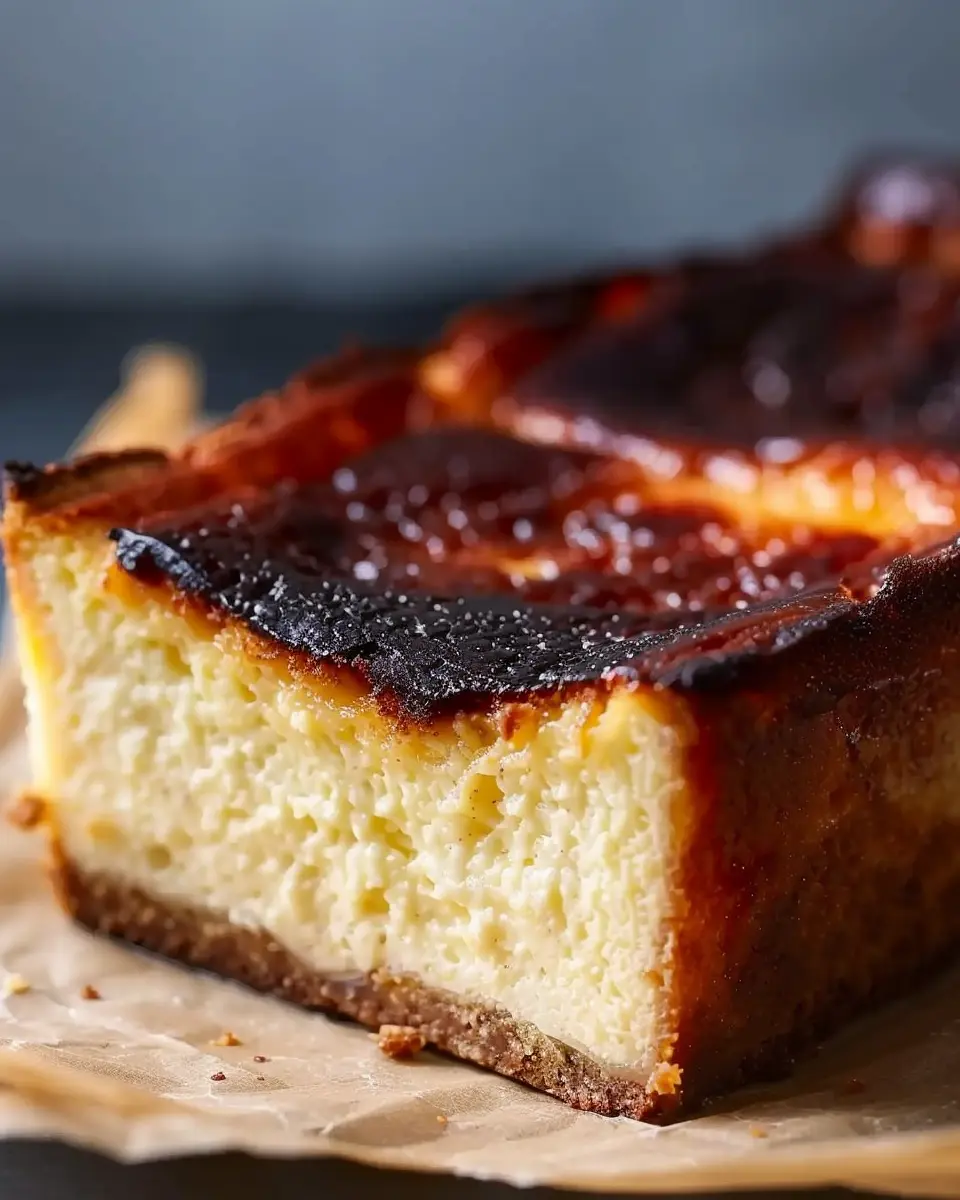
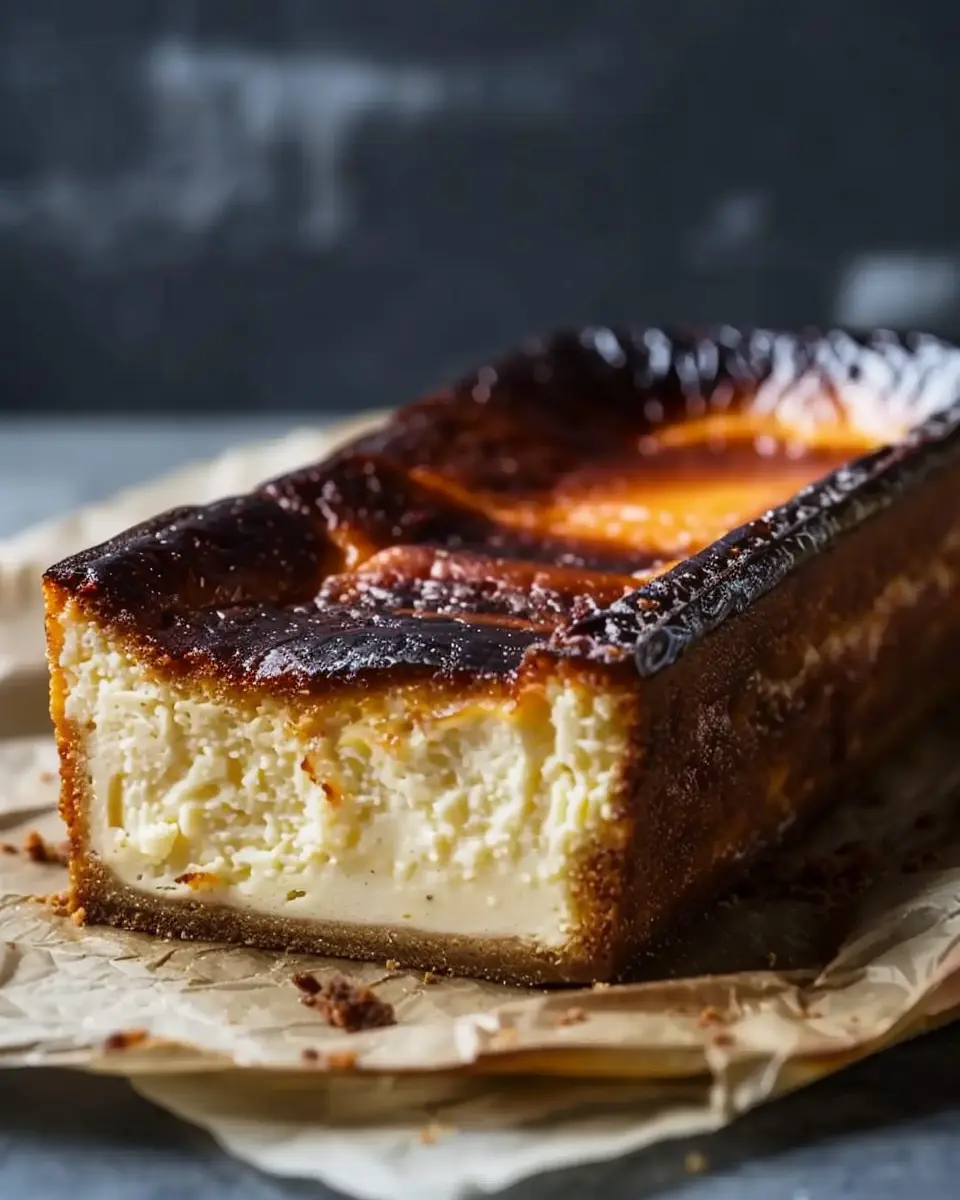
Burnt Basque cheesecake is not just any ordinary dessert; it’s a culinary marvel that originates from the Basque region of Spain. Characterized by its dramatically dark, caramelized top and creamy, custard-like interior, this cheesecake strikes the perfect balance between rich and light. Unlike traditional cheesecakes, which often have a crumbly crust and a smooth finish, the burnt Basque version is known for its rustic charm. The key to its unique texture and flavor lies in baking it at a high temperature until the surface is deeply charred, creating a hint of bitterness that contrasts beautifully with the sweetness of the cream cheese. Curious to learn more? Check out this food culture article for fascinating insights!
Why is it gaining popularity among young professionals?
It’s no surprise that burnt Basque cheesecake has found a special place in the hearts—and Instagram feeds—of young professionals. Here are a few reasons:
-
Visual Appeal: With its striking appearance, the cheesecake makes for a stunning centerpiece at any gathering. Who wouldn’t want to share a slice of that charred beauty on social media?
-
Simplicity: For those juggling busy schedules, this dessert is remarkably straightforward to make. With just a handful of ingredients, this cheesecake eliminates the intricacies of more traditional recipes, allowing anyone to whip it up in no time.
-
Versatility: The rich, creamy filling pairs perfectly with a variety of toppings, from fresh fruits to a drizzle of honey (or, for a fun twist, even a few slices of turkey bacon). Young professionals appreciate the flexibility to tailor recipes to their own tastes.
-
Taste Appeal: Its rich flavor profile captivates both the sweet tooth and the adventurous palate. Many have found that the burnt notes add an unexpected depth, making it a delightful conversation starter.
-
Culinary Experimentation: With the rise of online cooking classes and social media influencers, there’s a surge in home chefs eager to experiment. Burnt Basque cheesecake encourages creativity in the kitchen and has become a fun recipe to share with friends.
In a world where culinary experiences are often shared online, burnt Basque cheesecake stands out—and it’s easy to see why it’s becoming a must-try for adults looking to impress!
Ingredients for Burnt Basque Cheesecake
Essential Ingredients and Their Importance
Creating the perfect burnt Basque cheesecake is all about using the right ingredients. Here’s what you need to assemble for that creamy, caramelized delight:
- Cream Cheese: The star of the show! Choose high-quality cream cheese for a rich flavor and smooth texture.
- Heavy Cream: This adds a lusciousness that helps achieve that signature melt-in-your-mouth experience.
- Sugar: Granulated sugar sweetens the cheesecake, while also contributing to that beautiful burnt top.
- Eggs: They provide structure and help the cheesecake rise, giving it a custard-like consistency.
- Vanilla Extract: Offers a warm, aromatic flavor that complements the richness of the cheese.
Tips for Ingredient Quality and Substitutions
Using fresh, quality ingredients can make a noticeable difference in your burnt Basque cheesecake. For instance, opt for organic eggs and high-fat cream for the creamiest results. On a budget? You can substitute cream cheese with a mix of ricotta and Greek yogurt for a healthier spin, though it may not be as rich.
Looking for something different? Consider adding citrus zest for a refreshing twist. Want to elevate your cheesecake game? Check out this guide on ingredient quality for additional insights!
Step-by-Step Preparation of Burnt Basque Cheesecake
Are you ready to embrace the delightful, creamy chaos of a burnt basque cheesecake? This show-stopping dessert is all about simplicity and flavor. Let’s guide you through the process in a friendly, straightforward way that makes this iconic dish accessible for even the busiest young professionals.
Preheat Your Oven
Before diving into the mixing stage, let’s set the stage for our cheesecake masterpiece. Start by preheating your oven to 400°F (200°C). This is crucial because a high temperature creates the signature burnt exterior we love about this cheesecake, while keeping the inside soft and creamy. While the oven warms up, gather your ingredients so you can work smoothly without interruptions.
Beat the Cream Cheese and Sugar
Now it’s time to whip up some flavor! In a large mixing bowl, add 16 ounces of softened cream cheese (make sure it’s at room temperature for easy blending) along with 2/3 cup of granulated sugar. Using an electric mixer or a whisk, beat them together until the mixture is smooth and fluffy. This usually takes about 2-3 minutes. The goal here is to incorporate air into the cream cheese, which will result in a luscious texture. If you’re feeling overwhelmed, remember this tip: gradually add the sugar as you mix, ensuring everything combines evenly. If you want to dive deeper into the science of perfect cheesecake texture, check out this article on baking fundamentals.
Incorporate the Egg
Next up is the bonding agent — the egg! Add one large egg to your cream cheese mixture and beat until it’s fully incorporated. This step is critical: the egg acts as a stabilizer, helping your burnt basque cheesecake hold its dreamy form. Feel free to let your creativity shine — you can replace the egg with a flaxseed mix for a vegan twist if you’re looking for a plant-based option.
Add the Cream and Vanilla
Now, let’s add some indulgence. Pour in 2/3 cup of heavy cream along with a teaspoon of vanilla extract. Mix gently to ensure a unified blend. The cream adds that silky richness to your cheesecake, making each bite melt in your mouth. If you’re using vanilla bean paste instead of extract, I promise you’ll take this cheesecake to a whole new level of flavor complexity!
Fold in the Flour and Salt
It’s time to bring everything together. Sift in 1/3 cup of all-purpose flour and a pinch of salt into your mixture. Using a spatula, gently fold these dry ingredients in until just combined. Don’t overmix — we want to keep that airy texture. This step is vital in ensuring your burnt basque cheesecake rises beautifully without becoming dense.
Pour and Bake
Once everything is combined, it’s time for the magic! Pour the cheesecake batter into a parchment-lined loaf pan. The parchment paper not only ensures easy removal later but also adds to that rustic, homemade vibe. Bake it in your preheated oven for about 25-30 minutes. Keep an eye out for the top to develop a deep golden brown color, while the center remains slightly jiggly — that’s where the creaminess lives!
Cool and Chill
After baking, remove your cheesecake from the oven and let it cool in the pan for about an hour. Once cooled, refrigerate for at least 4 hours (or overnight, if you can resist!). The chilling time allows the flavors to meld together beautifully, enhancing that divine taste you’ve been waiting for.
When ready to serve, slice yourself a generous piece and revel in the glorious burnt top contrasted by the creamy inside. Enjoy the fruits of your labor and impress your friends with your newly acquired baking skills!
With each step, you are creating not just a dessert, but an experience to share. Happy baking!
Creative Variations on Burnt Basque Cheesecake
Vegan Version of Burnt Basque Cheesecake
If you’re looking to indulge in a burnt Basque cheesecake without dairy, a vegan version is not only possible but delicious! Substitute traditional cream cheese with plant-based alternatives like cashew cream or tofu blended until smooth. Use coconut milk or almond milk yogurt for that creamy texture. For sweetness, maple syrup works beautifully while adding a touch of flavor.
- Key Ingredients:
- 1 cup soaked cashews or silken tofu
- 1/2 cup coconut cream
- 1/3 cup maple syrup
- 2 tablespoons cornstarch (for thickness)
Combine these ingredients in a blender until silky smooth and follow the same baking instructions for your loaf pan. You’ll end up with a delightful dessert that’s rich and satisfying, allowing you to partake in the delightful world of cheesecakes without compromise.
Chocolate-Infused Burnt Basque Cheesecake
Who doesn’t love chocolate? Adding a chocolate twist to your burnt Basque cheesecake can elevate your dessert game! Simply mix cocoa powder or melted dark chocolate into the batter before pouring it into your loaf pan.
- Tips for Success:
- Use high-quality chocolate for the best flavor.
- Adjust the sugar to balance the bitterness of the cocoa.
This variation not only enhances the flavor but also gives an elegant nod to that rich flavor profile. Pair it with fresh berries or a drizzle of chocolate sauce for an extra touch of decadence.
Incorporating these creative twists can make every bite a new experience. Dive into this journey of flavors and let your cheesecake shine! For more interesting dessert ideas, check out resources like BBC Good Food and Serious Eats.
Helpful Cooking Tips and Notes for Burnt Basque Cheesecake
Common Mistakes to Avoid
When crafting your burnt basque cheesecake, it’s essential to be aware of common pitfalls. Firstly, don’t skip the resting time after baking; this helps the cheesecake settle and improves its flavor. Also, if you overwhip the cream, you might find yourself with a grainy texture—just mix until combined! Use a thermometer to check that your oven is at the right temperature, as inconsistent heat can lead to uneven baking. One more tip: avoid opening the oven door midway through baking, as this can cause the cake to deflate.
Storage Tips for Leftovers
If you find yourself with any leftover cheesecake (which, let’s be honest, is rare), store it properly to maintain its creamy goodness. Wrap it tightly in plastic wrap or transfer to an airtight container and refrigerate for up to five days. For longer storage, consider freezing individual slices—wrap them in plastic and place them in a freezer-safe container. When you’re ready to enjoy, simply thaw overnight in the fridge. For more detailed tips, check out this cheesecake storage guide for expert advice.
By following these tips, you’ll ensure your burnt basque cheesecake remains delightful and delicious for every occasion!
Serving Suggestions for Burnt Basque Cheesecake
Pairing with Fresh Fruits
When serving your burnt Basque cheesecake, consider complementing its rich, creamy texture with the freshness of seasonal fruits. Strawberries, blueberries, and raspberries add a delightful burst of flavor and vibrant color. Drizzle some honey or a homemade berry compote over the cheesecake for an extra touch. If you want a hint of zest, citrus fruits like oranges or lime can add that refreshing contrast, balancing the cheesecake’s indulgence perfectly.
Ideas for Festive Garnishes
Elevate your burnt Basque cheesecake presentation with creative garnishes! A sprinkle of crushed pistachios or sliced almonds not only adds a delightful crunch but also a pop of color. Fresh mint leaves can be a simple yet elegant finishing touch, bringing vibrancy to your plate. For a more luxurious feel, consider adding a dollop of whipped cream or a scoop of vanilla ice cream alongside for that creamy contrast.
Remember, a gorgeous presentation makes for a memorable dining experience. What are your favorite toppings? Share your ideas below! For more festive garnish inspiration, check out this culinary guide.
Time Breakdown for Burnt Basque Cheesecake
Creating the perfect burnt basque cheesecake in a loaf pan is not just about following the recipe—it’s about setting aside the right amount of time to enjoy the process. Here’s a friendly breakdown to help you plan.
Preparation time
First up, you’ll want to set aside about 15 minutes for prep. This includes gathering all your ingredients, measuring them out, and preparing your loaf pan.
Baking time
The baking itself takes 30-35 minutes. Keep a close eye on your cheesecake as it bakes to achieve that signature burnt top while ensuring the inside remains creamy.
Total time
In total, you’re looking at around 45-50 minutes from start to finish. This quick timeframe makes it an ideal treat for spontaneous gatherings or a casual evening at home.
For more tips on timing and technique, check out renowned resources like Serious Eats or BBC Good Food, which dive deep into baking science!
Nutritional Facts for Burnt Basque Cheesecake
When you’re diving into a slice of burnt basque cheesecake, it’s essential to know what’s on your plate. This rich and creamy dessert packs a flavourful punch, but balancing indulgence with nutritional awareness is key.
Calories per Serving
Each generous serving of this burnt basque cheesecake contains approximately 350 calories. While this is a treat, it’s helpful to savor it in moderation as part of a balanced diet.
Key Nutrients Breakdown
- Protein: About 8 grams – a decent amount for a dessert.
- Fat: Roughly 28 grams, including healthy fats from cream cheese.
- Carbohydrates: Around 25 grams, primarily from sugar and crust ingredients.
This delightful cheesecake not only satisfies your cravings but also offers a small boost in protein. For more insights on cheesecake nutrition, you might check out resources like the USDA FoodData Central, which provides comprehensive nutritional info.
So next time you enjoy a slice of this burnt basque cheesecake, remember that you’re indulging in something delicious and thoughtfully crafted!
FAQs about Burnt Basque Cheesecake
Can I make this cheesecake ahead of time?
Absolutely! Burnt Basque cheesecake is a fantastic dessert to prepare in advance. Once it’s baked and cooled, just wrap it tightly in plastic wrap and keep it in the refrigerator. It can stay fresh for up to 3 days. To serve, simply let it sit at room temperature for about 30 minutes to an hour before slicing. You’ll find that the flavor improves as it chills, making it a perfect option for dinner parties or impromptu gatherings.
What if I don’t have a loaf pan?
No loaf pan? No problem! You can easily use an 8-inch round cake pan or a square baking dish instead. Just remember that the baking time may vary slightly depending on the shape and size of your pan. Keep an eye on it and use the toothpick test to check for doneness—when it comes out clean, you’re good to go. You can also check out this guide for pan substitutions for more ideas.
How can I tell when it’s done baking?
The beauty of a burnt Basque cheesecake lies in its unique texture and finish. You’ll know it’s done when the edges are set and the center is still slightly jiggly. The top should be beautifully browned but not burnt (think deep caramel). If you insert a toothpick, it should come out with a few moist crumbs. This perfect balance creates that creamy, rich center we all love. For extra tips on baking times and textures, you can refer to this expert article on cheesecake doneness.
With these FAQs addressed, you’re all set to dive into creating your burnt Basque cheesecake masterpiece! Happy baking!
Conclusion on Burnt Basque Cheesecake
Recap of its charm and ease
The burnt basque cheesecake captures hearts with its creamy texture and caramelized top that’s simply irresistible. Not only is it decadently delicious, but it’s also remarkably easy to make in a loaf pan, a great choice for beginners and busy home cooks alike. With just a handful of ingredients and minimal fuss, you can achieve a show-stopping dessert that looks as indulgent as it tastes.
Encouragement to try making it at home
I encourage you to give this burnt basque cheesecake a whirl in your own kitchen! There’s something special about baking that brings a sense of accomplishment and delight. Plus, your friends and family will love you for it! So grab your ingredients and embrace the magic of homemade cheesecake—it’s sure to become a new favorite in your dessert repertoire. For more tips and tricks, check out BBC Good Food for additional inspiration.
PrintBurnt Basque Cheesecake: Simple Loaf Pan Delights for Home Chefs
Learn how to make a delicious burnt Basque cheesecake in a loaf pan with our easy recipe.
- Prep Time: 15 minutes
- Cook Time: 35 minutes
- Total Time: 50 minutes
- Yield: 8 servings
- Category: Dessert
- Method: Baking
- Cuisine: Spanish
- Diet: Vegetarian
Ingredients
- 1 cream cheese
- 1 sugar
- 3 eggs
- 1 teaspoon vanilla extract
- 1 tablespoon all-purpose flour
- 1/2 teaspoon salt
Instructions
- Preheat your oven to 400°F (200°C).
- In a mixing bowl, combine cream cheese and sugar until smooth.
- Add eggs one at a time, mixing well after each addition.
- Stir in vanilla extract, flour, and salt until just combined.
- Pour the batter into a lined loaf pan.
- Bake for 30-35 minutes until the top is deeply browned.
- Let it cool before serving.
Notes
- For best results, use room temperature ingredients.
- Allow the cheesecake to chill for a few hours before serving for a firmer texture.
Nutrition
- Serving Size: 1 slice
- Calories: 300
- Sugar: 14g
- Sodium: 200mg
- Fat: 22g
- Saturated Fat: 14g
- Unsaturated Fat: 8g
- Trans Fat: 0g
- Carbohydrates: 20g
- Fiber: 0g
- Protein: 7g
- Cholesterol: 90mg